Advertisement
Table of Contents
- 1 Parts List
- 2 Retrofit RID Track Assembly Instructions for Non RID Ready Boats
- 3 RID Track Assembly Instructions for RID Ready Boats
- 4 Tube Installation Instructions
- 5 Valve Tightening and Capacity Plate Installation
- 6 Storage and Maintenance
- 7 Tube Repairs and Finding Small Leaks
- 8 RID Retrofit Template
- Download this manual
®
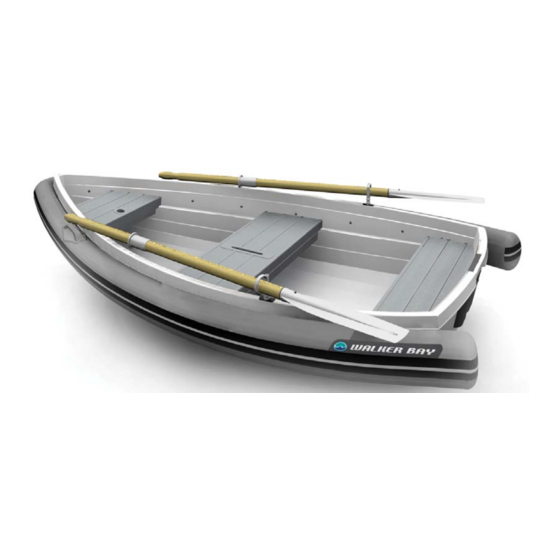
275 RID
Assembly Instructions
™
Part No. 1000130023 v.2 Lscsep01
PARTS LIST
(Specifications and contents subject to change without notice)
Description
Part #
A. RID Track ...............................................2000010520
B. Capacity Plate ..................................................10053
C. Repair Kit (with valve wrench) ...............3000030046
D. Bolts* (10-32 x 5/8") .........................................11043
E. Rubberback Washers* (#12 )...........................11076
F.
Nylock Nuts* (10-32) .......................................11067
G. RID Tube.................................................3001020351
H. Pump ......................................................1000330002
*Extra bolt, washer & nut included for convenience.
web: www.walkerbay.com email: info@walkerbay.com
Advertisement
Table of Contents

Subscribe to Our Youtube Channel
Related Manuals for Walker Bay 275 RID


Summary of Contents for Walker Bay 275 RID
- Page 1 ® 275 RID Assembly Instructions ™ Part No. 1000130023 v.2 Lscsep01 PARTS LIST (Specifications and contents subject to change without notice) Description Part # A. RID Track ..........2000010520 B. Capacity Plate ..........10053 C. Repair Kit (with valve wrench) ....3000030046 D. Bolts* (10-32 x 5/8”) .........11043 E.
- Page 2 RETROFIT RID TRACK ASSEMBLY INSTRUCTIONS FOR NON RID READY BOATS Tools you will need: Drill with bit #11 [3/16] Screwdriver Cut out template on corner of page. Using a drill gun & bit #11, drill first Remove paper template. Align port (left) template with outside of hole.
- Page 3 RID TRACK ASSEMBLY INSTRUCTIONS FOR RID READY BOATS Once RID plugs are dislodged, carefully pry plugs out with claw of hammer On assembled boat, locate RID plugs along each side of the hull. Gently tap RID plugs out with a hammer.
- Page 4 TUBE INSTALLATION INSTRUCTIONS NOTE: Before you begin the installation process, make sure your boat hull is completely stabilized. The boat should not be able to move freely in any direction. Partially inflate tube (1/4 full) and apply liquid soap and water to track runner on tube to help feed tube into track with greater ease.
- Page 5 After installing the second set of tracks proceed with the front set of tracks. Using wrench provided in repair kit, hand tighten each valve. DO NOT OVER TIGHTEN VALVE. Inflate chambers in sequence shown until wrinkles disappear. Peel backing from capacity plate and apply new plate on inside of the stern, over top of existing plate.
- Page 6 For longterm or winter storage you may remove the tube. Apply 303 Aerospace Protectant at least once per season to protect tube from UV (ultra violet) rays. Walker Bay® recommends 303 because it is free If you store the boat with the tube attached you must release some air...
- Page 7 TUBE REPAIRS FINDING SMALL LEAKS For repairs, parts, or service contact your local dealer. 1. Mix a solution of 4 cups of fresh water and 1 cup of mild non-anti- bacterial liquid soap. Do not use a spray bottle containing any household cleaners.
- Page 8 RID RETROFIT TEMPLATE STARBOARD (RIGHT) SIDE RID RETROFIT TEMPLATE PORT (LEFT) SIDE...
Need help?
Do you have a question about the 275 RID and is the answer not in the manual?
Questions and answers