Table of Contents
Advertisement
Quick Links
PIR Camera Reference
Manual
Content
User menus 14
Walk tests 16
Contact information
For contact information, see www.utcfireandsecurity.com or www.interlogix.com.
For customer support, see www.utcfssecurityproducts.eu.
Copyright © 2013 UTC Fire & Security Americas Corporation, Inc. All rights
reserved.
Introduction
This manual explains how to install, commission, program, and use wireless PIR
cameras together with Advisor Advanced systems.
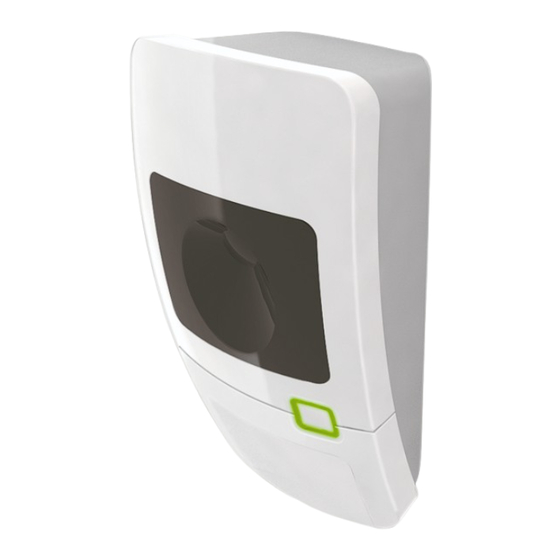
A wireless PIR camera is a wireless PIR detector with a camera built-in. The
camera can be programmed to take pictures in case of activation of associated
zones, conditional filters, as well as by manual activation or remote requests.
After an alarm the associated pictures are sent to a central station via IP/GPRS.
Pictures can also be viewed from configuration software.
P/N 1079525 (EN) • REV A • ISS 05JUN13
1
Advertisement
Table of Contents

Related Manuals for Interlogix PIR


Summary of Contents for Interlogix PIR
-
Page 1: Table Of Contents
This manual explains how to install, commission, program, and use wireless PIR cameras together with Advisor Advanced systems. A wireless PIR camera is a wireless PIR detector with a camera built-in. The camera can be programmed to take pictures in case of activation of associated zones, conditional filters, as well as by manual activation or remote requests. - Page 2 MI bus. See “ATS1238 expander” on page 4 for details. The system with a wireless PIR camera expander can have up to 8 wireless PIR cameras programmed. Figure 1: System structure...
- Page 3 Each of these types can be configured in “2.2.2.n.4.09.1 Pic settings” on page 7. Depending on camera event type, the camera can be programmed to take a single picture or a series of pictures, in low or high resolutions. PIR Camera Reference Manual...
-
Page 4: Ats1238 Expander
(3) Entry/exit zone 1, door contact (6) Intrusion zone 6, door/window sensor In the example above, camera 3 (item 1) is activated not only by built-in PIR camera, but also by zones 4 (item 5) and 2 (item 2). This makes possible taking pictures of the intruder escape path. -
Page 5: Wireless Pir Camera
See “Camera activation” on page 2 for more details. Installation The PIR camera is intended to be mounted on walls but can also be mounted on ceilings by using a mounting bracket. Use the following guidelines to determine the best location to install the PIR camera. -
Page 6: Troubleshooting
Animals in the field of view • Obscuring the detector field of view with large objects, such as furniture We recommend that the PIR camera is regularly walk tested and checked at the control panel. Programming Wireless PIR camera is programmed using the Advisor Advanced programming menu. -
Page 7: Programming Menus Specific For Pir Camera
To configure an expander shown as “m”, press Enter. Otherwise, solve the connection problem. 2.2.2.n.4.09 Pic options 1>Pic settings >>> This menu is specific for systems with wireless PIR camera expanders. 2.2.2.n.4.09.1 Pic settings 1>Burglar set. >>> The menu allows you to configure photo recording options separately for the following camera event types: •... - Page 8 QVGA: 320 x 240 pixels • VGA: 640 x 480 pixels • QVGA and VGA: Two pictures at once, one in low resolution, and one in high. 2.2.2.n.4.09.1.2 Fire settings 2.2.2.n.4.09.1.3 Panic settings 2.2.2.n.4.09.1.4 Medical settings 2.2.2.n.4.09.1.5 Tamper settings PIR Camera Reference Manual...
- Page 9 2.2.2.n.4.09.4 Delete pics 4 Delete pics >Cancel< Choose OK and press Enter to remove all stored pictures from the wireless PIR camera expander. 4.1.0 Add zone To add a wireless PIR camera, follow these steps. 1. Select zone location.
- Page 10 Once learned, the PIR camera cannot be learned on another wireless expansion without prior unregistering from a previous expansion. To unregister the PIR camera, revert it to the factory settings by following these steps: 1. Remove the PIR camera from mounting plate.
- Page 11 2 Zone 2 Choose 1 to 4 zones that can trigger the camera when active. By default, the first zone assigned is the zone with PIR detector of this wireless PIR camera. Choose a zone position to assign a zone, or an existing zone to remove it from the associated zone list.
- Page 12 The counter is reset when the area changes its set state. The allowed range is 1 to 999, or 0 (infinity), which means unlimited number of pictures. If the limit is reached, the camera switches off and an appropriate event is recorded in the log. PIR Camera Reference Manual...
-
Page 13: Basic User Commands
Allow remote camera control. See “1.2.n.6 Remote pics“ on page 14. • Take picture. See “1.2.n.7 Test pic to CS” on page 15. • Delete pictures. See “1.3 Delete pics” on page 15. • Perform a walk test. See “8.2 Walk test” on page 15. PIR Camera Reference Manual... -
Page 14: User Menus
If the limit is reached, the camera switches off and an appropriate event is recorded in the log. 1.2.n.6 Remote pics 09 Remote pics >Yes< If remote picture triggering is enabled, you can take a picture remotely, using configuration software. PIR Camera Reference Manual... - Page 15 The current picture transmission status is shown in the bottom line of the screen. 1.3 Delete pics 1>Expander 1 ------------ Delete all pictures from the wireless PIR camera expander. Select expander, then select OK and press Enter to remove all pictures from the selected expander. 8.2 Walk test...
-
Page 16: Camera Diagnostics
Range test allows you to verify wireless PIR camera signal reception. Select a camera to activate range test. Camera 17 In range test In this mode, selected wireless PIR cameras show the reception quality with alarm LED colour: • Green: Good signal •... - Page 17 During walk test pictures are taken and sent to the ATS1238 expander. Installer can review the pictures afterwards via configuration software. The detector does not enter the 3 minute sleep mode during walk test. PIR Camera Reference Manual...
- Page 18 PIR Camera Reference Manual...
Need help?
Do you have a question about the PIR and is the answer not in the manual?
Questions and answers