Advertisement
Serializing the Lock and Key
1
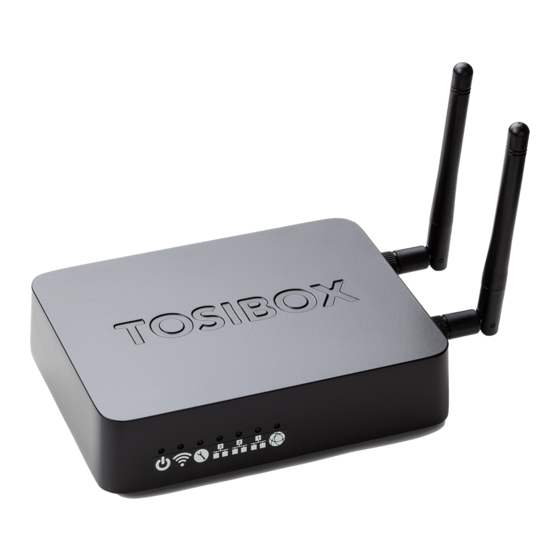
Tosibox Lock
B
Tosibox Key
Deploying into Broadband Networks
2a
2G/3G/4G,
DSL
x
Firewall & NAT Friendly
Remote user
Internet /xDSL router
Quick Start Guide v2.5
Copyright © Tosibox Oy, 2014
A
AC Adapter
2G/3G/4G,
Firewall & NAT Friendly
WAN
A)
Connect the AC adapter to the Lock and wait
for 2 minutes.
B)
Serialize the Key to the Lock by inserting the
Key into the USB port of the Lock. When the
LED on the Key stops blinking, the serializa-
tion is complete.
2a
C)
Go to
if deploying into broadband
2b
networks or
networks.
DSL
x
Tosibox Lock
A)
Connect an internet-connected ethernet
cable to the Lock's WAN port.
B)
Plug the devices into the Lock's LANports
(LAN 1-3 or connect wirelessly via WLAN).
If the devices have static IP addresses,
please see "Deploying the Lock" in the user
manual.
if deploying into mobile
Advertisement
Table of Contents

Subscribe to Our Youtube Channel
Summary of Contents for Tosibox Lock
- Page 1 Connect the AC adapter to the Lock and wait for 2 minutes. Serialize the Key to the Lock by inserting the Key into the USB port of the Lock. When the LED on the Key stops blinking, the serializa- tion is complete.
- Page 2 IP configurations. help.tosibox.com. Note: Please see “Connecting a client-mode-enabled Lock to an existing network” in the Tosibox user manual (p.13) for information on deploying Locks as a DHCP client into existing networks. For other deployment configurations not contained within this guide, please see the Tosibox user manual or email us at support@tosibox.com.


Need help?
Do you have a question about the Lock and is the answer not in the manual?
Questions and answers