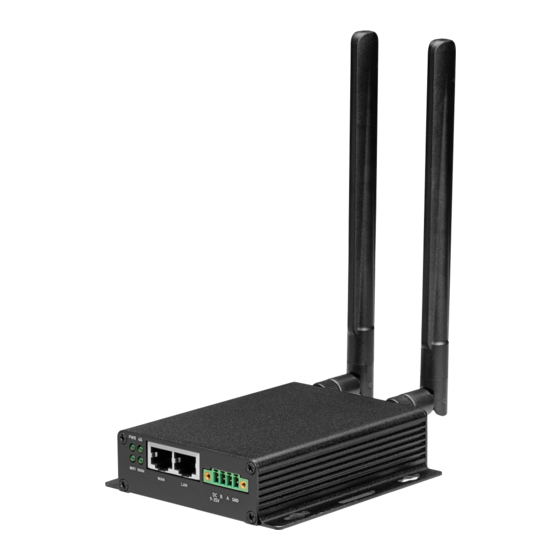
Tosibox 175 Quick Start Manual
Hide thumbs
Also See for 175:
- Quick start manual (2 pages) ,
- Quick start manual (2 pages) ,
- User manual (70 pages)
Table of Contents
Advertisement
Quick Links
1
Power On
1.
Connect the operating voltage of 9-35 V DC to the device and wait for few seconds.
2.
Connect ethernet cable into LAN port of TOSIBOX® 175 and
the other end of the cable into LAN port of your computer.
TOSIBOX® 175 LAN port is DHCP enabled. Your computer
!
receives the IP address from TOSIBOX® 175.
Set Up Router
2
1.
Visit 10.10.10.254 in your browser to set up your device.
2.
Log in using "Admin" account. Default password is admin.
3.
Change password (required password policy) and click save.
4.
Accept the EULA (End user license agreement) by clicking accept.
5.
TOSIBOX® 175 needs an Internet connection to function. Go to
networks (ethernet) or
3a
Connect to the Internet using Ethernet connection
1.
Connect TOSIBOX® 175 from the WAN port to the Internet with Ethernet cable.
2.
When the WAN LED is lit on the front plate of the Lock, the Internet connection is working. If the light is
not lit, investigate possible connectivity issues.
TOSIBOX® 175
Quick Start Guide
Copyright © Tosibox Oy, 2021
if deploying into wireless connection.
3b
http://10.10.10.254
3a
if deploying into broadband
Advertisement
Table of Contents

Summary of Contents for Tosibox 175
- Page 1 Connect to the Internet using Ethernet connection Connect TOSIBOX® 175 from the WAN port to the Internet with Ethernet cable. When the WAN LED is lit on the front plate of the Lock, the Internet connection is working. If the light is...
- Page 2 2. Click the Generate button to create the Remote Matching Code. 3. Copy the code to clipboard 4. Open your TOSIBOX® Key Client and go to Devices > Remote Matching. 5. Paste the Remote Matching Code on the text field and click Start.


Need help?
Do you have a question about the 175 and is the answer not in the manual?
Questions and answers