
Related Manuals for ESAB Powercut 1300


Summary of Contents for ESAB Powercut 1300
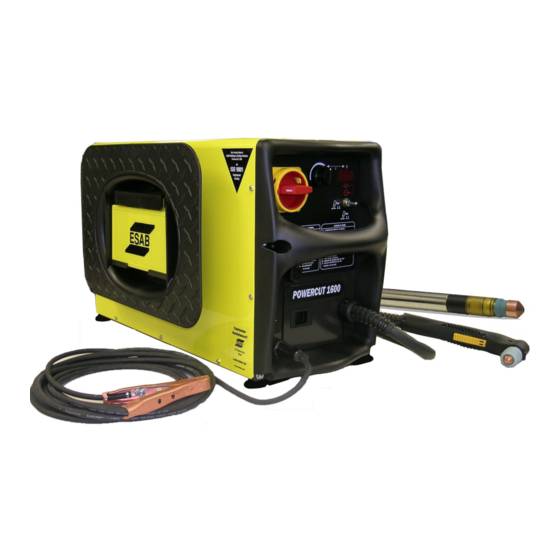
- Page 1 ä Powercut 1300/ 1600 Instruction manual 0449 551 001 GB 20120905 Valid for serial no. 034-xxx-xxxx...
- Page 2 - 2 -...
-
Page 3: Table Of Contents
1 SAFETY ............2 INTRODUCTION . -
Page 4: Safety
SAFETY Users of ESAB equipment have the ultimate responsibility for ensuring that anyone who works on or near the equipment observes all the relevant safety precautions. Safety precautions must meet the requirements that apply to this type of equipment. The following recommendations should be ob... - Page 5 A equipment in those locations, due to conducted as well as radiated disturbances. CAUTION This product is solely intended for plasma cutting. CAUTION Read and understand the instruction manual before installing or operating. - 5 - © ESAB AB 2011 bp16ea...
-
Page 6: Introduction
ESAB can provide you with all necessary cutting protection and accessories. INTRODUCTION The plasma power source Powercut 1300/1600 and the plasma cutting torch PT-38 are a complete and safe plasma cutting system for manual cutting and gouging. It delivers cutting power for severing materials up to 45 mm thickness. -
Page 7: Installation
The warranty is invalidated if any type of air filter is used. - 7 - © ESAB AB 2011 bp16ea... -
Page 8: Delivery Check And Location
4. An air source that gives clean and dry air, at least 236 l/m at 6.2 bar (90 psig), is required for cutting. The cutting air pressure must not exceed 10.3 bar (150 psig), which is the maximum inlet pressure for the filter regulator that is included in the delivery. - 8 - © ESAB AB 2011 bp16ea... -
Page 9: Mains Power Supply
Use the power source in accordance with the relevant national regulations. WARNING Make sure the power source is switched off before removing the fuse. Input air connection Connect your air supply to the inlet connection of the filter. - 9 - © ESAB AB 2011 bp16ea... -
Page 10: Connection For Return Cable
Connection for return cable Clamp the return cable to the workpiece. Be sure the workpiece is connected to an approved earth ground with a properly sized ground cable. - 10 - © ESAB AB 2011 bp16ea... -
Page 11: Connection Of Torch
Place the strain relief in the square cutout in the front. Connect the mains cable into the plug on the front and turn it clockwise until it is secured. Put the lid back. - 11 - © ESAB AB 2011 bp16ea... -
Page 12: Operation
General safety regulations for handling the equipment can be found on page 4. Read through before you start using the equipment! Connections Mains cable Pre-filtered dry air supply Input voltage selector switch Torch Fuse (2A) Return cable with clamp - 12 - © ESAB AB 2011 bp16ea... -
Page 13: Control Devices
The setting can be switched to psi by a service technician. Should a fault condition exist in the normal operation, the display will show a code number, see chapter 7.1. - 13 - © ESAB AB 2011 bp16ea... -
Page 14: Symbol Key
6.5 bar (95 psig) supply. If the supply pressure to the unit exceeds 6.5 bar (95 psig)up to the maximum recommended 10.3 bar (150 psig), turn the pressure regulator counterclockwise to reduce the pressure to the torch to 5.5 bar (80 psig). Follow the gas testing instructions above. - 14 - © ESAB AB 2011 bp16ea... -
Page 15: Cutting
11. For rapid re-starts, such as grate or heavy mesh cutting, do not release the torch switch. In the postflow mode, the arc can be re-started immediately by depressing the torch switch. This avoids the 2-second preflow portion of the cutting cycle. - 15 - © ESAB AB 2011 bp16ea... -
Page 16: Maintenance
7. Ensure that all incoming power supplies are disconnected. Use goggles and face mask and blow clean the power source internally using dry compressed air at low pressure . 8. Regularly drain any water from the filter below the air regulators. - 16 - © ESAB AB 2011 bp16ea... -
Page 17: Fault Tracing
If you cannot locate the problem switch off the incoming power supply, open the unit and check all components and conductors visually. Look for swollen or leaking condensers and other signs of damage or discolouration. - 17 - © ESAB AB 2011 bp16ea... -
Page 18: Fault Codes
Overtemperature in the The temperature is higher Check the ventilation around apparatus sheath. than the permitted the unit. operational limit. Check the cooling air gaps and ensure that any obstacles are removed from there. - 18 - © ESAB AB 2011 bp16ea... -
Page 19: Ordering Spare Parts
Always provide the serial number of the unit on which the parts will be used. The serialnumber is stamped on the units measuring plate. Spare parts may be ordered through your nearest ESAB dealer, see the last page of this publication. -
Page 20: Diagram
Diagram - 20 - © ESAB AB 2011 bp16e... - Page 21 - 21 - © ESAB AB 2011 bp16e...
-
Page 22: Order Number
0558 006 786 Torch PT38 7.5 m ä 0459 839 081 Spare parts list Powercut 1300 ä 0459 839 073 Spare parts list Powercut 1600 Technical documentation is available on the Internet at www.esab.com - 22 - Edition 20120905 bp16o... -
Page 23: Accessories
Powercut 1300/ 1600 Accessories Trolley ........0558 007 898 Gas flow measuring kit . - Page 24 ESAB Romania Trading SRL ESAB VAMBERK s.r.o. SOUTH AFRICA ESAB Mexico S.A. Bucharest Vamberk ESAB Africa Welding & Cutting Ltd Monterrey Tel: +40 316 900 600 Tel: +420 2 819 40 885 Durbanvill 7570 - Cape Town Tel: +52 8 350 5959...
Need help?
Do you have a question about the Powercut 1300 and is the answer not in the manual?
Questions and answers