Table of Contents
Advertisement
Quick Links
Advertisement
Table of Contents

Related Manuals for Phonak WallPilot


Summary of Contents for Phonak WallPilot
- Page 1 This product may be purchased from Connevans Limited secure online store at www.DeafEquipment.co.uk DeafEquipment.co.uk Solutions to improve the quality of life...
-
Page 2: User Guide
GA 029-0171-02 GB Englisch hearing systems WallPilot User Guide... -
Page 3: Table Of Contents
Welcome to the world of multi-frequency FM communication Main components Installation Choosing the right location Preparing for installation Mounting to the wall Battery replacement Selecting the channel Adjusting the range Key lock Daily use Important notes Phonak distributors worldwide Service and Warranty... -
Page 4: Description
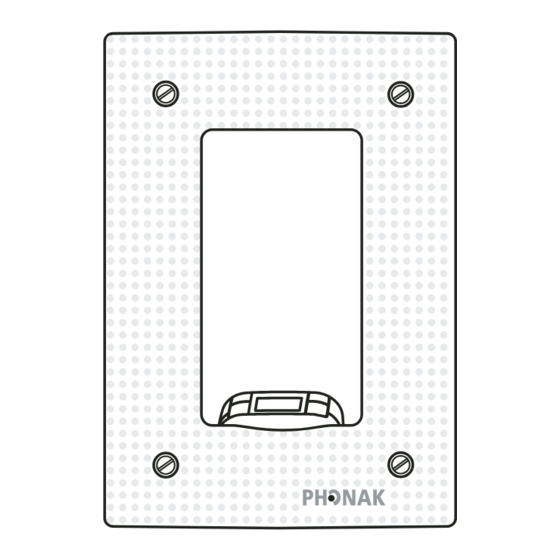
GA 029-0171-02 GB Englisch Description Main unit 3-position coarse range adjustment Frame with built-in antenna (F1/F2/F3) Antenna cable connection to main unit Rotary control for continuous fine (not visible on this diagram) range adjustment Power cord (not visible on this diagram) On/Off switch Fixation screws Channel selector (up/down) -
Page 5: Welcome To The World Of Multi-Frequency Fm Communication
The WallPilot ensures that FM users entering a room are automatically switched to the right channel. The process is fully automatic and completely independent of the channel previously in use by the FM receiver. The WallPilot is ideal for schools and other buildings where FM is used in several rooms at once. -
Page 6: Main Components
GA 029-0171-02 GB Englisch Main components WallPilot with integral main unit Power cord Audio cable for optional software programming of the main unit Fixation screws and screw anchors for wall mounting Hole drilling template for wall mounting... -
Page 7: Choosing The Right Location
• The WallPilot range is continuously adjustable from zero to two meters. • The WallPilot synchronization signal reaches any FM receiver within the set range. For this reason, FM users who are already in the room should not remain perma- nently within the reception range of the WallPilot signal (see figure). - Page 8 The WallPilot is designed for mounting to a wall. Possible locations for the unit are: • Inside the room, adjacent to the entrance door The WallPilot then covers the room entry zone, which is the ideal location if there is sufficient space. However, classroom desks and other working areas must be out of range of the WallPilot.
-
Page 9: Preparing For Installation
Preparing for installation • Determine the approximate location according to the previous criteria. • Put the WallPilot into operation (see next section) and either hold it against the wall or rest it on a chair (standing up, not lying flat). - Page 10 WallPilot. An alternative is to restrict the range as necessary; in this case we recommend marking the floor to indicate the WallPilot reception area. • After finding a good location in this way, proceed to mounting the WallPilot to the wall.
-
Page 11: Mounting To The Wall
• Secure the WallPilot to the wall using the supplied fixation screws • Plug the power cord into the socket marked on the main unit. The WallPilot can operate directly using the power cord, or on rechargeable batteries (for approx. 12 hours) ☞ Mains power is recommended for ease of use. -
Page 12: Battery Replacement
GA 029-0171-02 GB Englisch Battery replacement Push up to open lid Remove main unit Remove antenna cable The WallPilot main unit includes a removable rechargeable battery. The battery and power cord are the same types used with the Campus S. -
Page 13: Selecting The Channel
▲ = selects a higher channel ▼ = selects a lower channel ☞ Ensure that the WallPilot is set to the designated channel for the room. This should correspond to the channel used by the FM transmitter (e.g. the Campus S) operating... -
Page 14: Adjusting The Range
Rotary control on the side of the main unit. Range switch F1 = Close range F2 = Medium range F3 = Long range Re-check the range after WallPilot installation and readjust if necessary. ☞ It is recommended to check the range regularly. -
Page 15: Key Lock
Key lock The WallPilot has a built-in key lock. Similar to mobile telephones, it avoids uninten- tionally operating the keys. When activated, the key lock also prevents tampering by children. To lock keys: Press both keys simultaneously for 2 seconds. A « »-symbol appears in the LCD display. -
Page 16: Daily Use
GA 029-0171-02 GB Englisch Daily use Putting into operation: Switch on the WallPilot (press the On/Off button for 2 seconds) Check the channel and battery charge state on the LCD Activate the key lock if needed (see page 12 key lock) - Page 17 • Switch off the WallPilot (press the On/Off button for 2 seconds) If the WallPilot is operated with the rechargeable battery, simply plugging in the power cord recharges the battery. The three battery segments in the LCD display blink to indi-...
-
Page 18: Important Notes
1. The hearing instrument and FM receiver must be switched on before the WallPilot can change the receiver channel. 2. Ensure that the WallPilot is properly fixed and that the power cord is safely secured. 3. Avoid simultaneous use of multiple WallPilots with overlapping transmission ranges. -
Page 19: Phonak Distributors Worldwide
United Kingdom Phonak UK Limited, Warrington, Cheshire WA1 1PP Phonak Inc., Warrenville, IL 60555-3927 Independent A complete list of Phonak distributors is available at Phonak's Internet site: general agents: www.phonak.com. Please visit us or ask your hearingcare professional for information. - Page 20 GA 029-0171-02 GB Englisch Notes...
- Page 21 Notes...
-
Page 22: Service And Warranty
Damage caused by third parties or non-authorized service centers renders the Phonak warranty null and void. This warranty does not include any services performed by a hearingcare professional in their office. This warranty applies to... - Page 23 Your hearingcare professional:...
Need help?
Do you have a question about the WallPilot and is the answer not in the manual?
Questions and answers