Table of Contents
Advertisement
Advertisement
Table of Contents

Subscribe to Our Youtube Channel
Related Manuals for Bematech LR2000


Summary of Contents for Bematech LR2000
-
Page 1: User Manual
LR2000 POS Thermal Printer USER MANUAL... -
Page 2: Table Of Contents
Table of Contents Introduction ..................2 Safety Information ..................2 Electromagnetic compatibility statement ..........3 2 Overview ....................4 Appearance ..................... 4 Rear panel I/O connectors ................4 3 Installation ...................5 Connecting Printer to Computer or POS Terminal ........5 Connecting to Cash Drawer................5 Connecting to Power .................. -
Page 3: Introduction
1 Introduction Thank you for purchasing the LR2000 POS printer. Bematech is committed to continuously improve product quality and provide better after-sales service. In order to take full advantage of our devices, we strongly recommend that you take the time to read this manual before diving into software solution. -
Page 4: Electromagnetic Compatibility Statement
The thermal head is a hot surface. Do not touch. When the following occurs: Liquid gets inside the POS printer; Accidental physical damage; The power cord or plug is damaged; POS printer produces a burning smell; Immediately disconnect the power supply, unplug the power cord, and contact a qualified service technician. -
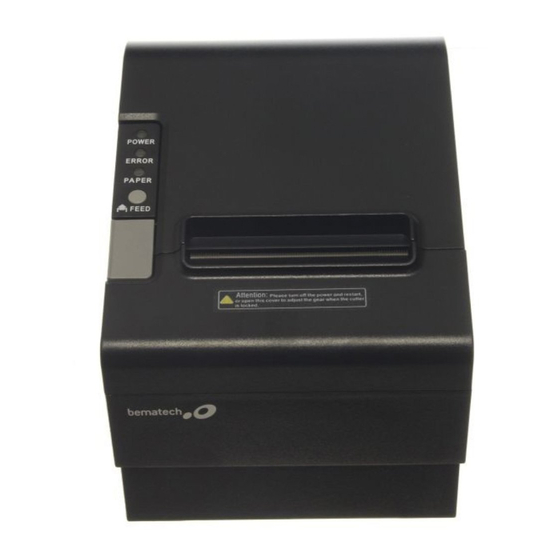
Page 5: Overview
ECR and POS systems. The LR2000 was designed to facilitate simple and efficient operations. 2.1 Appearance 2.2 Rear panel I/O connectors At the rear panel of the LR2000 is a row of external I/O device connectors detailed as follows: RS232 DC IN... -
Page 6: Installation
3 Installation 3.1 Connecting Printer to Computer or POS Terminal 3.1.1 Connect the interface cable (USB/serial) to the printer. Connect to LR2000 3.1.2 Connect the other end of interface cable (USB/serial) to the computer. Connect to Computer 3.1.3 For Ethernet interface, connect the Ethernet cable to Ethernet hub, switch, or router. -
Page 7: Load And Replace Paper Roll
3.3.2 Connect DC power cord to printer and then AC power plug to wall socket. AC adapter DC Power Cord 3.3.3 Turn on the power switch on the printer side. 3.4 Load and Replace Paper Roll 3.4.1 Press the Button to Open Paper Roll Cover 3.4.2 Remove the used paper roll to replace with a new roll Press the Cover... - Page 8 Make sure the paper roll is loaded in the correct direction. Correct Direction Wrong Direction 3.3.4 Pull out the roll paper to the bottom front of the printer and then close the cover as shown below. Press down to close cover 3.3.5 Tear off extra paper roll with auto-cutter or with tear-cutter of the printer.
-
Page 9: Ethernet Ip Setup
Run the LR2_IP_Setting.exe file in the software package and follow steps below. 3.5.1. Make sure the LR2000 is connected properly to the network. Then click on "Discovery" button to search for the connected printer. Then select the printer to be configured. - Page 10 3.6.3. Click “Continue” 3.6.4. Make sure the printer is turned ON. Next choose the printer interface according to the hardware connection.
- Page 11 “Yes” to print a test page to make sure the printer is working.If you don’t see test pages printing after installing the driver, please go to “Start -> Devices and printers -> LR2000 -> Printer Properties -> Port”, and select the USB001 port manually.
- Page 12 On), with flow control set to “None”. After driver installation, you can also change the port at any time from the LR2000 properties port setting tab Please make sure you choose port name start with LR_COM as shown below:...
- Page 13 Click “Setup” to find the IP of the printer (if you know the printer’s IP already, you can also type it in manually). Then, click “Search” to search all available LR2000 printers over the network, choose the printer from the list on the left by clicking on the MAC column corresponding to the printer that you want to install the driver.
- Page 14 3.6.6. After setting up the interface, click "Install Printer" to install the driver. You can verify if the driver installation is done successful by printing out a test page when prompted as shown below. 3.6.7 Click “Finish” to complete the setup.
-
Page 15: Operations
Feed key - Press feed key to feed a length of paper. 4.2 Setting Printer Mode LR2000 printer is initially setup with default value. However, the default printer mode can be reconfigured to satisfy customer's needs through the DIP switch, which is located at the bottom of the printer. -
Page 16: Self-Checking Function
4.3 Self-Checking Function The Self-Checking Function allows the user to identify if the printer is operating normally. If the printer is detected with failure condition, please contact the distributor. (1) Self-checking Procedure: Make sure the printer is powered off. ... - Page 17 are unobstructed. To remove small paper particles from the sensors, use a small brush to wipe off the dust and paper particles. Do not attempt to use liquids to clean the sensors, in order to avoid damage. (3) The cutter is manufactured with hardened steel for maximum wear resistance. It is normal to have some dust buildup in the blades and this will not affect cutter performance.
-
Page 18: Fixing Paper Jam
4.5 Fixing Paper Jam The error light turns on and flashes with warning prompt when paper jam happens. Following steps below to clear the paper jam. -
Page 19: Connector Pinouts
5 Connector Pinouts USB Connector (type B) Pin No. Signal Name VBUS Serial Connector (DB9F) Pin No. Signal Name... - Page 20 Ethernet Connector (RJ45) Pin No. Signal Name Cash Drawer (RJ11) Pin No. Signal Name Frame GND Drawer kick-out drive Drawer open/close signal +24V Signal GND...
-
Page 21: Troubleshooting
6 Troubleshooting The following table describes some of the problems that may occur while using the printer. For every problem there is a possible cause and a suggested procedure to solve the problem. Problem Possible Cause Procedure Check if there is a central switch for the room / There is no power in the electric outlets. - Page 22 Call for assistance to fix the problem. Check if your printer device is online: Go to Star- Devices and Printers- LR2000, if the printer is dimmed, then it’s You printer device type may be Printer is on but does not print offline.
-
Page 23: Specifications
Character Font ASCII Font A:9X24 Printer Density 512dot/line Printing Speed 250mm/s NV bitmap Flash 64kb Receipt Buffer LR2000 - USB and Serial Communication Interfaces LR2000E - USB, Serial and Ethernet Input Voltage AC 100~240V, 50/60Hz Power Adaptor Output Voltage DC 24V,2.5A Operating Temperature 0~45°C... - Page 24 LR2000 POS Thermal Printer...
Need help?
Do you have a question about the LR2000 and is the answer not in the manual?
Questions and answers