Evolution Rage 6 Instruction Manual
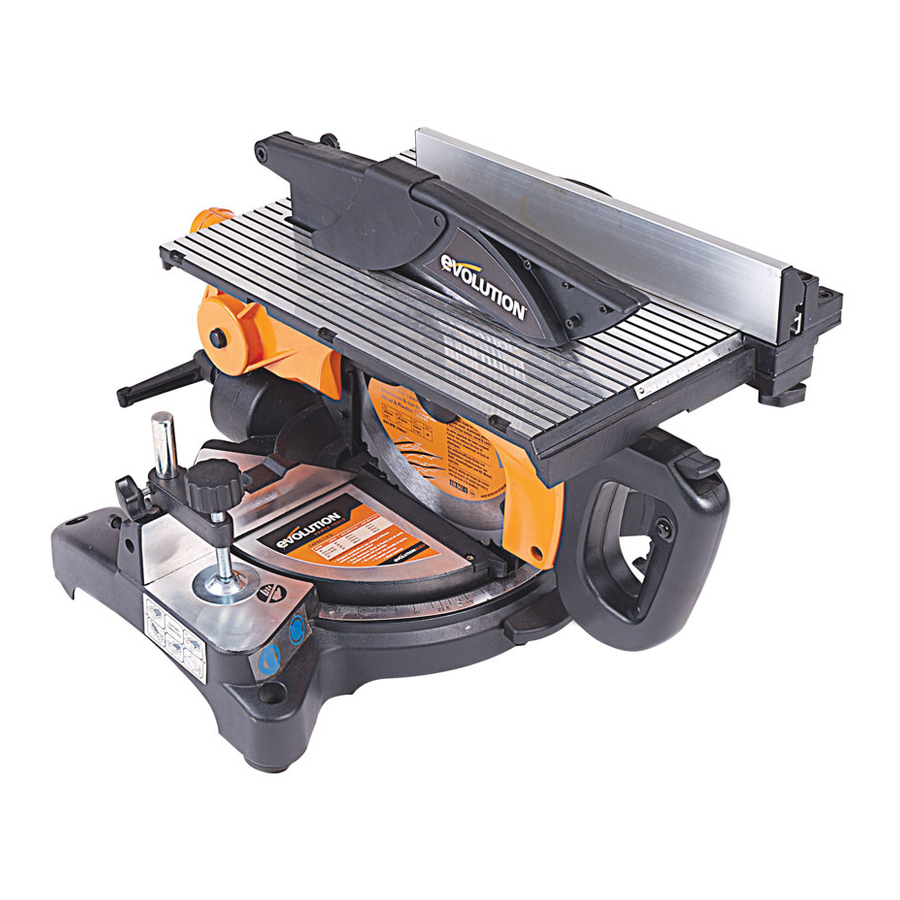
255mm (10”) compound mitre / table saw
Hide thumbs
Also See for Rage 6:
- Original instructions manual (32 pages) ,
- Original instructions manual (120 pages)

Subscribe to Our Youtube Channel
Related Manuals for Evolution Rage 6


Summary of Contents for Evolution Rage 6
- Page 1 RAGE 6 255mm (10”) Compound Mitre / Table Saw Instruction Manual Read instructions before operating this tool. 30 11 10 www.evolutionbuild.com G09100...
-
Page 2: Table Of Contents
Important Information S20 3FR 12 Month Limited Warranty Declare that the product General Safety Rules Part numbers: EVOLUTION RAGE 6 Evolution: TABLE MITRE SAW Additional Specific Safety Rules Complies with the essential requirements Labels and Symbols of the following European Directives: Specification 2006/42/EC –... - Page 3 RAGE 6 FIG 1 FIG 2 FIG 3 FIG 4 FIG 5 FIG 6 FIG 7 FIG 8 FIG 9 www.evolutionbuild.com...
- Page 4 FIG 10 FIG 11 FIG 12 FIG 13 FIG 14 FIG 15 FIG 17 FIG 18 FIG 16 www.evolutionbuild.com...
- Page 5 RAGE 6 FIG 19 FIG 20 FIG 21 FIG 22 FIG 23 FIG 24 FIG 25 FIG 26 FIG 27 www.evolutionbuild.com...
-
Page 6: Month Limited Warranty
6. Never force the tools. Your tools will be more fitness or to waive any of the foregoing terms efficient and safer when used at the rate for which of sale and none shall be binding on Evolution they were intended. Power Tools. Questions relating to this limited warranty should be directed to the company’s... - Page 7 RAGE 6 7. Use the right tool. Do not force small tools to 20. Check that no part is damaged. Before do the job of a heavy duty tool. Do not use tools using a tool, make sure that it is in good working for purposes not intended;...
- Page 8 16. Select saw blades in relation to the Always be aware of the cords location. material to be cut. Use only genuine Evolution 6. Always check for damaged parts. Before or Evolution recommended accessories.
-
Page 9: Labels And Symbols
Failure to follow this rule could / or instruction labels are missing or damaged. Contact result in serious personal injury. Evolution Power Tools for replacement labels. CARRYING YOUR MITRE SAW Only use genuine Evolution replacement saw Safety Advice blades. -
Page 10: Specification
RAGE 6 TABLE MITRE SAW The declared vibration total value has been SPECIFICATION measured in accordance with a standard test method and may be used for comparing Designed to cut: one tool with another. Wood – Max section 75mm x 300mm... - Page 11 RAGE 6 OVERALL VIEW OF RAGE 6 MITRE SAW CONFIGURATION 1. ON/OFF TRIGGER SWITCH 9. BEVEL ANGLE LOCKING LEVER 2. CUTTING HEAD LOCKING PIN 10. MITRE ANGLE SCALE 3. CUTTING HANDLE 11. POSITIVE STOP LOCKING LEVER 4. ROTARY TABLE 12. FENCE 5.
- Page 12 OVERALL VIEW OF RAGE 6 TABLE SAW CONFIGURATION 1. ON/OFF TRIGGER SWITCH 2. CUTTING HANDLE 3. TABLE TOP 4. AUXILLIARY LOWER BLADE GUARD 5. UPPER BLADE GUARD 6. BLADE 7. RIP FENCE 8. PUSH STICK www.evolutionbuild.com...
- Page 13 7. Install the outer blade flange and arbor 2. Installing or Removing the Blade screw. Ensure that the outer blade flange lugs WARNING: Only use genuine Evolution completely engage into the drive flats machined blades which are designed for this machine.
- Page 14 12. Ensure the both Allen Keys are removed Note: It is important that the operator is and the machine arbor rotates freely. adequately trained in the use, adjustment 13. Ensure the blade guards are fully and operation of the machine and has read functional before using the machine.
- Page 15 RAGE 6 2. Preparing to make a cut 5. Chop Cutting a) Avoid awkward operations and hand The saw handle is gently pushed down to cut positions where a sudden slip could cause through a workpiece. fingers or hands to move into the blade.
- Page 16 7. Bevel Cutting 11. Supporting Long Workpieces The cutting head can be set at any angle up to a The free end of a long workpiece should to the LH side only. be supported at the same height as the machines rotary table.
- Page 17 The Rip Fence rail is an integral part of the the machine motor can be adjusted. This machine table and contains a measurement enables your Evolution Table/Mitre Saw to scale to aid setting. mimic the rise and fall facility found on many Do not position the Rip Fence to the LH side conventional table saws.
-
Page 18: Maintenance
2. Rip cutting Rip cutting is cutting along the length of a piece of material rather than across it. Note: Use only a genuine Evolution Riving Rip cutting should always be done with the Knife, as this is a dedicated component for this machine. -
Page 19: Environmental Protection
RAGE 6 When all adjustments, settings or maintenance however if you should need to fit a new plug have been completed, make sure that all keys follows the instruction below. or wrenches have been removed, and that all screws, bolts and other fittings are securely IMPORTANT tightened.
Need help?
Do you have a question about the Rage 6 and is the answer not in the manual?
Questions and answers