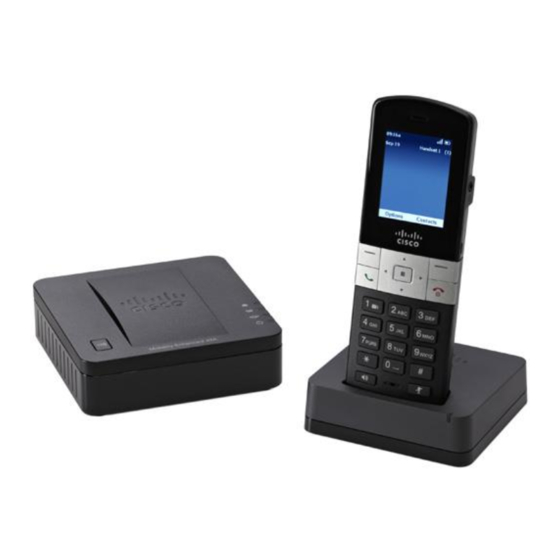
Cisco SPA302D Quick Start Manual
Mobility enhanced cordless handset
Hide thumbs
Also See for SPA302D:
- Owner's manual (49 pages) ,
- User manual (38 pages) ,
- Quick start manual (26 pages)
Advertisement
Quick Links
Quick Start Guide
Cisco SPA302D Mobility Enhanced Cordless
Handset
Package Contents
• Cisco SPA302D Mobility Enhanced Cordless Handset
• Charging Cradle
• Belt Clip
• Power Adapter
• Power Clip
• Two rechargeable AAA batteries
Version en français sur CD
• Product CD-ROM
• Quick Start Guide
Welcome
Thank you for choosing the Cisco SPA302D. This guide describes how to
physically set up and register your Cisco SPA302D to the Cisco SPA232D ATA.
It also describes how to perform some basic tasks, such as placing and
answering calls, and configuring basic phone options.
Before You Begin
1
Before you begin the installation, make sure that you have the following
equipment and services:
• Cisco SPA232D Mobility Enhanced ATA, which has an integrated DECT
Base Station to provide telephone service for the SPA302D
• Active Internet connection
• Active Public Switched Telephone Network (PSTN) connection or Voice
over IP (VoIP) phone service account
• PC with web browser, for using web-based system management tools
(Microsoft Internet Explorer, Mozilla Firefox, and Apple Safari are supported)
Battery Warning
Use only size AAA Ni-MH 800 mAh (1.2V) rechargeable batteries in the
Cisco SPA302D handset. Place the handset in the charging cradle for a
recommended initial charge of 10 hours before using the handset for the first
time.
Cisco SPA302D Features
2
Table 1 Handset Features
1
Receiver.
2
Handset display.
3
Right softkey. Press the softkey to perform the action shown in the
lower right of the handset display.
4
End Call button. Press the button and hold it to turn off the handset.
5
Keypad.
6
Mute button.
7
Microphone.
8
Speakerphone button. Press this button during a call to use the
speakerphone.
9
Start Call button.
10
Left softkey. Press the softkey to perform the action shown in the lower
left of the handset display.
11
4-way navigation keypad. Press the arrow buttons to move up, down,
left, or right through menus displayed on the handset.
12
Center Select button.
13
Headset port.
14
Speaker.
Handset Setup and Registration
3
Charging the Handset
Remove the back cover of the handset.
S
1
TEP
S
2
Insert the two AAA rechargeable batteries (included) into the handset.
TEP
(See
Battery Warning
in "Before You Begin.")
Correct battery placement is shown on the label inside the battery
compartment. If the batteries are charged, the handset turns on when
the batteries are inserted. If the batteries are not charged, the handset
turns on when it is placed into the charging cradle.
S
3
Remove the protective film from the handset and charging cradle.
TEP
Insert the power clip into the power adapter.
S
TEP
4
Plug the power adapter into the power source.
S
TEP
5
S
6
Connect the power adapter into the charging cradle in the port shown
TEP
below.
C
Only use the power adapter designed for use with Cisco SPA300
AUTION
Series devices.
S
7
Place the handset into the charging cradle. The light on the charging
TEP
cradle appears solid green when the handset is charging. Charge the
handset for a minimum of 10 hours before using the handset for the
first time to ensure that the handset is fully charged.
Registering the Handset to the Cisco SPA232D Mobility
Enhanced ATA
S
1
Install and configure the Cisco SPA232D. See the Cisco SPA232D
TEP
Quick Start Guide for more information.
On the Cisco SPA302 handset, press the Select button in the center of
S
2
TEP
the 4-way navigation keypad.
Using the navigation arrows, scroll to the Settings icon and
S
TEP
3
press the center navigation button to select it.
S
4
Select Handset Registration.
TEP
Select Register.
S
TEP
5
On the Cisco SPA232D, press the Page/Registration button and hold
S
TEP
6
it down for at least seven seconds until the green status light flashes
quickly.
TIP: If you press the button for fewer than seven seconds, the green
status light flashes slowly, indicating the unit is in "paging" mode and is
not in registration mode. Registration will not work if the unit is in
paging mode.
S
7
The default PIN is blank, so do not enter a PIN. Press the left softkey to
TEP
confirm that you want to register the handset. The "registering"
message appears.
To verify that the handset registered to the base station,
S
TEP
8
confirm that the signal strength icon is solid (not flashing)
and that the handset ID, such as Handset 1 or Handset 2,
appears near the top right corner of the display screen.
Advertisement

Subscribe to Our Youtube Channel
Related Manuals for Cisco SPA302D


Summary of Contents for Cisco SPA302D
- Page 1 Thank you for choosing the Cisco SPA302D. This guide describes how to Install and configure the Cisco SPA232D. See the Cisco SPA232D physically set up and register your Cisco SPA302D to the Cisco SPA232D ATA. Charging the Handset Quick Start Guide for more information.
- Page 2 Scroll to Call Settings and press the Select button again. Enter the number to which to transfer. The Cisco SPA302D Cisco and the Cisco logo are trademarks or registered trademarks of Cisco and/or its affiliates in the Home U.S. and other countries. To view a list of Cisco trademarks, go to this URL: www.cisco.com/go/...
Need help?
Do you have a question about the SPA302D and is the answer not in the manual?
Questions and answers