Jura IMPRESSA X9 Instructions For Use Manual
Hide thumbs
Also See for IMPRESSA X9:
- Instructions for use manual (18 pages) ,
- Operating and cleaning instructions (14 pages) ,
- Manual (4 pages)
Table of Contents
Advertisement
Advertisement
Table of Contents

Related Manuals for Jura IMPRESSA X9


Summary of Contents for Jura IMPRESSA X9
- Page 1 IMPRESSA X9 Instructions for use...
- Page 2 Legend: DISPLAY DISPLAY: serves as information. Continuous text. GRAPHICS DISPLAY: please follow the instructions shown. = Note = Important = Tip JURA Elektroapparate AG, CH-4626 Niederbuchsiten, Internet http://www.jura.com...
- Page 3 Fig. 1 Fig. 2 Fig. 3 Fig. 4 Fig. 5 Fig. 6 Fig. 7 Fig. 8 Fig. 9 Fig. 10 Fig. 11 Fig. 12 Fig. 13 Fig. 14 Fig. 15 Fig. 16 Fig. 17 Fig. 18...
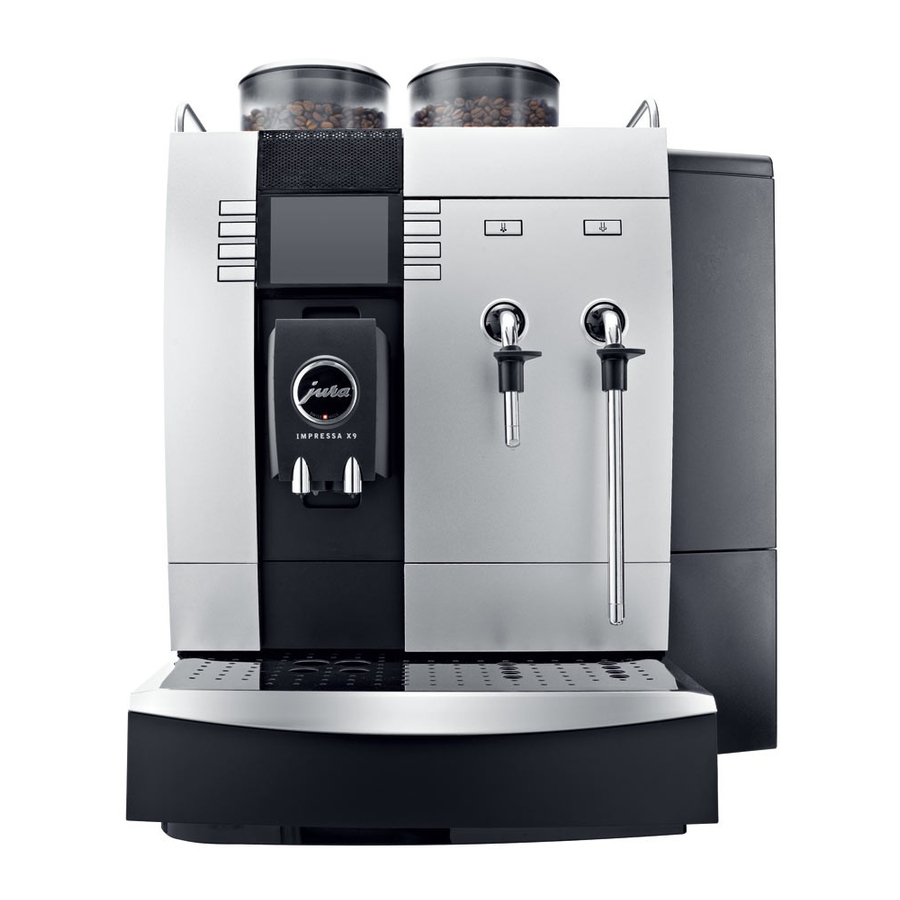
- Page 5 Operating elements Impressa X9 A Drip tray Drip grate C Grounds bin D Height-adjustable dual spout Frothing key Macchiato key G Milk Coffee key H 2x key Ristretto key Espresso key Coffee key Cappuccino key M Display dialog system (incl. graphics display)
-
Page 6: Table Of Contents
..........................DISPLAY to be made by a JURA service technician page 7 . -
Page 7: Description Of The Machine
Spoil your customers, guests, staff and yourself with superb coffee Place your machine on a solid and level surface. Never leave it on a delights. Operating the IMPRESSA X9 is easy even for inexperienced warm or hot surface (hobs). Choose a location that is inaccessible users. -
Page 8: Adding Coffee Beans
5. Switching the machine on 4. First use Switch the IMPRESSA X9 on with the power switch on the rear of the machine (Fig. 15/D). Make sure to have filled the water tank and the bean tank. Open the programming door on the front (Fig. 4) and switch the IMPRESSA X9 on with the ON / OFF key (Fig. -
Page 9: Adjusting Your Machine To The Water Hardness
1 espresso. German hardness. The function can also be deactivated. 1 ESPRESSO The IMPRESSA X9 is preset to 16° German hardness. You can adjust your machine to the local water hardness. Example: COFFEE READY A bargraph indicates the duration of the espresso brewing process. -
Page 10: Frothing Milk
Press any of the product keys to stop the frothing and the There might be some initial splashing when drawing off hot brewing process prematurely. water. The pivoting hot water spout becomes hot. Avoid direct contact with the skin! The milk system is rinsed automatically 10 minutes after dis- pensing milk. -
Page 11: Programming
Press the ‘+’ or ‘–’ key to define the amount of frothed milk. 14. Programming Press P to confirm your setting (Fig. 5/E). The following parameters can be programmed: Press the ‘+’ or ‘–’ key until POWDER appears on the display. Water hardness CAPPUCCINO Setup (product) -
Page 12: Automatic Switch-On Time
Press P to confirm your setting (Fig. 5/E). If —:— appears on the display, the switch-on function is deacti- vated. CONFIRMED 14.5 Automatic switch-off time WEEKDAY Choose a time between 0.5 and 9.0 hours or —.— (inactive). MONDAY Press ‘+’ or ‘–’ (Fig. 5/F or L) to set the weekday. COFFEE READY WEEKDAY Hold the P button (Fig. -
Page 13: Turn-On Time And Turn-Off Time For Specific Weekdays
To confirm the setting, press the P button. 14.7 Automatic switch-off with non-use CONFIRMED You have the option of programming an automatic switch-off, so that if the machine has not been used for a certain time it automatically switches itself off. MACHINE ON COFFEE READY Press P (Fig. -
Page 14: Setting Up The Display
Press the ‘+’ or ‘–’ key to select the next program step or press EXIT Press P again (Fig. 5/E) to activate the DISPLAY programming step. (Fig. 5/K) to leave programming mode. SETTINGS Press EXIT (Fig. 5/K) again to leave programming mode. UNIT Press the ‘+’... -
Page 15: Information
14.11 Information Press the ‘+’ or ‘–’ key to select a product. With the IMPRESSA X9 you can check each coffee you made. The display will indicate the number of times this product was You can also check the number of cleaning cycles, decalcifying made. -
Page 16: Grounds Bin Missing
Open the programming door on the front (Fig. 4) and switch the DURATION START IMPRESSA X9 off with the ON / OFF key (Fig. 5/A). APPROX 2’ Switch the machine off with the power switch on the rear of the To initiate milk cleaning, press either the P button or the Milk machine (Fig. -
Page 17: Cleaning The Coffee System
ADD TABLET COFFEE PRESS Remove the tray and the grounds bin and EMPTY the coffee Drop an original JURA cleaning tablet into the filler funnel (Fig. 16). grounds. Press the Clean Coffee System key (Fig. 5/I). COFFEE BIN MACHINE CLEANING MISSING Place the grounds bin and the tray back into the machine. -
Page 18: Changing The Filter
PRESS To change the filter, press the P button or the Filter button (Fig. 5/B): INSERT FILTER Drop an original JURA cleaning tablet into the filler funnel (Fig. 16). PRESS Press the Clean Dual Spout key (Fig. 5/J). WATER MACHINE CLEANING EMPTY the water tank and insert the filter cartridge in the tank together with the cartridge holder, applying gentle pressure. -
Page 19: Cleaning The Grinder And The Bean Tank
To ensure that descaling is not carried out, press the P button. Place the grounds bin and the tray back into the machine. COFFE READY Completely dissolve 3 original JURA descaling tablets in 0.7 litres of water and pour the solution into the empty water tank. SOLVENT IN TANK 16.15 Cleaning the grinder and the bean tank... -
Page 20: Messages
18. Messages Display Cause Remedy WATER TANK FILL The tank is empty. Fill up with water. The water level gauge in the tank is jammed. Empty tank, rinse, fill water and put it back. The tank is calcified; the water level gauge is Take out tank, decalcify, rinse well, fill with clogged. -
Page 21: Disposal
Version ‘International’ existing contract, agreement or legal relationsship. All obliga tions on Voltage: 230 V AC the part of JURA Elektroapparate AG result from the sales agreement Output: 2200 W question, which also contains the complete details of the valid war- ranty terms. - Page 22 JURA Elektroapparate AG – Kaffeeweltstrasse 10 – CH-4626 Niederbuchsiten www.jura.com...