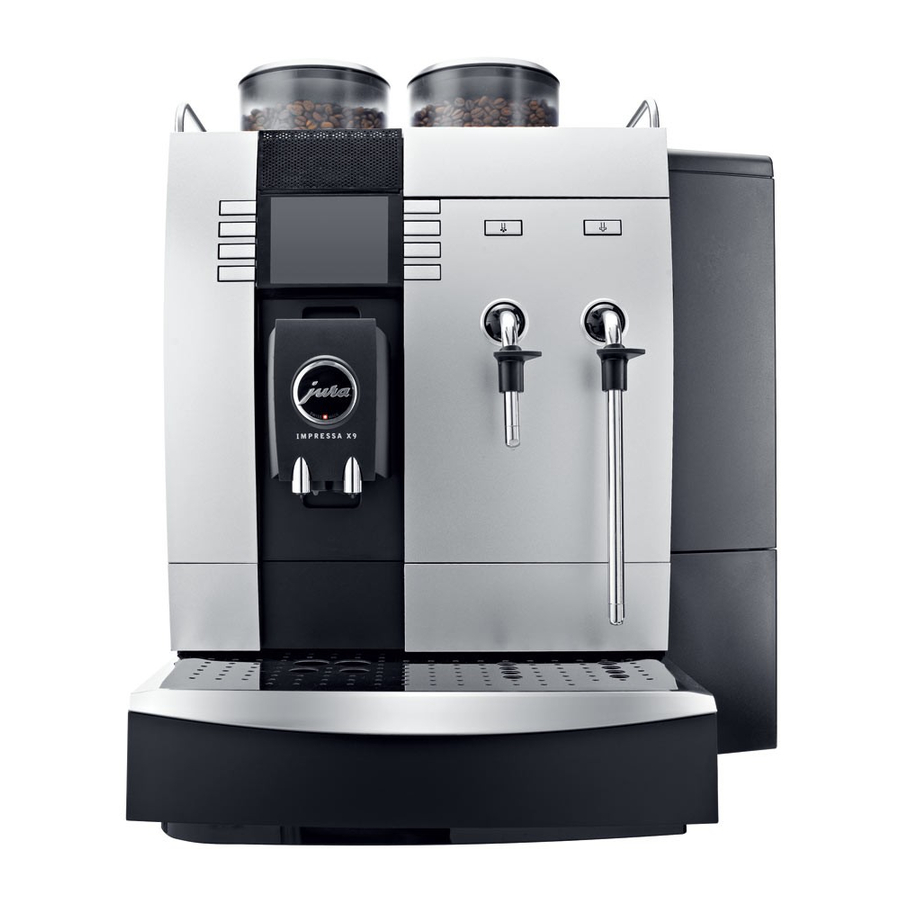
Jura Impressa X9 Operating And Cleaning Instructions
Hide thumbs
Also See for Impressa X9:
- Instructions for use manual (22 pages) ,
- Manual (4 pages) ,
- Cleaning and maintenance instructions (2 pages)
Advertisement
Jura Impressa X9
Operating and cleaning Instructions
9 Hall Street
93/ 1-5 Harwood Street
Hawthorn East Vic 3123
Pyrmont NSW 2009
ph: 03 9946 4160
ph: 02 9034 6580
fax: 03 9822 6269
fax: 02 9034 6586
My Coffee Shop Pty Ltd
ACN 102 850 037
clientservices@mycoffeeshop.com.au
1300 365 487
www.mycoffeeshop.com.au
Advertisement

Summary of Contents for Jura Impressa X9
- Page 1 Jura Impressa X9 Operating and cleaning Instructions 9 Hall Street 93/ 1-5 Harwood Street Hawthorn East Vic 3123 Pyrmont NSW 2009 ph: 03 9946 4160 ph: 02 9034 6580 fax: 03 9822 6269 fax: 02 9034 6586 My Coffee Shop Pty Ltd ACN 102 850 037 clientservices@mycoffeeshop.com.au...
- Page 2 Purpose: Removes coffee oil from the brewing unit and coffee path to maintain the quality of the coffee. Use Jura cleaning tablets – 6 pk (Prod no. 71111), 25 pk (Prod no. 71112), 100 pk (Prod no. 71113) See procedures – Changing the filter or Descaling the machine Perform a filter change or descale only when prompted.
- Page 3 End of day cleaning This procedure must be performed at the end of each day just before the machine is switched off. It is important the milk system is not used after the machine has been cleaned. If you are using a milk cooler turn it off using the switch on the back of the cooler or the switch on the wall.
- Page 4 4. Separate the auto frother into 12 parts. (Fig 5) 5. Soak the parts in 300ml of warm water (not hot) and 15ml of Jura cappuccino cleaner for 20 min (max). 6. Remove the parts from the solution and rinse them under tap water.
-
Page 5: Table Of Contents
Cleaning procedures for the Jura X9 Operating elements Programming keys Impressa X9 ON / OFF Drip tray Filter Drip grate Decalcify Grounds bin Counter Height-adjustable dual spout Access Frothing key programming mode Macchiato key Milk Coffee key (Page through 2 x key... -
Page 6: Cleaning Procedures For The Jura X9
Fill a container with approx. 400mls of fresh water and dip the milk hoses into it Step 5 Fill a container with approx. 400mls of water. Add one and a half capfuls of JURA cappuccino cleaning agent. Dip the two milk hoses into this solution. Step 2... -
Page 7: Cleaning The Dual Spout
This program lasts approx. 20 minutes Remove the tray and the grounds bin and EMPTY the coffee grounds Step 8 Drop a JURA cleaning tablet into the filler COFFEE BIN You know the dual spout needs cleaning when funnel MISSING... - Page 8 Cleaning procedures for the Jura X9 Step 10 Fill a container with approx. 400mls of fresh water COFFEE BIN and dip the milk hoses into it MISSING Step 13 Put the tray and grounds bin back in COFFEE READY Step 11...
-
Page 9: Cleaning The Coffee System
COFFEE BIN MISSING Step 8 You know your machine needs cleaning when the signals below appear Drop a JURA cleaning tablet into the filler Step 4 funnel. COFFEE READY Place the grounds bin and the tray back into the CLEAN machine. - Page 10 Cleaning procedures for the Jura X9 CLEANING THE COFFEE SYSTEM CLEANING THE COFFEE SYSTEM CLEANING THE COFFEE SYSTEM CLEANING THE COFFEE SYSTEM – – – – continued continued continued continued Step 9 Remove the tray and the grounds bin and EMPTY the coffee grounds.
-
Page 11: Decalcifying
TANK from sensitive surfaces, in particular surfaces made of natural stone or wood Step 4 Completely dissolve 3 JURA tablets in 700mls of water and pour the solution into the empty water tank. Step 5 Place a large container under the... - Page 12 Cleaning procedures for the Jura X9 DECALCIFYING DECALCIFYING DECALCIFYING DECALCIFYING - - - - continued continued continued continued Step 8 Step 11 Place the tray back into the machine. Press this key WATER TANK RINSE/FILL Step 9 Thoroughly rinse out the water tank and fill it with fresh tap water.
- Page 13 18. Messages Display Cause Remedy WATER TANK FILL The tank is empty. Fill up with water. The water level gauge in the tank is jammed. Empty tank, rinse, fill water and put it back. The tank is calcified; the water level gauge is Take out tank, decalcify, rinse well, fill with clogged.
-
Page 14: Troubleshooting
6. Separate the auto frother into 10 parts. (Fig 6) 7. Separate Soak the parts in 300ml of warm water (not hot) and 15ml of Jura cappuccino cleaner for 20 min. 8. Remove the parts from the solution and rinse them under tap water.


Need help?
Do you have a question about the Impressa X9 and is the answer not in the manual?
Questions and answers