Jura IMPRESSA X9 Instructions For Use Manual
Jura coffeemaker instructions for use
Hide thumbs
Also See for IMPRESSA X9:
- Instructions for use manual (22 pages) ,
- Operating and cleaning instructions (14 pages) ,
- Manual (4 pages)
Table of Contents
Advertisement
Advertisement
Table of Contents

Related Manuals for Jura IMPRESSA X9


Summary of Contents for Jura IMPRESSA X9
- Page 1 IMPRESSA X9 Instructions for use...
-
Page 2: Graphics Display
Legend: DISPLAY DISPLAY: serves as information. Continuous text. = Note = Important = Tip GRAPHICS DISPLAY: please follow the instructions shown. JURA Elektroapparate AG, CH-4626 Niederbuchsiten, Internet http://www.jura.com... -
Page 3: Making Coffee
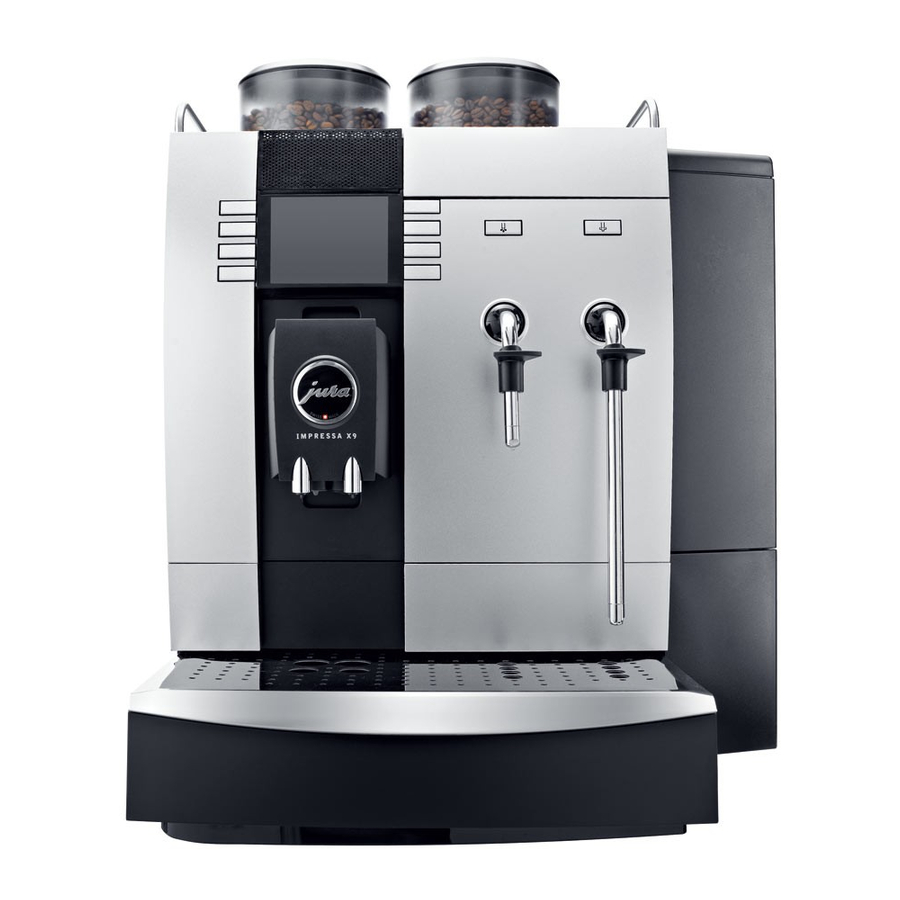
Fig. 1 Fig. 2 Fig. 5 Fig. 6 Fig. 9 Fig. 10 Fig. 13 Fig. 14 Fig. 16 Fig. 17 Fig. 3 Fig. 4 Fig. 7 Fig. 8 Fig. 11 Fig. 12 Fig. 15 Fig. 18... - Page 5 Operating elements Impressa X9 A Drip tray B Drip grate C Grounds bin D Height-adjustable dual spout E Frothing key F Macchiato key G Milk Coffee key H 2x key Ristretto key Espresso key K Coffee key L Cappuccino key M Display dialog system (incl.
-
Page 6: Table Of Contents
Contents JURA Impressa X9 1. Description of the machine ...page 7 Standard functions...page 7 DISPLAY to be made by a JURA service technician ...page 7 2. Safety information...page 7 Warnings ...page 7 Safety precautions ...page 7 3. Preparing the machine ...page 7 Checking the mains voltage ...page 7... -
Page 7: Description Of The Machine
1. Description of the machine Spoil your customers, guests, staff and yourself with superb coffee delights. Operating the IMPRESSA X9 is easy even for inexperi- enced users. The display dialog system features plain text and com- prehensible symbols that take you through each program step by step. -
Page 8: Adding Coffee Beans
4. First use Make sure to have filled the water tank and the bean tank. Switch the IMPRESSA X9 on with the power switch on the rear of the machine (Fig. 15/D). Open the programming door on the front (Fig. 4) and switch the IMPRESSA X9 on with the ON / OFF key (Fig. -
Page 9: Using The Claris Plus Filter Cartridge
(Fig. 8/A) have been dipped into the milk. The following exam- ple shows how to make 1 macchiato. MACCHIATO The IMPRESSA X9 starts by making the frothed milk. The lower of the two bargraphs indicates the duration of the milk frothing process. -
Page 10: Making Hot Water
Select a coffee product. For example, ristretto (Fig. 1/C) 2 RISTRETTI The machine will now make two ristrettos in one brewing step. 11. Making hot water COFFEE READY Place a cup under the pivoting hot water spout (T) and press the Hot Water key (T/ HOT WATER The machine stops dispensing the programmed portion of hot... -
Page 11: Setting The Time
Press P to confirm your setting (Fig. 5/E). CAPPUCCINO GRINDER 50% 50% Press P (Fig. 5/E) again to activate the programming step. Press the «+» or «–» key to define the left and the right grinder. Press P to confirm your setting (Fig. 5/E). CAPPUCCINO TEMP. -
Page 12: Programming The Language
Press EXIT (Fig. 5/K) again to leave programming mode. 14.8 Information With the IMPRESSA X9 you can check each coffee you made. You can also check the number of cleaning cycles, decalcifying cycles and Claris filter replacements you per- formed. -
Page 13: Counter
16.7 Removing stones Open the programming door on the front (Fig. 4) and switch the IMPRESSA X9 off with the ON / OFF key (Fig. 5/A). Switch the machine off with the power switch on the rear of the machine (Fig. 15/D) and disconnect it from the mains supply. -
Page 14: General Cleaning Instructions
When assembling the dual spout, note the colour of the indi- vidual parts (Fig. 14). Attach the spouts to the IMPRESSA X9 (Fig. 13). Put back the cover, making sure it locks into place (Fig. 13). Use corresponding brushes for carrying out the cleaning steps described in sections above. -
Page 15: Cleaning The Dual Spout
Place the grounds bin and the tray back into the machine. COFFEE READY 16.12 Cleaning the dual spout Once started, the cleaning process must not be interrupted. It takes approx. 20 minutes. COFFEE READY CLEAN After having dispensed 220 products or after 80 rinsing cycles, the machine must be cleaned. -
Page 16: Cleaning The Grinder And The Bean Tank
EMPTY COFFEE Remove the tray and the grounds bin and EMPTY the coffee grounds. COFFEE BIN MISSING Place the grounds bin and the tray back into the machine. Completely dissolve 3 original JURA descaling tablets in 0.7 litres of water and pour the solution into the empty water tank. SOLVENT IN T PRESS Place 3 sufficiently large receptacles under the height-... -
Page 17: Messages
18. Messages Display Cause WATER TANK FILL The tank is empty. The water level gauge in the tank is jammed. The tank is calcified; the water level gauge is clogged. SELECT PRODU FILL BEANS The bean tank is empty. Message still lights up despite beans having been refilled. -
Page 18: Disposal
19. Disposal Please dispose of old machines in an environmentally compatible way Old machines contain valuable materials capable of being recycled which should be salvaged for recycling. Please therefore dispose of old machines via suitable collection systems. 20. Legal information These operating instructions contain all the information necessary for the correct use, operation and maintenance of your machine.
Need help?
Do you have a question about the IMPRESSA X9 and is the answer not in the manual?
Questions and answers