Table of Contents

Related Manuals for Baxi Geoflo


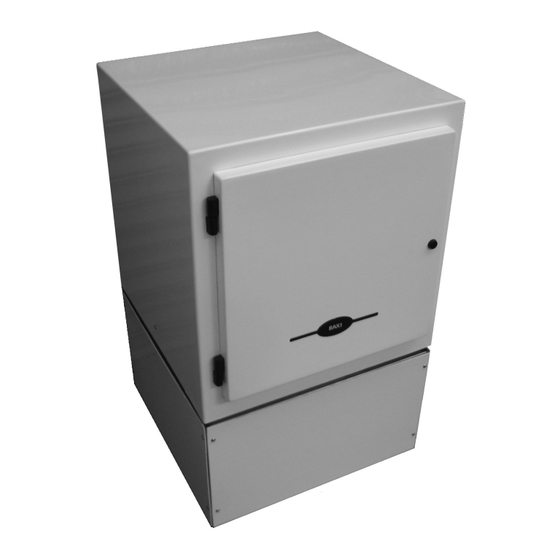
Summary of Contents for Baxi Geoflo
- Page 1 Operation Installation & Maintenance Instructions Baxi Geoflo Single Compressor Compact Heat Pump Please keep these instructions in a safe place. If you move house, please hand them over to the next occupier © Baxi Heating UK Ltd 2006...
-
Page 2: Table Of Contents
Installation instructions Installation instructions © Baxi Heating UK Ltd 2006 All rights reserved. No part of this publication may be reproduced or transmitted in any form or by any means, or stored in any retrieval system of any nature (including in any database), in each case whether... -
Page 3: Compact Heat Pump Safety Information
Do not exert any strain on electrical or pipe connections to the appliance. Do not put any foreign object into the appliance. Do not spill water or any other substance onto the appliance. © Baxi Heating UK Ltd 2006... -
Page 4: Warranty Statement
What you need to do if you experience a problem with your Geoflo system. You should always contact your installer first because the fault may not be related to the Geoflo system. If your installer confirms that the fault is within the Geoflo system itself and he/she decides they can't repair it our friendly customer service team is on hand to help. -
Page 5: Technical Data
Technical Data © Baxi Heating UK Ltd 2006... -
Page 6: Setting The Compact Heat Pump To Work
Maintenance Instructions No routine maintenance is required to Compact Heat Pumps, and there are no user-serviceable components inside. If further help is required then telephone our helpline on 08700 603 261 © Baxi Heating UK Ltd 2006... -
Page 7: Operating Instructions & Troubleshooting
Operating Instructions & Trouble shooting P P r r g g S S e e l l © Baxi Heating UK Ltd 2006... -
Page 8: Elevation Of Typical Installation
Elevation of typical installation © Baxi Heating UK Ltd 2006... -
Page 9: Installation Clearances
Recommended Installation Clearances © Baxi Heating UK Ltd 2006... -
Page 10: Hood Removal Clearances
Hood Removal Clearances All dimensions in millimetrs © Baxi Heating UK Ltd 2006... -
Page 11: Typical Underfloor Schematics
© Baxi Heating UK Ltd 2006... -
Page 12: Ground Plumbing Illustration
© Baxi Heating UK Ltd 2006... -
Page 13: Slinky® Manifold Connections
Slinky® Manifold Connections © Baxi Heating UK Ltd 2006... -
Page 14: Plumbing Connections
Pumbing Connections © Baxi Heating UK Ltd 2006... -
Page 15: Output Pump Bleed Port
Output Pump Bleed Port © Baxi Heating UK Ltd 2006... -
Page 16: Purge Pumps
As the Clarke CPE130SS will achieve up to 5 bar pressure against a closed valve it is essential that the connections to the pump and manifold are robust. © Baxi Heating UK Ltd 2006... -
Page 17: Purging The Ground Arrays
Purging the Ground Arrays © Baxi Heating UK Ltd 2006... -
Page 18: Typical Underfloor Wiring Connections
Underfloor Heating Wiring Connections Single Manifold (smaller building) Multiple Manifold (larger building) © Baxi Heating UK Ltd 2006... -
Page 19: Control Box Layout
Control Box Layout © Baxi Heating UK Ltd 2006... -
Page 20: Wiring Connections
Wiring Connections © Baxi Heating UK Ltd 2006... -
Page 21: Installation Instructions
20 seconds. If the flow is less than this sufficient velocity for the air in the tops of the slinkies ® to be displaced is not being achieved. Purge each slinky ® for at least 10 minutes. © Baxi Heating UK Ltd 2006... -
Page 22: Installation Instructions
28. Please call Baxi so that the Commissioning Sheet can be completed. 29. Replace the three closure panels by screwing in the 5 mm hex key screws on the front of the Compact. Carefully lift the hood back onto the Compact, which may require two people. - Page 23 Notes Notes © Baxi Heating UK Ltd 2006...
- Page 24 Baxi Heating UK Ltd Brooks House, Coventry Road, Warwick. CV34 4LL After Sales Service and Technical Enquiries 08700 603 261 Website www.baxi.co.uk e&oe ompany © Baxi Heating UK Ltd 2006 Comp N TP0201 - Iss 2 - 7/06...
Need help?
Do you have a question about the Geoflo and is the answer not in the manual?
Questions and answers