Advertisement
啊哈
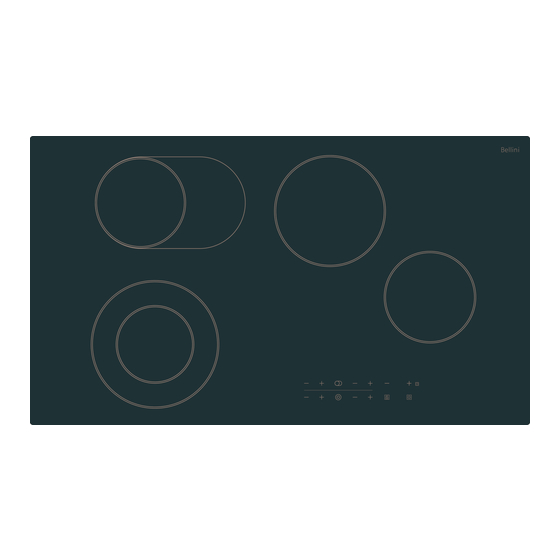
90cm Built In Ceramic
Cooktop
Installation and User manual
Content
Safety instructions---------------------------------- 2
Product description--------------------------------- 4
Installation---------------------------------------------5
Start using your appliance--------------------------8
Maintenance and troubleshooting----------------14
Warranty------------------------------------------------ 15
For warranty service call 1300 373 199(Australia)
or 0508 123108(New Zealand) to connect you to
the nearest authorised service centre
20140414 issue 2
BDC906OTG
BDC906OTG-F
Advertisement

Related Manuals for Bellini BDC906OTG


Summary of Contents for Bellini BDC906OTG
-
Page 1: Table Of Contents
Installation and User manual Content Safety instructions---------------------------------- 2 Product description--------------------------------- 4 Installation---------------------------------------------5 Start using your appliance--------------------------8 Maintenance and troubleshooting----------------14 Warranty------------------------------------------------ 15 For warranty service call 1300 373 199(Australia) or 0508 123108(New Zealand) to connect you to the nearest authorised service centre BDC906OTG BDC906OTG-F... -
Page 2: Safety Instructions
Safety instructions This manual explains the proper installation and use of your appliance, please read it carefully before using even if you are familiar with the product. The manual should be kept in a safe place for future reference. In case of failure, only the Authorized Technical Service may repair this hob. - Page 3 Young children should be supervised to ensure that Safety when cleaning they do not play with the appliance. For cleaning, the appliance must be switched To avoid small children and pets unintentionally off and cooled down. switching the appliance on, we recommend For safety reasons, the cleaning of the activation of the child safety device.
-
Page 4: Product Description
Product description Zone 1. max. 1000/2200 W, 230/140mm Zone 2. max. 1100/2000 W, 165/165x270mm Zone 3. max. 1800 W, 200mm Zone 4. max. 1200 W, 165mm 1a. Power level adjustor of Zone 2 1b. Power level adjustor of Zone 3 1c. -
Page 5: Installation
Installation Selection of installation equipment Cut out the work surface according to the sizes shown in the drawing. For the purpose of installation and use, a minimum of 50mm space shall be preserved around the hole. Be sure the thickness of the work surface is at least 30mm. - Page 6 Before locating the fixing brackets The unit should be placed on a stable, smooth surface (use the packaging). Do not apply force onto the controls protruding from the hob. Fix the hob on the work surface by screw four brackets on the bottom of hob (see picture) after installation. screw bracket Screw hole...
- Page 7 Connecting the hob to the mains power supply The power supply should be connected in compliance with the relevant standard, or a single-pole circuit breaker. The method of connection is shown below. If the cable is damaged or needs replacing, this should be done by an after-sales technician using the proper tools, so as to avoid any accidents.
-
Page 8: Start Using Your Appliance
Start using your appliance Description Explanation These show the above touch control sensor is controlling which zone of the appliance. Zone indicators Control to Increase/decrease power or Power setting of the zones, from 0 to 9, for example, this display increase/decrease of timer shows lower-right-hand zone power selected at level 5 You can use it as a simple minute minder or timer to control one... - Page 9 Start cooking 1. Touch the ON/OFF control. After power on, the buzzer beeps once, all the indicators light up for 1 second then go out, indicating that the ceramic hob has entered the state of standby mode. 2. Place a suitable pan on the cooking zone that you wish to use. Make sure the bottom of the pan and the surface of the cooking zone are clean and dry.
- Page 10 Using the Dual zone function • The function only work in 1# and 2# cooking zones • The dual cooking zone has two cooking areas that you can use a central section(A) and an outer section(B). Pressing the double ring key will then shift among A – B - zone off. Active the Dual Zone 1.
- Page 11 Work with timer: If you are not selecting any cooking zone 1. Make sure the cooktop is turned on. Note: you can use the minute minder even if you’re not selecting any cooking zone. Touch the “-“ or “+” controls of the timer the minute minder indicator will flash. 3.
- Page 12 Cooking tips: Heat setting Suitability • delicate warming for small amounts of food 1 - 2 • melting chocolate, butter, and foods that burn quickly • gentle simmering • slow warming • reheating 3 - 4 • rapid simmering • cooking rice •...
- Page 13 To choose proper pan You appliance can tell whether the pan you are using is suitable or not. If the power indicator is flashing, that means pan is not suitable and won’t heat up. Following up below points will help you choose proper pan. 1.
-
Page 14: Maintenance And Troubleshooting
Maintenance & Troubleshooting Caution: Before maintenance or cleaning is carried out, the range hood should be disconnected from the main power supply. Ensure that the range hood is switched off at the wall socket and the plug removed. Spills and splashes will not harden and stick to the glass, as it hardly heats up. ... -
Page 15: Warranty
Consumer until the expiry of two (2) year (Warranty Period). If within the Warranty Period a manufacturing defect is discovered in the Bellini product or it fails to perform to the Company’s specifications as a result of some defect in materials, components or workmanship (Defect) then the Company will, at its option, repair the Bellini product or supply a replacement Bellini product free of charge. - Page 16 1.10 If you are required to transport the Bellini product to the Company or its service agent, you must ensure it is safely disconnected by a qualified tradesman and securely packed and insured. The Company does not accept any responsibility for loss or damage of the Bellini product prior to it being received by the Company or its service agent.
Need help?
Do you have a question about the BDC906OTG and is the answer not in the manual?
Questions and answers