Advertisement
Quick Links
D e ta ils o f ins ta lla tion
H e ig h t A dju s tm e n t
A dju s t th e m a in ba r ( 2 - 1 ) to r e qu ir e d h e ig h t a fte r ta k in g a pa r t th e fr o n t
o r n a m e n t bo a r d ( 2 - 3 ) a n d lo o s e n in g th e fr o n t po s itio n in g s c r e w . A n d
th e n , r e - in s ta ll th e fr o n t po s itio n in g s c r e w a n d th e fr o n t o r n a m e n t
bo a r d ( 2 - 3 ) , fig u r e 1 0 . ( T h e h e ig h t o f
G P C N - E 2 0 0 c a n n o t be
a dju s te d; th e m a in ba r o f G P C N - E 3 0 /4 0 is s e pe r a te d by 4 s e g m e n ts ,
e a c h s e g m e n t is 2 5 m m ; th e m a in ba r o f G P C N - E 4 0 /6 0 is s e pe r a te d by
8 s e g m e n ts , e a c h s e g m e n t is 2 5 m m )
figure 1 0
A n g le A dju s tm e n t
1 . V e r tic a l a dju s tm e n t: r o ta te th e a dju s tin g bu tto n ( 3 - 3 ) fo r v e r tic a l
a n g le , f ig u r e 1 1
2 . H o r iz o n ta l a d ju s tm e n t: r o ta te th e a d ju s tin g b u tto n ( 3 - 2 ) fo r
h o r iz o n ta l a n g le , f ig u r e 1 2
3 . H o r iz o n ta l r o ta tio n a dju s tm e n t: lo o s e n th e r o ta tio n a dju s tin g s c r e w
( 3 - 4 ) , th e in s ta lla tio n ba s e c a n be r o ta te d by 3 6 0 ° ; fa s te n th e r o ta tio n
a dju s tin g s c r e w ( 3 - 4 ) a fte r d e c idin g t h e a n g le , fig u r e 1 3
figure 1 1
figure 1 2
figure 1 3
Ins ta lla tio n o f m a in b a r
1 . F irs tly , ple a s e c o nfirm ho w m a ny ins ta lla tio n ho le s the pro je c to r ha s ?
3 o r 4
2 . If the re a re 3 ho le s , the ins ta lla tio n a rm s ( 4 - 2 ) ne e d to be ta k e n a pa rt
fro m Ins ta lla tio n bra c k e t firs tly . C o nne c t 3 ins ta lla tio n a rm s ( 4 - 2 ) to the
pro je c to r, a nd t he n c o nne c t the i ns ta lla tio n a rm s ( 4 - 2 ) t o t he i ns ta lla tio n
ba s e ( 4 - 5 ) H o we v e r, the ins ta lla tio n ba s e ne e ds to be the c e nte r o f
pro je c to r. F igure 1 4 .
3 . C o nne c t the ins ta lla tio n a rm s to the pro je c to r c o nv e rs e ly if the
dis ta n c e o f in s ta lla tio n ho le s is le s s tha n 1 2 0 m m . C o nn e c t the
ins ta lla tio n a rm s ( 4 - 2 ) to the ins ta lla tio n ba s e ( 4 - 5 ) v ia s liding
ins ta lla tio n b utto n ( 4 - 4 ) a s f igure 1 5
4 . R o ta te the a djus ta ble nuts ( 4 - 3 ) fo r a djus ting the he ight o f ins tlla tio n
a rm s ( 4 - 2 ) i f the i ns ta lla tio n h o le s a re n o t a t the s a m e l e v e l a s f igure 1 6
5 . T he fro nt o r ba c k o f a djus te r m us t be pa ra lle l to the s urfa c e o f
pro je c to r a s f igure 1 6 7
figure 1 5
T h e n a g le o f
:±8°
h o r iz o n ta l tilt
The front or back of
adjuster must be
T h e a n g le o f
parallel to the surface
:±1 5°
v e r tic a l tilt
of projector
G randview C r ystal
Screen C anada L td.
#11- 3751 North Fraser Way,
Marine Way Business Centre,
Burnaby, BC, Canada V5J 5G4
Tel: 1-604-412-9777
Fax: 1-604-412-9796
R o ta tio n : 3 6 0 °
Website: www.grandviewscreen.ca
figure 1 4
Scope of
adjustment: 10mm
figure 1 6
figure 1 7
G uangzhou G randview
C r ystal S creen C o., L td.
P.O. 511400 Federal Ind. Zone No. 363,
Yushan West Road,Shiqiao, Panyu
District, Guangzhou, Guangdong, China
Tel: +8620-8489-9499
Fax: +8620-8480-3343
Website: www.grandviewscreen.com
GRANDVIEW REPRODUCING GENUINE COLORS
Instr uction Manual
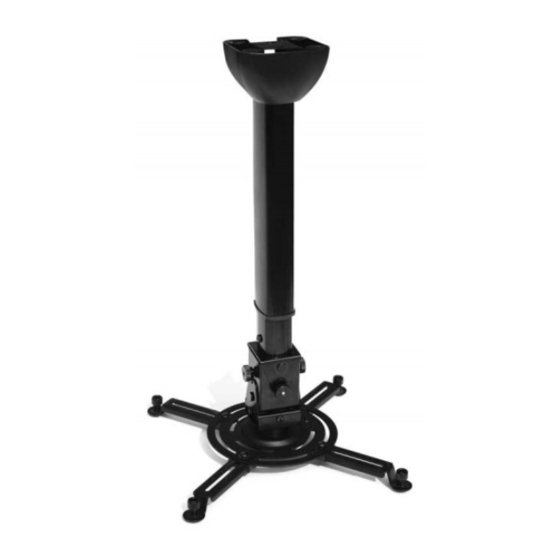
P roje c tor C e iling M ount
A pplic a ble M ode l
G P C N - E 2 0 0
G P C N - E 3 0 /4 0
G P C N - E 4 0 /6 0
P le a s e r e a d b e fo r e u s in g
Thank you for purchasing our
products. Please read the
instruction manual carefully
in order to ensure this
projector lift is suitable for
your projection equipment.
Cautious
Warnings
F or s a fe ty , the minimum we ight of c e iling mus t be 1 0 K G
Caution
P le a s e do not inc line the proje c tor the e x tre me ly.
Do not
Please do not take apart the accessories
take apart
ceiling mount.
of projector
Advertisement

Related Manuals for Grandview GPCN- E200


Summary of Contents for Grandview GPCN- E200
- Page 1 Ins ta lla tio n o f m a in b a r GRANDVIEW REPRODUCING GENUINE COLORS A dju s t th e m a in ba r ( 2 - 1 ) to r e qu ir e d h e ig h t a fte r ta k in g a pa r t th e fr o n t 1 .
- Page 2 Scope Steps of installation Parts GPCN-E is combined by GPCN and GPE Scope for installation (H is the distance between ceiling and projector) Connect the adjuster to GPCN Main Bar Overview , and then fasten The H of GPCN-E200 is 200mm the screws as figure 5.
Need help?
Do you have a question about the GPCN- E200 and is the answer not in the manual?
Questions and answers