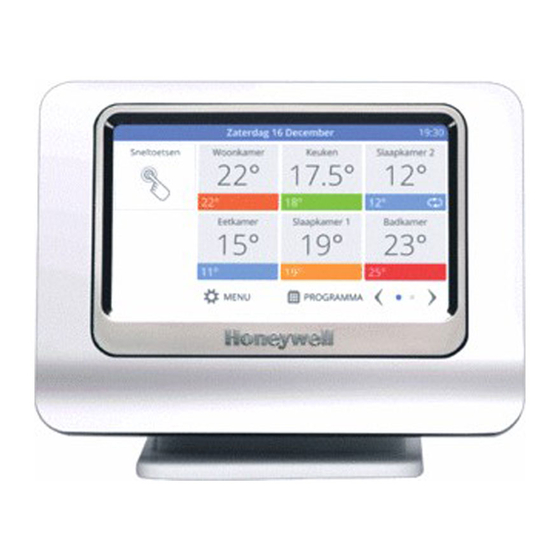
Honeywell evohome Installation Manual
Sundial pack thermostat
Hide thumbs
Also See for evohome:
- Installation manual (53 pages) ,
- Applications manual (48 pages) ,
- User manual (21 pages)
Advertisement
Table of Contents
Advertisement
Table of Contents

Summary of Contents for Honeywell evohome
- Page 1 Sundial pack Thermostat...
- Page 2 Overview Non pre-configured devices Honeywell is providing two pre-configured packs: Sundial pack and evotouch With non pre-configured devices such as Thermostat. HR80UK you can configure the system by following the instructions of the GUIDED evohome Sundial pack CONFIGURATION for all mentioned This pack is suitable for S plan and Y plan...
-
Page 3: Installation Overview
Act are to ensure that the installation and operation of such products at a place of work should be safe and without risk to them. These wiring diagrams are for guidance only and at the time of printing represent the latest information available to us from other manufacturers. Honeywell reserve the right at any time and without notice to change... - Page 4 Act are to ensure that the installation and operation of such products at a place of work should be safe and without risk to them. These wiring diagrams are for guidance only and at the time of printing represent the latest information available to us from other manufacturers. Honeywell reserve the right at any time and without notice to change...
- Page 5 Act are to ensure that the installation and operation of such products at a place of work should be safe and without risk to them. These wiring diagrams are for guidance only and at the time of printing represent the latest information available to us from other manufacturers. Honeywell reserve the right at any time and without notice to change...
- Page 6 Upgrade application 3: Combi 2. Configure S plan or Y plan boiler with domestic hot water system The application Combi boiler can be • Press the evotouch MENU button for upgraded to control domestic hot water as approx. 10 seconds. an S plan or Y plan system by installing the • Go to menu EDIT SYSTEM CONFIG.
-
Page 7: Safety Notes
Safety notes Mounting CS92A Mounting CS92A sensor Caution The sensor should be mounted on the Isolate power supply and make safe before cylinder in a position between 1/4 and 1/3 of wiring the units to prevent electric shock and the way from the bottom. equipment damage. - Page 8 Mounting CS92A transceiver • Provide appropriate strain relief by attaching the sensor cable to the wall The CS92A transceiver is supplied in using cable clips, or alternatively run the the package with the mounting plate cable in mini trunking. separated from the rest of the unit for ease of installation.
- Page 9 Mounting BDR91 Mounting BDR91 = M3.5 = N 6 • Install the BDR91 relay module mounting plate in the chosen location. • Open the BDR91 relay module by Wiring the BDR91 relay module inserting a screwdriver in the opening at • Connect the wires of the power supply the bottom.
- Page 10 Configuring CS92A How to bind CS92A to evotouch CS92A signal strength test • Hold the CS92A transceiver Once CS92A is bound to evotouch, the (without mounting plate and sensor) signal strength test allows the transceiver to approximately 1 metre from evotouch. be positioned in the best possible location for signal reception.
- Page 11 Signal strength test – step 1 • Hold the CS92A transceiver (without mounting plate and sensor) approximately 1 metre from evotouch and check the signal strength is high (>2). If so, move to step 2. • If the red light repeatedly flashes 0.1s on / 0.9s off without pausing, this means CS92A is not bound to evotouch.
- Page 12 Configuring BDR91 Binding BDR91 hot water/heating Note: Binding is terminated automatically relay after 5 minutes. After the power up of the BDR91 relay module the red LED will start to flash at 0.1s on / 0.9s off. If this is not the case, set the BDR91 into the reset mode (see instructions BDR91).
-
Page 13: Troubleshooting
Troubleshooting This section gives suggested answers to typical problems that installers may encounter: Problem Solution Domestic hot water not available In case of a communication failure the relay module for domestic hot water will be switched off. Check RF communication. Check the hot water sensor: Press CS92A button and the red light blinks 0.5s on / 0.5s off. -
Page 14: Safety Information
ACS-ECC EMEA, Z.A. La Pièce 16, 1180 protected by various intellectual property Rolle, Switzerland by its Authorised rights belonging to Honeywell Inc and its Representative Honeywell Inc. subsidiaries and existing under the laws of the UK and other countries. These Honeywell Control Systems Ltd. - Page 16 50055936-001 © 2010 Honeywell International Inc.


Need help?
Do you have a question about the evohome and is the answer not in the manual?
Questions and answers