Advertisement
Quick Links
Advertisement

Subscribe to Our Youtube Channel
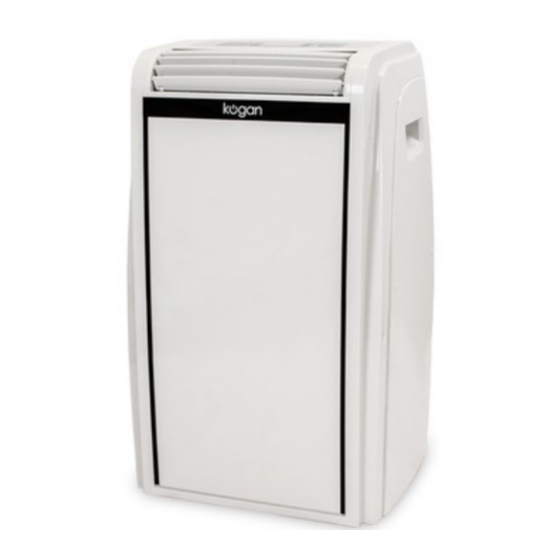
Summary of Contents for Kogan Kaporair14A
-
Page 2: Table Of Contents
Important Safeguards........................2 Product Layout...........................3 Preparing for Use..........................4 Air-conditioning without installation..................4 Air-conditioning with installation...................5 Control Panel............................6 Operating from the Control Panel....................6 COOL Mode.............................7 DRY Mode............................7 FAN Mode............................7 HEAT Mode............................8 SMART mode..........................8 POWERFUL mode........................8 Remote Control..........................9 Operating from the Remote Control..................10 POWERFUL mode ........................10 SLEEP mode ..........................10 SWING function .........................10 PROGRAMMING start up ......................11... - Page 3 The materials used for packaging can all be used for recycling. • If the power cable is damaged, it must be replaced by a Kogan technician. • At the end of its service life, do not dispose of the air conditioner with the •...
- Page 5 These instructions will enable you to prepare your air conditioner for operation as efficiently as possible. Before use, make sure the air intake and outlet grilles are unobstructed. Just a few simple steps and your comfort is ensured: Fit the air exhaust hose into the housing at the back •...
- Page 6 If required, your air-conditioner can be installed semi- permanently (Fig. 5). Proceed as follows: Drill in an outside wall or in the window pane a 134mm dia hole, following the heights shown in Fig 6. In the window pane Fit the flange accessory provided in the hole following the instructions given in Figs 7, 8 and 9.
-
Page 7: Control Panel
COOL symbol DRY symbol FAN symbol HEAT symbol SMART symbol POWERFUL symbol Temperature indicator Timer symbol Alarm symbol 10. AUTO FAN indicator FAN SPEED indicator Sleep symbol 13. MODE button (selects modes) 14. POWERFUL button 15. FAN button 16. ON/OFF button Increase and decrease temperature button The control panel enables you to manage all of the main functions of the appliance, but to make full use of all of the product potential, you must use the... - Page 8 Ideal for hot muggy weather when you need air conditioning and dehumidifying in a room. To set this mode correctly: Press the MODE button a number of times until the COOL • symbol appears. Select the target temperature by pressing the button until the •...
-
Page 9: Cool Mode
Press the MODE button a number of a times until the DRY • symbol appears. Select the target temperature (13-27°C) by pressing the ▲ • button until the corresponding value is displayed. ▼ In heating mode, the fan speed is selected automatically by the unit. •... -
Page 10: Remote Control
Mode indicator 2. Selected temperature scale indicator 3. Signal transmission 4. Auto fan speed indicator 5. Fan symbol 6. Sleep indicator 7. Powerful indicator 8. Swing indicator 9. Programming start up/shut down 10. Increase and decrease temperature/time button 11. ON/OFF button 12. -
Page 11: Swing Function
The first part of the controls on the remote control are the same as those on the control panel of the appliance. You should therefore refer to the instructions in the chapter to turn the appliance on and select the operating modes and fan speeds. The following section describes the additional functions corresponding to the controls on the bottom section of the... - Page 12 The air-conditioner is fitted with a frost protection device to avoid excessive formation of ice. The appliance will start up again automatically when the defrosting Low Temperature process is complete. (Frost prevention) Contact the Kogan customer support team. Probe Failure (Sensor damaged)
- Page 13 Empty the internal safety tank, following the instructions in the “End of Season Operations” section. Full Tank (Safety Tank Full) To get the best from your air-conditioner, follow these recommendations. Close the windows and doors in the room to be air-conditioned. When •...
-
Page 14: Self-Diagnosis
• • Safety switch has triggered. Wait 30 minutes, if the • • problem persists, contact Kogan customer support. Air-conditioner works for a short time There are bends in the Position the air exhaust hose • • only. exhaust hose. - Page 15 Mains Voltage See ratings label on product. Max. Power Usage See ratings label on product. Refrigerant See ratings label on product. Cooling Capacity See ratings label on product. Volume of Water Tank 3 litre Protection Degree IPX0 Dimensions 463 x 775 x 382mm...


Need help?
Do you have a question about the Kaporair14A and is the answer not in the manual?
Questions and answers