Table of Contents
Advertisement
Quick Links
Advertisement
Chapters
Table of Contents

Subscribe to Our Youtube Channel
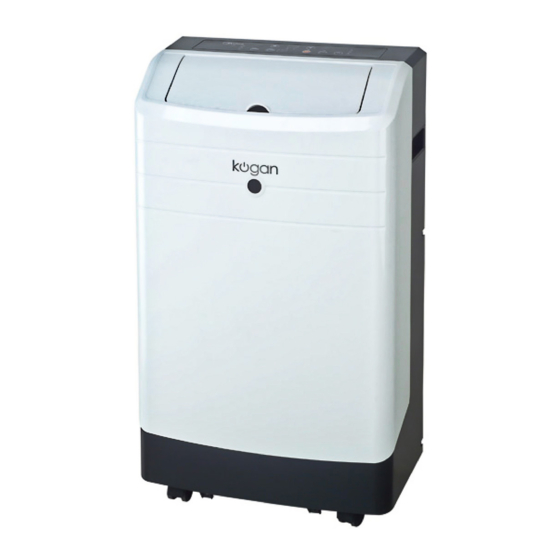
Summary of Contents for Kogan KAACH12PORA
- Page 1 USER MANUAL...
-
Page 2: Table Of Contents
CONTENTS SOCIABLE REMARK When using this air conditioner in the European countries, the following informa- SOCIABLE REMARK tion must be followed: Sociable remark..........................2 SAFETY PRECAUTIONS DISPOSAL: Do not dispose this product as unsorted municipal waste. Collection of Safety rules ............................3 such waste separately for special treatment is necessary. -
Page 3: Safety Precautions Safety Rules
SAFETY PRECAUTIONS IDENTIFICATION OF PARTS Safety rules WARNING For your safety To prevent injury to the user or other people and property damage, the following instructions must be Do not store or use gasoline or other flammable vapors and liquids in the vicinity of this or any other followed. -
Page 4: Names Of Parts
IDENTIFICATION OF PARTS AIR CONDITIONER FEATURES ELECTRONIC CONTROL OPERATING INSTRUCTIONS NAMES OF PARTS Before you begin, thoroughly familiarize yourself with the control panel and remote controller Front and all its functions, then follow the symbol for the functions you desire. The unit can be controlled by the unit control panel alone or with the remote controller . -
Page 5: Operating Instructions Operating Instructions
OPERATING INSTRUCTIONS OPERATING INSTRUCTIONS ION button(optional) The air conditioner will control room Other features temperature automatically round the Press the ION button, the ion generator temperature point set by you. Power Outage is ener gized and will help to remove Under AUTO mode, you can not pollen and impur ities from the air, and In the case of a power outage or interruption,... -
Page 6: Installation Instructions
INSTALLATION INSTRUCTIONS (optional) INSTALLATION INSTRUCTIONS (optional ) INSTALLATION INSTRUCTIONS Installation in a double-hung sash Foam seal A Location (adhesive type) window The air conditioner should be placed on a firm foundation to minimize noise and virbration. For 1. Cut the foam seal(adhesive type) to the proper safe and secure positioning, place the unit on a length and attach it to the window stool. -
Page 7: Window Kit Installation
INSTALLATION INSTRUCTIONS (optional) INSTALLATION INSTRUCTIONS Exhaust hose installation: Installation in a sliding sash The exhaust hose and adaptor must be installed or removed Foam seal A window in accordance with the usage mode. (adhesive type) Exhaust hose COOL,HEAT(heat pump type) or AUTO Install 1. -
Page 8: Water Drainage
INSTALLATION INSTRUCTIONS CARE AND MAINTENANCE Air filter CARE AND MAINTENANCE (slide out) Water drainage: IMPORTANT: Remove the During dehumidifying modes, remove the drain 1) Be sure to unplug the unit before cleaning or servicing. drain plug plug from the back of the unit, install the drain 2) Do not use gasoline, thinner or other chemicals to clean connector(5/8 universal female mender) with the unit. -
Page 9: Troubleshooting Tips
TROUBLESHOOTING TIPS TROUBLE SHOOTING TROUBLES POSSIBLE CAUSES SUGGEST REMEDIES 1. Unit does not - P1 appears in the display window Drain the water in the bottom tray. Start when Pressing on/off - Room temperature is lower than Reset the temperature. Button the set temperature.(Cooling mode) - The windows or doors in the room... - Page 10 AIR CONDITIONER REMOTE CONTROL...
- Page 11 Handling the remote controller CONTENTS Location of the remote controller. Use the remote controller within a distance of 8 Handling the remote controller ............meters from the appliance, pointing it towards the receiver. Reception is confirmed by a beep. Remote controller Specifications........... Function buttons ....
-
Page 12: Remote Controller Specifications
CAUTIONS Function buttons TEMP UP Button Do not mix old and new batteries or batteries of a different type. Push this button to increase the indoor temper- Do not leave the batteries in the remote controller if it is not going to be used for 2 or 3 months. -
Page 13: Indicators On Lcd
Indicators on LCD Function buttons(continued) MODE display NOTE: While the unit is running under Energy-saving Displays the current selected mode. Including AUTO, mode, it would be cancelled if any other buttons are COOL, DRY, HEAT (cooling & heating models only) pressed. -
Page 14: How To Use The Buttons
How to use the buttons Dehumidifying operation SET TEMPERATURE( C) Auto operation Ensure the unit is plugged in and power is SET TEMPERATURE( C) AUTO available. The OPERATION indicator on the COOL HIGH AUTO Ensure the unit is plugged in and power is COOL HIGH display panel of the indoor unit illuminates. -
Page 15: Timer Operation
Timer operation IMPORTANT The effective operation time set by the remote controller for the timer press the TIMER ON button can set the auto-on function is limited to the following settings: 0.5, 1.0, 1.5, 2.0, 2.5, 3.0, time of the unit. And press the TIMER OFF button 3.5, 4.0, 4.5, 5.0, 5.5, 6.0, 6.5, 7.0, 7.5, 8.0, 8.5, 9.0, 9.5, 10, 11, 12, 13, can set the auto-off time of the unit. -
Page 16: Economy Operation
TIMER ON ¡ TIMER OFF TIMER OFF (Off ¡ Start ¡ Stop operation) (Auto-off Operation) This feature is useful when you want to start The TIMER OFF feature is useful when you want TIMER ON OFF TIMER OFF the air conditioner before you wake up and the unit to turn off automatically after you go to bed.


Need help?
Do you have a question about the KAACH12PORA and is the answer not in the manual?
Questions and answers