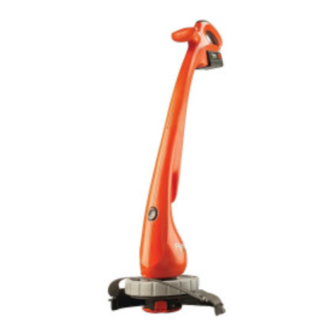
Flymo Contour Operating Instructions Manual
Hide thumbs
Also See for Contour:
- Manual (80 pages) ,
- Original instructions manual (10 pages) ,
- Manual (8 pages)
Table of Contents
Advertisement
Quick Links
Download this manual
See also:
Manual
Advertisement
Table of Contents

Subscribe to Our Youtube Channel
Summary of Contents for Flymo Contour
- Page 1 For all customer enquiries or for replacement parts, contact:- ☎ ☎ 0870 609 1901 www.flymo.com customer.services@husqvarna.co.uk...
-
Page 2: Carton Contents
Instruction Manual Guard Wheel IMPORTANT ! Please check the contents of the carton are correct BEFORE assembling your new Flymo product. IF ANY PARTS ARE MISSING CONTACT:- Husqvarna Outdoor Products Customer Service Department direct Telephone : 0870 609 1901 Safety... -
Page 3: Cables
12. Do not lean over the trimmer guard - objects may winding cable for storage. Do not repair a damaged be thrown by the cutting line. cable, replace it with a new one. Use only Flymo 13. Remove the plug from the mains : replacement cable. -
Page 4: Assembly Instructions
Assembly Instructions Shaft Assembly (A) 1. Locate the lower shaft (A1) into the upper shaft (A2). 2. Grasp firmly and hold steady the lower shaft. Locate the upper shaft and snap together firmly. • The unit is correctly assembled when the gap between the upper and lower shaft has been closed. - Page 5 How to trim and edge • WARNING • The use of eye protection is recommended. Do not lean over the trimmer whilst trimming or edging, objects may be thrown by the cutting line. Do not allow cutting head to rest on the ground. Do not overload your trimmer.
-
Page 6: Cutting Head
Caring for your Contour After you have finished using your Flymo Contour follow the procedure below: 1. Disconnect from the mains electricity supply. 2. Never clean your trimmer with water, cleaning fluids, or solvents, just remove debris with a suitable tool, a soft brush or dry cloth. -
Page 7: Fault Finding Chart
Maintenance 4. Remove the wheel by pressing one of the buttons. Clean the wheel and groove on trimmer head with a soft brush (V & W). 5. Attach wheel as described in Wheel Assembly. 6. Inspect the trimmer carefully, especially the parts of the cutting head. -
Page 8: Service Recommendations
Service Recommendations • Your product is uniquely identified by a silver and black product rating label. • We strongly recommend that your product is serviced at least every twelve months, more often in a professional application. Guarantee & Guarantee Policy Failures not covered by guarantee If any part is found to be defective due to faulty manufacture within the guarantee period, Husqvarna Outdoor Products,...


Need help?
Do you have a question about the Contour and is the answer not in the manual?
Questions and answers