Table of Contents
Advertisement
Advertisement
Table of Contents

Subscribe to Our Youtube Channel
Related Manuals for Partner PM-116


Summary of Contents for Partner PM-116
- Page 1 LCD Monitor PM-116 User Manual...
-
Page 3: Table Of Contents
1�1 Flat Panel Display �����������������������������������������������������������������������������������1 1�2 Touchscreen (optional) �����������������������������������������������������������������������������1 1�3 Mounting Options �������������������������������������������������������������������������������������1 2 Contents of packing �������������������������������������������������������������������� 2 3 Installation of the PM-116 Monitor ���������������������������������������������� 2 3�1 Cable Installation��������������������������������������������������������������������������������������2 4 Adjusting the viewing angle �������������������������������������������������������� 3 5 Partner Monitor Controller Installation ���������������������������������������� 4 6 Using the Partner Monitor Controller ������������������������������������������... - Page 4 10 Troubleshooting ���������������������������������������������������������������������� 21 10�1 Additional help ��������������������������������������������������������������������������������������21 11 Technical Data ������������������������������������������������������������������������ 22 11.1 Product Specification ����������������������������������������������������������������������������22 12 Safety Instructions ������������������������������������������������������������������ 23 13 Further Notices ����������������������������������������������������������������������� 23 14 Warranty ��������������������������������������������������������������������������������� 23 15 Statement of Confirmation ������������������������������������������������������ 23 16 FCC Warning Statement �������������������������������������������������������� 24...
-
Page 5: General Overview
GENERAL OVERVIEW Partner Tech is proud to offer the PM-116 LCD monitor. It offers a versatile solution for many types of applications. Options include a resistive touchscreen and many types of flexible mounting solutions. 1.1 Flat Panel Display This flat panel display features an active matrix TFT LCD screen. It provides crisp, bright, color images with a maximum resolution of 1366x768 producing a full screen image from edge to edge. -
Page 6: Contents Of Packing
The following steps are necessary for the device to function properly: 1. Switch the computer OFF. 2. Connect the PM-116 monitor to the computer. (For best results, set the computers screen resolution to 1366x768). 3. Switch your computer back ON. -
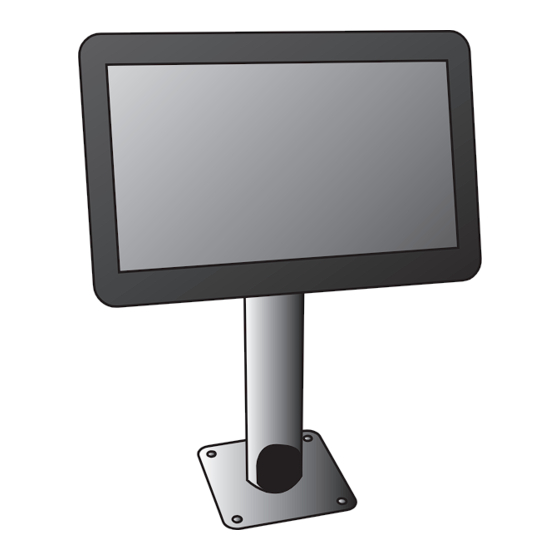
Page 7: Adjusting The Viewing Angle
Adjusting the viewing angle You may adjust the display’s viewing angle like picture shows 19cm When you adjust the viewing angle of the display, avoid touching the LCD display with your fingers, as this may damage or break the liquid crystal screen. NOTE... -
Page 8: Partner Monitor Controller Installation
Partner Monitor Controller Installation Partner Monitor Controller allows the user to easily adjust the display to the desired quality. Refer to the following to install the Partner Monitor Controller. For Windows XP or POSReady, you must first install Microsoft .NET Framework 2.0 before installing Partner Monitor Controller. - Page 9 3. Click Next to continue. 4. Click Next to continue.
- Page 10 5. Click Close to finish.
-
Page 11: Using The Partner Monitor Controller
Using the Partner Monitor Controller OSD function allows the user to easily adjust the display to the desired quality. Launch the Partner Monitor Controller from the Windows desktop. 6.1 Refresh Click the Refresh button to reload setting values from PM-116. -
Page 12: 6�2 Brightness
6.2 Brightness Drag Brightness slide bar to adjust the PM-116 screen brightness. 6.3 Contrast Drag Contrast slide bar to adjust the PM-116 screen contrast. -
Page 13: 6�4 Rgb Video Gain
6.4 RGB Video Gain Drag Red, Green, Blue Video Gain slide bar to increase / decrease the appropriate color value. 6.5 Position Drag Display Area Position X and Display Area Position Y slide bars to adjust the PM-116 screen position. -
Page 14: 6�6 Firmware Information
6.6 Firmware Information Click the F/W Version button on the Info tab. The PM-116 screen will appear the firmware version information. -
Page 15: 6�7 Position Auto Adjustment
6.7 Position Auto Adjustment Click the Position Auto Adjustment button on the Control tab. The PM-116 will adjust the screen position automatically. Important information regarding the Position Auto Adjustment function. Most video cards differ as to the video signal output. For this reason, the PM-116 monitor may need to be readjusted after connecting it to a computer. -
Page 16: 6�8 Color Auto Adjustment
Click the Color Auto Adjustment button on the Control tab. The PM-116 will adjust the tone and color automatically. 6.9 Reset to Factory Default Click the Reset to Factory Default button on the Control tab to reset PM-116 back to the factory default settings. -
Page 17: Touchscreen Driver Installation
Touchscreen Driver Installation (Touchscreen Monitor Only) 7.1 Touchscreen A new calibration is always necessary if another touch screen was connected to the computer or if the screen resolution was changed. This means that the calibration between touch screen and computer is adjusted to the mechanical features of the particular touch screen which was connected to the computer at that time. - Page 18 3. Click Next to continue. 4. System will give you a warning, click Ok to continue. 5. To install RS232 interface driver, check the box for Install RS232 interface driver then click Next to continue.
- Page 19 6. To install USB interface driver, uncheck the box for Install RS232 interface driver then click Next to continue. 7. Check the box for None and then click Next to continue. 8. Click OK to continue.
- Page 20 9. Click Next to continue. 10. Click Next to continue.
- Page 21 11. Click Next to continue. 12. Click Yes, I want to restart my computer now and then click Finish.
-
Page 22: 7�2 Calibrating The Touchscreen
7.2 Calibrating the touchscreen Follow these instructions to calibrate the touchscreen using the TouchKit application: 1. Launch the TouchKit application from the Windows desktop by clicking on Start > Programs > TouchKit > Configure Utility. The TouckKit window appears. 2. Select the Tools page. 3. - Page 23 5. Click OK to complete the 4 points calibration.
-
Page 24: Maintenance And Care
Maintenance and Care Before cleaning, disconnect the power adaptor. A soft cloth moistened with a mild cleaning agent can be used for cleaning the housing. For cleaning the screen it is better to use a soft paper towel moistened with a mild household cleaning agent. For cleaning the surface do not apply the cleaning liquid directly but use a moistened paper towel. -
Page 25: Troubleshooting
10.1 Additional help If you have problems with the connection or the installation of the PM-116 monitor, please contact your distributor or direct to the manufacturer: Partner Tech Corp. Tel: +886-2-29188500 Fax: +886-2-29153405 www.partner.com.tw... -
Page 26: Technical Data
Technical Data 11.1 Product Specification Model name PM-116 LCD Display 11.6” TFT panel Pixel Pitch 0.1875(H) x 0.1875(V) mm Max. Resolution 1366 x 768 Contrast Ratio 400(Typ) Brightness 200 cd/m2(Max.) Display Color 262,144 colors 45˚~ 45˚(Typ) Viewing Angle 15˚~ 35˚(Typ) -
Page 27: Safety Instructions
Further Notices The PM-116 monitor is subject to a continuous process of improvement. For this reason we reserve the rights to make any technical modifications. We point out that inadequate handling, storage, influence and/or modification can cause disturbances and damage in usage. -
Page 28: Fcc Warning Statement
FCC Warning Statement This equipment has been tested and to comply with the limits for Class A or Class B (modular foot) digital device, pursuant to Part 15 of the FCC Rules. These limits are designed to provide reasonable protection against harmful interference in a residential installation. This equipment generates uses and can radiate radio frequency energy and, if not installed and used in accordance with the instructions, may cause harmful interference to radio communications.
Need help?
Do you have a question about the PM-116 and is the answer not in the manual?
Questions and answers