
Related Manuals for Ikegami LCM-971


Summary of Contents for Ikegami LCM-971
-
Page 1: Instruction Manual
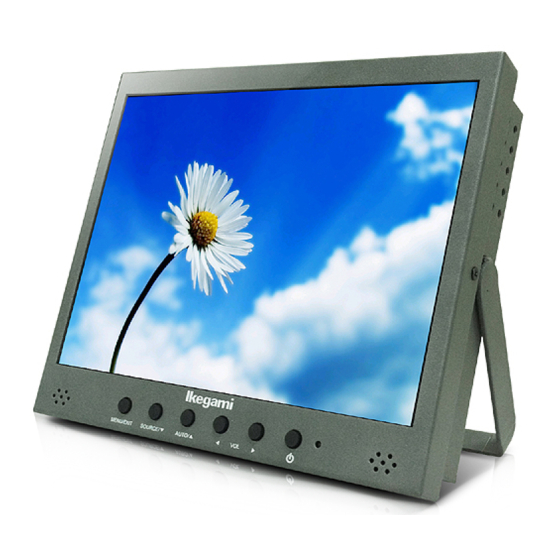
Installation and User’s Guide INSTRUCTION MANUAL 9.7” LCD VIDEO MONITOR LCM-971 Model : Please read this manual thoroughly before use and keep for future reference. - 1 -... -
Page 2: Warning Statements
Installation and User’s Guide Warning Statements Follow this safety instruction to use the monitor properly and prevent the damages. * This safety instruction has “ Warning” and “ Caution” as below. WARNING: If the user does not follow this instruction, it may cause the serious damage to the user. - Page 3 Installation and User’s Guide Warning Statements Do not install this monitor on the outside For cleaning do not use liquid cleaners. and near water. If may cause damage to Never touch the power plug with wet- the product, electric shock and fire. hands.
- Page 4 Installation and User’s Guide Cautions Place this product on a stable place. Install this monitor some distance If not, it may fall, causing serious From the wall and do not install unless Damages to the monitor and people. Proper ventilation is provided. When carrying this monitor, be careful The openings must not be blocked by not to damage the panel and drop it...
-
Page 5: Table Of Contents
Installation and User’s Guide TABLE OF CONTENTS 1. INSTALLATION ......................... 1.1 Unpacking ……......................……......................1.2 Part List 1.3 Main Functional Buttons ……..................1.4 Connection ……......................2. OSD SETTING …......................8-11 3. SPECIFICATION ............................................ 4. APPENDIX ....................5. TROUBLESHOOTING 6. LIMITED WARRANTY ..................... - 5 -... -
Page 6: Installation
Installation and User’s Guide INSTALLATION 1.1 Unpacking Remove the package cover and place the product on a flat and secure surface or in the installation location. This equipment should be unpacked and handled with care. If an item appears to have been damaged in shipment, notify the shipper immediately. - Page 7 Installation and User’s Guide INSTALLATION 1.3 Main Functional at Front Panel MENU / EXIT Activates and exits the OSD. SOURCE / ▽ ▽ ▽ ▽ Select input source, and move the OSD menu. AUTO / △ △ △ △ Move the OSD menu and auto adjustment of RGB source. ◁...
-
Page 8: Connection
Installation and User’s Guide 1.4 Connection at Back Panel 1. HDMI Input 6,7. AUDIO1 IN Stereo audio signal input. This input for AV1 and S-VIDEO. 2. AV1 Input Composite signal input for AV 1. 8. S-Video Input Y/C separated signal input. 3. -
Page 9: Osd (On Screen Display) Setting
Installation and User’s Guide OSD (On Screen Display) SETTING ■ A. INPUT Select Inputs can be set to AV1, AV2, S-VIDEO, HDMI and PC mode. 1. Press the SOURCE button and then ▲/▼ Button to move the source 2. Press the ▶ button to select the source. 3. - Page 10 Installation and User’s Guide 1. Press the MENU/EXIT Button and then ◀ / ▶ Button to select the PICTURE menu. 2. Press the ▲ or ▼ Button and then button to select the Button to select the adjustment item you need.
- Page 11 Installation and User’s Guide ■ E. SYSTEM MENU on OSD (AV1, AV2, S-VIDEO, HDMI) AV1, AV2, S-VIDEO, HDMI PC (VGA) 1. Press the MENU/EXIT Button and then ◀ / ▶ Button to select on the SYSTEM menu. 2. Press the ▲ or ▼ Button and then button to select the Button to select the adjustment item you need.
-
Page 12: Specification
Installation and User’s Guide ■ G. HOT KEY Function Definition OSD KEY Function MENU / EXIT OSD ON/OFF, Exit MODE/DOWN Source Change, Menu down VOL+/RIGHT Volume menu On / Volume Up VOL-/LEFT Volume Down AUTO/UP Auto Adjust, Menu up POWER POWER ON / OFF SPECIFICATION VIDEO... -
Page 13: Appendix
Installation and User’s Guide APPENDIX 1. D-SUB Connector PIN Assignment PIN NO. PIN Name PIN NO. PIN Name RED VIDEO GREEN VIDEO SIGNAL CABLE DETECT BLUE VIDEO GROUND GROUND SDA (for DDC) GROUND H-SYNC RED GROUND V-SYNC GREEN GROUND SCL (for DDC) BLUE GROUND 2. -
Page 14: Troubleshooting
Installation and User’s Guide TROUBLESHOOTING * When the following troubles are occurred, follow the trouble shooting before contacting a service center. Troubleshooting Troubleshooting Tip 1. Make sure if the power supply is connected property The screen doesn’t show up Turn on the power. 3. - Page 15 Installation and User’s Guide Ikegami Electronics (U.S.A.), Inc. 37 Brook Avenue, Maywood , NJ 07607-1195 Phone:(201)368-9171 , Fax :(201)569-1626 - 15 -...