Table of Contents
Advertisement
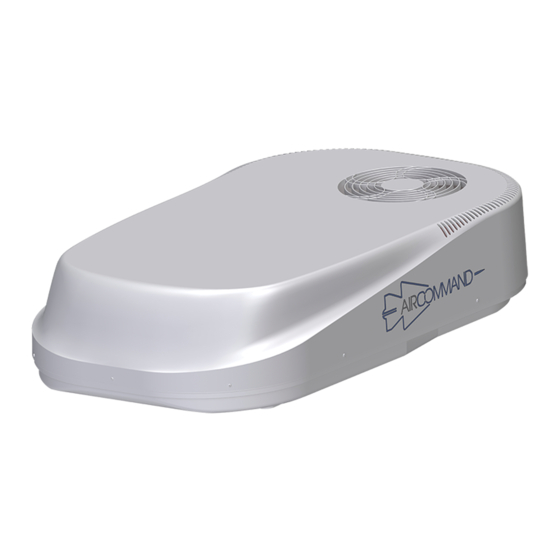
Sparrow Mk4
ROOF TOP AIR CONDITIONER
Model Number: 5860001
Serial Number:
Date Purchased:
WARNING
It is important that this installation manual is properly
read and understood before installation. The unit must
be installed by a qualifi ed service technician. Failure to
properly install the unit or attempting to modify it in
any way can be extremely hazardous and may result in
property damage and personal injury.
Aircommand will not be held responsible for problems
relating to incorrect or improper installation methods.
2
INFORMATION
3
INSTALLATION
10
COMMISSIONING
10
MAINTENANCE
11
SPECIFICATIONS
12
SPARE PARTS
13
WIRING DIAGRAM
14
TROUBLE SHOOTING
15
OPERATING INSTRUCTIONS
16
CONTACT DETAILS
Advertisement
Table of Contents

Subscribe to Our Youtube Channel
Related Manuals for Aircommand Sparrow Mk4


Summary of Contents for Aircommand Sparrow Mk4
- Page 1 Aircommand will not be held responsible for problems relating to incorrect or improper installation methods. INFORMATION...
- Page 2 The unit is not designed to be installed on sleeper cabs of prime movers although may be suitable in some circumstances. The Sparrow Mk4 is designed to run using mains power, Warranty will be voided if installed in such circumstances however many owners may want to use portable generators without the prior approval of Aircommand Australia.
-
Page 3: Main Components
Failure to properly install the unit or attempting to modify it in any way can be extremely hazardous and may result in property damage and/or personal injury. Aircommand will not be held responsible for issues arising from incorrect or improper installation methods. Installation... -
Page 4: Installation Position
fl ow to condenser. nearby roof hatch. • The Sparrow Mk4 may be oriented in any direction to the normal direction of travel. • When considering the installation position remember to check for clearance around the plenum inside the van. - Page 5 2. Assess Roof Strength • The roof members MUST be strong enough to support the Longitudinals must be fi xed securely to transverse roof members weight of the unit without any roof defl ection that will cause “pooling” of water around the unit. Contact your caravan manufacturer to confi...
-
Page 6: Connect Electrical Supply
4. Position Sparrow on roof • Remove the air conditioner from the carton and move to installation position. • Put a circle of sealant around each bolt hole in the weather collar. Apply circle of sealant around • Position the unit over the weather collar. The unit will 4 bolt holes. - Page 7 6. Assess Roof Thickness • Measure the roof thickness and consult the table across to check if adjustments to the duct length are required. • NOTE: If the duct length needs to be adjusted then cut the excess from the un-notched end. Roof thickness Comment Duct length...
- Page 8 8. Attach Duct to Unit • Raise the brace assembly and slip the black plastic duct over the outside of the fan outlet underneath the rooftop unit. Ensure that the notch cut in the plastic ductwork aligns with the fans power cable (Fig 12). When attaching the duct to the unit take care to ensure it forms a tight, unbroken seal that doesn’t allow cold air to escape.
- Page 9 9. Attach Plenum Cover Connect the main cover of the plenum to the duct by attaching the blue suspension cord to the lug on the inside of the cover (Fig 13). • This will allow you to use two hands to connect the control cable (Fig 14).
-
Page 10: Commissioning Of The Unit
WARNING If you have a claim please contact Aircommand directly on (+61) 8 8345 8444, alternatively you can fax (+61) 8243 0628 or Airborne particles can pose a health risk, particulalry to young email service@aircommand.com.au... -
Page 11: General Specifications
General Specifi cations Air conditioner height 205mm width 560mm length 975mm weight 26.6kg Air discharge plenum height 65mm width 535mm length 555mm weight 2.4kg Model number 5860001 Electrical rating 240V, 50Hz Refrigerant 407C, 450g Rated capacity cooling 2000W heating 2150W Power input cooling 920W... -
Page 12: Spare Parts
Top housing fi tting kit 5862001 Top housing 5862033 Bottom housing 5862015 Inside fan EPS housing 5861010 Outside fan assembly Refer to Aircommand service 5861006 Electrical kit 5862010 Inside fan assembly 5861002 Consensate collector set 5861001 Weather collar assembly 8001012... -
Page 13: Schematic Wiring Diagram
Schematic Wiring Diagram... -
Page 14: Troubleshooting
1. Is there, or have there been, any error codes displayed? This Aircommand air conditioner will display an error code 2. Does the display board appear normal? on the control panel when it senses a fault. The error codes Are temperatures displayed from 16 to 30 shown below are for reference purposes only. -
Page 15: Operating Instructions
Operating instructions Turn the unit on by pressing the ON/OFF button once. SLEEP MODE: lf the unit is operating in COOL mode and the SLEEP button is Press the MODE button to cycle through options COOL, DRY, pressed to highlight the Sleep light, then the unit over the HEAT and FAN. -
Page 16: Contact Details
Contact details AIRCOMMAND AUSTRALIA 954 Port Road Albert Park South Australia 5014 Australia Phone: (+61) 8 8345 8444 Fax: (+61) 8 8243 0628 AIRCOMMAND EUROPE Locke Leisure Products The Gables, Stoneleigh Road Bubbenhall Coventry CV8 3BT United Kingdom Phone: (+44) 2476 303 380 For sales enquiries please email: sales@aircommand.com.au...
Need help?
Do you have a question about the Sparrow Mk4 and is the answer not in the manual?
Questions and answers