Table of Contents
Advertisement
Quick Links
Advertisement
Table of Contents

Related Manuals for Kemppi FitWeld 300


Summary of Contents for Kemppi FitWeld 300
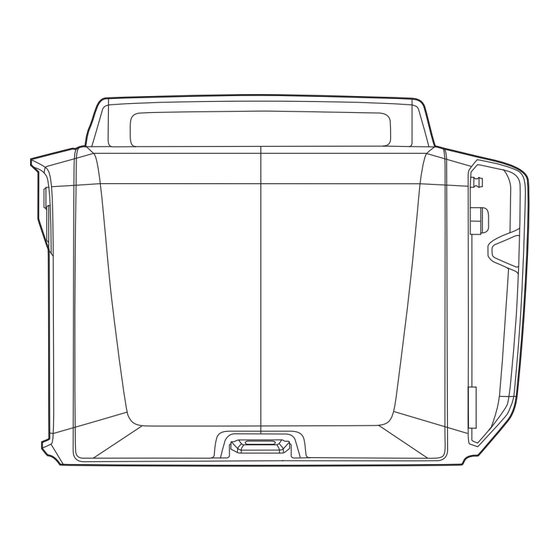
- Page 1 FitWeld Operating manual Käyttöohje Bruksanvisning Bruksanvisning Brugsanvisning Gebrauchsanweisung Gebruiksaanwijzing Manuel d’utilisation Manual de instrucciones Instrukcja obsługi Инструкции по эксплуатации 操作手册 Manual de utilização Manuale d’uso...
- Page 3 OPERATING MANUAL English...
-
Page 4: Table Of Contents
................FitWeld 300... -
Page 5: Introduction
This user manual contains important information on the use, maintenance and safety of your Kemppi product. The technical specifications of the device can be found at the end of the manual. Please read the operating manual and the safety instructions booklet carefully before using the equipment for the first time. -
Page 6: Using The Machine
1.9 MVA. Connecting cables Before you can start welding with FitWeld 300, you must connect the machine to the mains power supply, attach the welding gun and the earth return cable and the shielding gas supply. You must also equip the machine with a filler wire spool suitable for your welding application. -
Page 7: Connecting To Mains
2.4.1 Connecting to mains FitWeld 300 is connected to a 3-phase network using the mains cable supplied with the machine. The cable is not equipped with a wall plug, so you must install a suitable plug before you use the machine for the first time. -
Page 8: Welding Gun
Installing filler wire With FitWeld 300 you can use up to 200 mm diameter wire spools and the following filler wire types: • solid wires • flux-cored wires... -
Page 9: Feeding In The Welding Wire
For reliable performance only use Kemppi gun liner materials specially developed for use with Kemppi machines. For information on recommended liners and wire feed rolls selection, please see the relevant sections later in this chapter. -
Page 10: Setting The Spool Brake Force
For Aluminium and Stainless Steel filler wires, always use Kemppi DL Teflon gun liners. These liners are especially developed by Kemppi and significantly reduce friction loses, so improving welding performance. -
Page 11: Changing The Feed Rolls
2.5.5 Changing the feed rolls The FitWeld 300 standard delivery package is set up for welding with 1.2mm filler wires. However, there are different feed rolls for different welding wires, so you may occasionally need to replace the feed rolls. -
Page 12: Controlling Welding Functions
Controlling welding functions With FitWeld 300 you can easily control welding parameters, change the welding polarity and gun operating mode. The control panel provides two adjustment knobs. You can set the desired welding voltage and wire feed speed before or during welding, so easily tuning the desired arc performance to the weld. -
Page 13: Selecting The Gun Operating Mode
2.6.4 Adjusting the shielding gas flow Using a rotameter as shown in the picture, you can adjust the gas flow rate to the gun by turning the shielding gas adjustment regulation valve screw inside the FitWeld 300 wire cabinet. By turning the screw anticlockwise you increase the gas flow to the gun nozzle. Clockwise adjustment will reduce the gas flow rate. -
Page 14: Reversing Polarity
Using the Allen key attached to the wire cabinet wall, unscrew the pole connection bolts. Note the correct order of washers. Interchange the cables. Install the washers in order and tighten the bolts firmly. Replace the rubber covers correctly. The rubber cover must always protect the poles. NOTE! FitWeld 300... -
Page 15: Troubleshooting
The machine has no mains voltage • Check the mains fuses • Check the mains cable and the wall plug If the machine’s malfunction can not be corrected with these measures, contact the KEMPPI maintenance service. © Kemppi Oy / 1202... -
Page 16: Maintenance
The owner of the equipment is obliged to deliver a decommissioned unit to a regional collection centre, per the instructions of local authorities or a Kemppi representative. By applying this European Directive you will improve the environment and human health. -
Page 17: Ordering Codes
ORDERING CODES FitWeld 300 Fitweld 300, MMT32, 3 m 629100001 MMT32, 3 m 6253213MMT MMT 32, 4.5 m 6253214MMT Earth return cabel, 35 mm², 5 m 6184311 Shield gas hose, 6 m W000566 TECHNICAL DATA Connection voltage 3 ~, 50/60 Hz 380 –... - Page 18 78681 EPONE CEDEX myynti.fi@kemppi.com info.ru@kemppi.com FRANCE Tel +33 1 30 90 04 40 KEMPPI SVERIGE AB KEMPPI, TRADING (BEIJING) COMPANY, Telefax +33 1 30 90 04 45 LIMITED Box 717 sales.fr@kemppi.com Room 420, 3 Zone, Building B, S-194 27 UPPLANDS VÄSBY No.12 Hongda North Street,...
Need help?
Do you have a question about the FitWeld 300 and is the answer not in the manual?
Questions and answers