Table of Contents
Advertisement
23780018
Tools Needed
• Phillips screwdriver
Optional
• Tape Measure
• Flathead Screwdriver
• Pencil
• Wood Block
• Hammer
Additional Parts
Pin Wrench
Optional Latch
Faceplate
9V Battery
Prepare for Installation
• DO NOT use a power drill for installation!
• Use a screwdriver to remove product from packaging.
A
Check door dimensions.
See consumer.schlage.com/Service-Support for door
preparation instructions if dimensions are different.
B
Change faceplate, if necessary.
Choose the drawing that matches your door edge. If the hole has no mortise, change to the circular faceplate.
Door Edge
No change necessary.
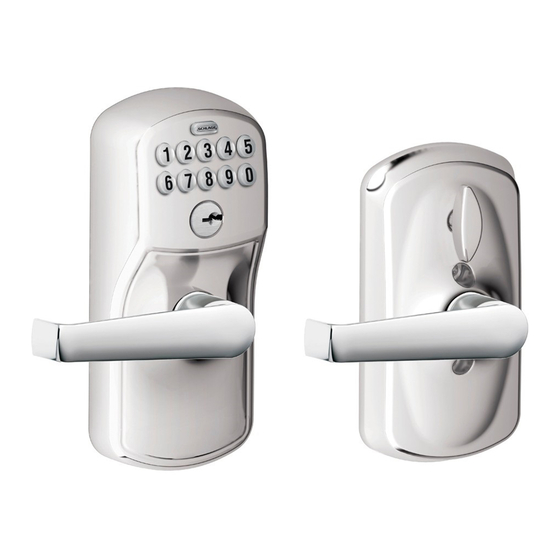
Keypad Lock
Installation Instructions
Model FE595
Key
OR
Keypad
Latch
Latch/Strike
IMPORTANT NOTES
• Install and test lock with door open to avoid being locked out.
2³⁄₄" (70 mm)
2³⁄₈" (60 mm)
1" (25 mm)
Door Edge
Door Edge
Baseplate
Cover
Strike
Screws (4)
OR
Inside Lever
Cover
Screws (2)
2¹⁄₈" (53 mm)
Hole
Advertisement
Table of Contents

Related Manuals for Schlage FE595


Summary of Contents for Schlage FE595
-
Page 1: Installation Instructions
• Install and test lock with door open to avoid being locked out. • Use a screwdriver to remove product from packaging. Check door dimensions. 2³⁄₄” (70 mm) See consumer.schlage.com/Service-Support for door preparation instructions if dimensions are different. 2³⁄₈” (60 mm) 2¹⁄₈” (53 mm) Hole 1”... - Page 2 Install Lock Install strike onto door jamb. Install latch. Make sure latch angle faces door jamb. Jamb Angle Angle Actual Size Wood Block (Not Included) Actual Size Install keypad. Prepare keypad. Remove sticker from hands-free post. IMPORTANT Wire must slide under latch.
- Page 3 Connect wire and battery. Place battery in holder and tuck wires. Lock will beep when Route wires behind curved battery is connected. piece and tuck, using tabs, so they will not be pinched by the cover. Tabs Curved Piece Install cover. Actual Size If needed, switch levers.
- Page 4 Note: incidental or consequential damages, so the above exclusion or by Schlage may be brought by the Original User more than one (1) year Mortise locks and preparations are not considered standard and are not Subject to the terms and conditions of this warranty, Schlage extends a limitation may not apply to you.
- Page 5 • Installez la serrure et faites un essai en maintenant la porte ouverte pour afuera. éviter d'être embarré à l'extérieur. Verifique las dimensiones de la puerta. 2³⁄₄” (70 mm) Vea consumer.schlage.com/Service-Support para conocer las O/OU instrucciones acerca de la preparación de la puerta, en caso de 2³⁄₈” (60 mm) 2¹⁄₈” (53 mm) que las dimensiones fueran diferentes.
- Page 6 Instale la traba Installez la serrure Instale el cerrojo en la Installez la gâche sur le Instalar el pestillo. Installez le verrou. jamba de la puerta. montant de la porte. Asegúrese de que el ángulo Assurez-vous que l'angle du del pestillo mire hacia la loquet fait face au montant de jamba de la puerta.
- Page 7 Conecte el cable y la Branchez le fil et la pile. Ubique la batería en el Placez la pile dans batería. soporte y coloque los support et insérez les fils. cables. La cerradura emitirá un pitido cuando se conecte la Pase los cables por detrás de la pieza batería.
- Page 8 Obligaciones de Schlage: Cuando se le devuelva el Producto Original no podrá interponer demanda alguna contra Schlage por Schlage, la seule obligation de Schlage consiste, à sa discrétion, soit à defectuoso, la única obligación de Schlage, a su opción, es reparar o supuesta infracción de esta garantía más de un (1) año después de...
Need help?
Do you have a question about the FE595 and is the answer not in the manual?
Questions and answers