Table of Contents
Advertisement
Quick Links
*23780018*
23780018
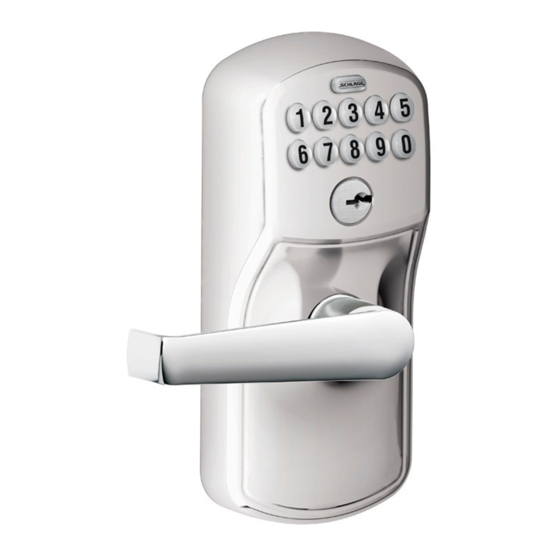
Model FE595
Place Label Here
Poner la etiqueta aquí
Placer l'autocollant ici
Tools Needed
• Phillips screwdriver
Optional
• Tape Measure
• Flathead Screwdriver
• Pencil
• Wood Block
• Hammer
Additional Parts
Pin Wrench
Optional Latch Faceplate
Customer Service Atención al cliente Service à la clientèle
Calling From: Si llama desde: Tout appel provenant de:
U.S.A.
Estados Unidos
États-Unis d'Amérique:
(888) 805-9837
Prepare for Installation
IMPORTANT NOTES
•
DO NOT use a power drill for installation!
•
Use a screwdriver to remove product from packaging.
•
Install and test lock with door open to avoid being locked out.
A
Check door dimensions.
See consumer.schlage.com/Service-Support for door preparation
instructions if dimensions are different.
2³⁄₄" (70 mm)
OR
2³⁄₈" (60 mm)
1" (25 mm)
Door Edge
Keypad Lock
Default Codes
Códigos de predeterminado
Codes du défaut
Canada
Canadá
Canada:
(800) 997-4734
2¹⁄₈" (53 mm)
Hole
Baseplate
Keypad
Latch
Latch/Strike
Screws (4)
B
Change faceplate, if necessary.
Choose the drawing that matches your door edge. If the hole has no
mortise, change to the circular faceplate.
Installation Instructions
Cover
Screws (2)
Cover
Strike
Door Edge
No change
necessary.
OR
Door Edge
Inside Lever
© Allegion 2020
Printed in U.S.A.
23780018 Rev. 04/20-g
Advertisement
Table of Contents

Related Manuals for Schlage FE595


Summary of Contents for Schlage FE595
- Page 1 • Install and test lock with door open to avoid being locked out. No change necessary. Check door dimensions. See consumer.schlage.com/Service-Support for door preparation instructions if dimensions are different. Door Edge 2³⁄₄” (70 mm) 2³⁄₈” (60 mm) 2¹⁄₈” (53 mm) Hole 1”...
- Page 2 Install Lock Install keypad Install latch. Make sure latch angle faces door jamb. IMPORTANT Wire must slide under latch. Jamb Bar should slide Angle Angle smoothly through hole in latch. If not, check door dimensions. Adjust hands-free post. The hands-free post holds the keypad and baseplate together while installation is completed.
- Page 3 Place battery in holder and tuck wires. If needed, switch levers. If your lever looks like this, Route wires behind curved Correct then no change is necessary. piece and tuck, using tabs, so they will not be pinched by the If your lever does not look cover.
- Page 4 * The first four numbers must be different from all of the User Codes currently in the lock. More Programming, Warranty, and Registration Information For more programming, warranty, and service information, go to Register your product at RegisterMySchlage.com, or use a mobile schlage.com/faqs-keypad, or use a mobile device with the code device with the code below: below:...
- Page 5 O OU las dimensiones fueran diferentes. Borde de la puerta Si les dimensions sont différentes, visiter le site consumer.schlage. Bord de la porte com/Service-Support pour plus d’information à propos des instructions de préparation.
- Page 6 Instale la traba Installez la serrure Ajuste el poste de manos libres. Réglez le tenon mains libres. El poste de manos libres mantiene el teclado y la placa base unidos Instalar el pestillo. Installez le verrou. hasta que finalice la instalación. Asegúrese de que el ángulo del pestillo mire hacia la jamba de la puerta.
- Page 7 Probar la cerradura Essayez le verrou Instale la cubierta. Desbloqueo provisorio Installer le couvercle. Déverrouillage temporaire 1. Encuentre el código de usuario A en la Guía de programación de cerraduras con teclado. 1. Repérez le code d'utilisateur A au guide de programmation des verrous à...
- Page 8 Enregistrez votre produit sur RegisterMySchlage.com ou utilisez Pour obtenir plus de renseignements concernant la programmation, un dispositif mobile et le code ci-dessous: la garantie et la réparation, consultez le site schlage.com/faqs- keypad ou utilisez un dispositif mobile et le code ci-dessous:...
Need help?
Do you have a question about the FE595 and is the answer not in the manual?
Questions and answers