
Related Manuals for DuraLabel 4000


Summary of Contents for DuraLabel 4000
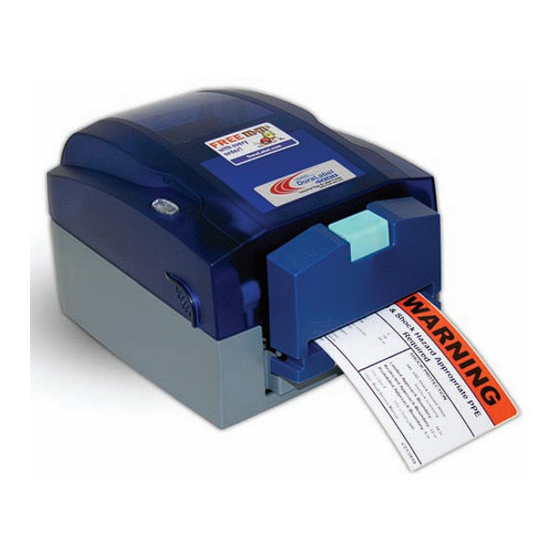
- Page 1 DuraLabel 4000 ® QuickStart Guide Read Me Graphic Products, Inc. First! 1-800-788-5572 Local: 503-644-5572 www.DuraLabel.com www.GraphicProducts.com E-mail: info GraphicProducts.com...
-
Page 2: Minimum System Requirements
Minimum System Requirements Operating System — Windows: 2000 SP , XP SP Vista and 7 Memory — 128 MB RAM Additional Requirements — USB 1.1 or 2.0 and IT administrative privileges ©2010 Graphic Products, Inc. -
Page 3: Table Of Contents
With this guide you will learn how to set up your printer, load supplies and print labels. The ribbon and various print media for the DuraLabel 4000 have been optimized for compatibility and print quality. Only authorized supplies from Graphic Products will print correctly in the DuraLabel 4000. -
Page 4: Upgrade Driver
ON the power. 2. LOAD PRINTER See the “Load Printer” section in the 4000 User's Guide for a more detailed explanation of supply loading. The ribbon and various print media for the DuraLabel 4000 have been optimized for compatibility and print quality. -
Page 5: Printer Inside Parts
Printer Inside Parts 1. Label Supply Spindle (outlined) 1a. Supply Shaft 1b. Label Stop Plates (2) 1c. Label Mount Slots (2) 2. LED Light 3. Ribbon Observing Window 4. Ribbon Rewind Wheel 5. Print Carriage (outlined) 6. Locking Levers 7. Printer Cover 8. -
Page 6: Load Label Supply
Load Label Supply IMPORTANT! Always turn OFF the power first! 1. Open the printer cover. 2. Place the label supply onto the supply shaft and assemble the label stop plates on each end of the supply shaft. 3. With the label supply extending over the top, towards the front of the printer, place the loaded label sup- ply spindle in the label mount slots at the back of the printer. -
Page 7: Printer Ribbon Parts
Printer Ribbon Parts 1. Printer Cover 2. Ribbon Rewind Core 3. Ribbon Observing Window 4. Ribbon Rewind Wheel 5. Ribbon Rewind Holders (A & B) 6. Locking Levers 7. Print Carriage (outlined) 8. Locking Levers 9. Ribbon Wheels (3) 10. Ribbon 11. -
Page 8: Load Ribbon
Load Ribbon IMPORTANT! Always turn OFF the power first! 1. With the printer cover open, install one end of the ribbon rewind core onto ribbon rewind holder , located inside right. Install the other end of the ribbon rewind core onto ribbon rewind holder , located inside left. - Page 9 3. Hold the ribbon so that the loose end of the ribbon falls to the rear of the printer, then install one end of the ribbon onto ribbon holder ( ), located inside right; then install the other end of the ribbon onto ribbon holder ( located inside left.
-
Page 10: Connect Printer
1. Insert DuraLabel 4000 Installation CD into the CD-ROM drive. 2. Connect the power supply. 3. Connect the DuraLabel 4000 to your PC using the USB cable. 4. Turn on the DuraLabel 4000. (The power switch is located on the back of the printer) 4. INSTALL USING USB CABLE IMPORTANT! You must have administrative rights in order to perform this installation. -
Page 11: Set Up To Print
To set up the driver for die-cut label stock: 1. Select START >> PRINTERS and FAXES. 2. Right-click on “DuraLabel 4000” and select Printing Preferences. 3. On the Stock tab under Media Settings change the Media Type to Labels with Gaps. - Page 12 P.O. Box 4030 www.DuraLabel.com 1-800-788-5572 Beaverton, OR 97076 © 2010, Graphic Products, Inc. All Rights Reserved v. 1.0 - 5/11/10...
Need help?
Do you have a question about the 4000 and is the answer not in the manual?
Questions and answers