
Subscribe to Our Youtube Channel
Related Manuals for Grandview FA-MIxx II


Summary of Contents for Grandview FA-MIxx II
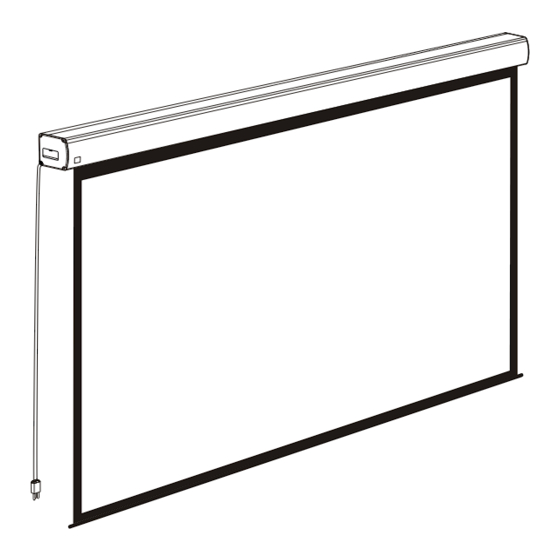
- Page 2 Description Please read these important safety instructions Read and understand all instructions before installing and using the projection screen. Floating mounting bracket Always connect this projection Screen to a grounded outlet. The power outlet should be located Top panel Aluminum casing near the Screen and shall be easily accessible.
-
Page 3: Wall And Ceiling Mount Installation
Installation Attention: > Please make sure there is no dust or dirt on the fabric surface before rolling it back to the casing > The recommened working time is less than 50 seconds. The motor will enter overheating protection Take out all the parts from the package and following the accessories guideline ensure all the parts are there. status and stop working for every continuous 4 minuters operation, user would need to wait for a There are three different types of installation available for this product: wall mount, ceiling mount or ceiling hang. - Page 4 3.Loosen the locking screw to lower the locking piece down all the way (figure 6-7) Other Options Connection Diagram . Function Destription for convertion from FM to IR Control When you insert the Wireless Synchro Convertor Receiver into EXTIR plug of the screen(Figure 45), you can use FM wireless remote control device.
- Page 5 Plug one side of the signal cord into the computer output jack at left side of the screen's end cap, the other side of the singal cord to the Central Control jack, RS232 or Grandview Wall Switch (Figure 41-42), and then you can control the up/stop/down of the screen via central control or computer.
-
Page 6: Function Description
Operating Instructions 5. Fasten the Fixing screw on the bracket, to fix casing tightly onto the brackets.( Figure 33-34 ) Function Description Press down and open the end cap door before using the control interface. Cover up the door if you do not need the external function.
Need help?
Do you have a question about the FA-MIxx II and is the answer not in the manual?
Questions and answers