
Related Manuals for Oyster Oyster Vision III

Summary of Contents for Oyster Oyster Vision III
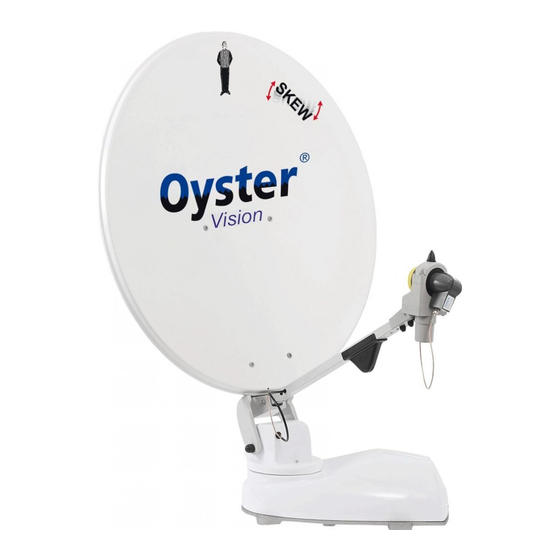
- Page 1 Operating instructions Vision III Innovative Mobile Technology Version: 03/2013 Language: English...
-
Page 2: Table Of Contents
Table of contents General information Introduction Proper use and operation Safety instructions Controls The fi rst steps Switching ON / switching OFF Menu operation Operating the system Menu tree Automatic search SAT mode Entering the position Manual search Main menu – Settings Restarting the system General settings Receiver control... -
Page 3: Introduction
Introduction These instructions describe the functions and operation of the automatic satellite system. Installation instructions can be found in the installation manual supplied with the system. Correct and safe operation of the system can only be ensured by following the two sets of instructions, both for installation and operation. -
Page 4: Proper Use And Operation
Proper use and operation This product has been designed for use in a fi xed installation on mobile homes or camper trailers with maximum speeds of 130 km/h. It is designed to automatically aim a parabolic antenna mounted on a stationa- ry vehicle at geostationary television satellites transmitting directly to Europe. -
Page 5: Safety Instructions
Safety instructions In order to ensure that your Vision system works properly, you must ensure that it is correctly connected to the ignition of your vehicle (see Installation Instructions). When it is correctly installed, the antenna automatically returns to the park positi- on when the ignition is switched on and locks itself there. - Page 6 Safety instructions Note on Safety - Oyster Vision III Stop function via the control device and the remove of the power sup- ply during maintenance. Press the Selection button on the keypad on the control device to stop the mo- vement of the antenna.
-
Page 7: The First Steps
The first steps All controls are handled via the control device. Vision On / Off All controls are handled via the control device. You may choose any location you like to install the control device, but please bear in mind that it is not waterproof. You may still need to remove the protective fi lm from the display. -
Page 8: Switching On / Switching Off
Switching ON / switching OFF Vision On / Off - System starts search from last position There are two ways of switching the Vision III antenna system on and off: The system can always be switched on and off via the button on the control device or by switching the receiver on and off. -
Page 9: Menu Operation
Menu operation Vision On / Off Selection button Scroll The arrow keys are used to navigate through all levels of the menu. Using these keys, select a submenu, function or setting. Press to enable the displayed menu item. Within the settings, you can change the displayed values within the set limits by pressing the arrow keys Then press to accept the set value and return to the higher-level menu. -
Page 10: Menu Tree
Menu tree The functions of the keys are explained in section „Menu operation“. Menu item display Function Automatic search Press to start the automatic search for the satellite specifi ed in menu option „Search satellite“ SAT mode Press to display the search satellite of the automatic search Selection of position Selection of a position from a list;... -
Page 11: Automatic Search
Automatic search After switching on the system with button , the antenna opens and moves into the position in which a satellite was last received. If no satellite is found, the system starts the automated search for the selected satellite. If you wish to select another satellite, please refer to section „Search Satellite“: Selecting a satellite for automatic search and Satellite swap When the search satellite is found, the search function stops and the TV signal is... -
Page 12: Sat Mode
SAT mode This display indicates that the system is in signal reception mode. SAT mode Press to display the currently received satellite. Entering the position „Entering the position“ is a selectable option of the main menu. Press to access a list of countries, and use the buttons to scroll the list and use to se- lect your location. - Page 13 Level 1 Sub-level A Sub-level B Elevation „up / down“ Tilt angle Press to edit the option. Press to edit the data. Press to return to sub-level A. Azimuth „left / right“ Pan angle Press to edit the option. Press to edit the data.
-
Page 14: Main Menu - Settings
Main menu – Access to settings The „Main menu“ is a selectable option of the general menu. Press in the option Main menu to access the settings levels. These levels provide the options „Settings“ (General information)“ and „Satellite settings“. Please refer to the corresponding sections. Restarting the system As with any other computer-controlled device, it is possible for the software in your Vision system to “crash”. -
Page 15: Receiver Control
Receiver control Access via level 1 „Main menu“ „Settings“ Receiver control: With this menu option you can confi gure the optional settings for the system control by the receiver. By selecting the mode, you can determine if and how the system is started by the receiver. Mode 1 „Auto off“... -
Page 16: Language
Note! The vehicle‘s switched ignition voltage via terminal 15 has ultimate priority. When the ignition is switched on or if the engine is started, the antenna will always close and can only be operated again after the ignition has been switched off. Language Selection of the language for the texts displayed on the control device. -
Page 17: Aux Relay - Switched Terminal For Tv Set
AUX relay – switched terminal for TV set The Vision III control unit provides a switched terminal that can be used to switch the TV set‘s power supply on and off. This switched terminal is always closed when the Vision system is in operation and opens when the system is switched off (standby or sleep). -
Page 18: Satellite Settings
Search satellite Access via level 1 „Main menu“ „Satellite settings“ See menu tree. Search satellite for automatic search In its supplied state, a search satellite for the automatic search is already confi gu- red in your Vision system‘s control unit. Select the satellite transmitting your preferred channel and that is receivable at your current location. - Page 19 Satellite settings / DiSEqC: on / off Satellites are changed using the receiver‘s DiSEqC signals. The signals or the DiSEqC ID of the receiver must comply with the ID list saved in the control unit of your Vision system. 16 satellites with a DiSEqC ID number are preset in your Vision system (see table).
- Page 20 Satellite settings / DiSEqC V3-ID This function allows you to display and edit a DiSEqC ID number from the list stored in the Vision system‘s DiSEqC ID list. Select a satellite and press the OK button to confi rm. The DiSEqC ID number is displayed.
-
Page 21: What Is Diseqc
What is DiSEqC? The increasing number of TV satellites gave rise to the demand of being able to receive channels from different satellites. To facilitate the switching between different satellites, the DiSEqC system has been developed. This system is incorporated in the receiver and generates a switching signal that allows the user to view channels of several satellites by simply changing the TV channel. -
Page 22: Notes On Protection Of The Environment
Telephone: +49 (0) 72 37 / 48 55– 0 or send an e-mail to: info@ten-haaft.de Offi ce hours: Monday to Friday from 08 a.m. – 12 p.m. and from 01 p.m. – 04.30 p.m. We hope you get a lot of enjoyment out of your Vision system. ten Haaft GmbH... - Page 23 Haaft GmbH Oberer Strietweg 8 75245 Neulingen-Göbrichen GERMANY Telephone + 49 (0) 72 37 / 48 55– 0 Telefax + 49 (0) 72 37 / 48 55– 50 E-mail: info@ten-haaft.com Office hours: Monday to Friday 8:00 a.m. – 12:00 a.m.
Need help?
Do you have a question about the Oyster Vision III and is the answer not in the manual?
Questions and answers