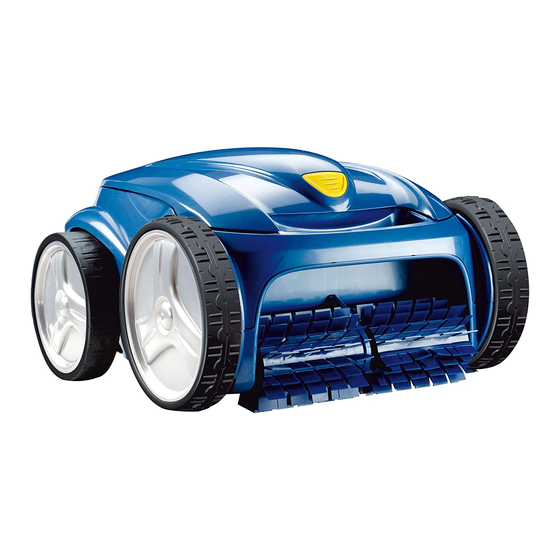
Zodiac Vortex 3 Instructions For Installation And Use Manual
Hide thumbs
Also See for Vortex 3:
- Owner's manual (20 pages) ,
- Instructions for installation and use manual (13 pages)
Table of Contents
Advertisement
Advertisement
Table of Contents

Summary of Contents for Zodiac Vortex 3
- Page 1 3 4WD Instructions for installation and use English...
-
Page 2: Table Of Contents
Summary PRECAUTIONS BEFORE USE ......................2 1.1 IMPORTANT SAFETY INSTRUCTIONS.......................2 1.2. CONTENT OF THE PACKAGE...........................2 1.3. ASSEMBLING THE CADDY..........................2 USE..............................3 2.1. RECOMMENDATIONS FOR USE........................3 2.2. IMMERSING THE CLEANER..........................4 2.3. ELECTRICAL CONNECTION ..........................4 2.4. PROGRAMMING THE CLEANING CYCLES .......................4 2.5. REMOTE CONTROL MODE (VORTEX™4) ......................6 2.6. -
Page 3: Precautions Before Use
PRECAUTIONS BEFORE USE 1.1 IMPORTANT SAFETY INSTRUCTIONS x The control box must not be positioned in an area likely to flood. x If the control box falls into the water it is imperative that you unplug the power supply before retrieving it. -
Page 4: Use
g) Place the 2 caps on the wheels as shown on Diagram 4. Diagram 4 h) Position blocks (10) and (11) using the 4 screws, paying attention to the arrows and orientation, Diagram 5 or 6 (according to model). Tighten the screws using a Philips screwdriver. -
Page 5: Immersing The Cleaner
2.2. IMMERSING THE CLEANER Do not allow bathing when the cleaner is in the pool. Immerse the cleaner in the water (Diagram 7 1) vertically and move it slightly in all directions (7 2) so that the air in the robot is expelled. Diagram 7 It is imperative that the cleaner sinks to the bottom and comes to rest without intervention from you. - Page 6 2.4.2. Start up x When the cleaner is powered on, the control box remains in standby. x The cleaner is started by pressing the key corresponding to one of the 2 Diagram 10 cleaning programmes (Diagram 10). The indicator located above the selected programme will light up.
-
Page 7: Remote Control Mode (Vortex™4)
Wait approximately 15 minutes after the end of the programme before removing the cleaner from the water. • If you wish to run a new programme once the cleaner has stopped press the corresponding button. Before removing the cleaner from the pool, disconnect the power cable and disconnect the floating cable from the control box. -
Page 8: Cleaning And Maintenance
2.6.1. Procedure for activating this mode x Connect the control unit to the main power supply. x If you want the robot to automatically run a bottom only cycle, press (more than 3 seconds). x If you want the robot to automatically run a bottom and walls only cycle, press (more than 3 seconds). -
Page 9: Recycling The Product
Place the rear wheels on the support wedges (Diagram 15 1). Tilt the robot, then push it backwards until it reaches it storage position (15 2). Diagram 15 The cleaner cable must be disconnected from the control box before removing the cleaner from the pool. Wind the cleaner cable around the hooks located at the rear of the caddy starting from the cleaner. -
Page 10: Assembling The New Tyres
4.2.2. Assembling the new tyres Present the tyres on the wheel (Diagram 20 1). Pay attention to the orientation of the tyre: make sure that the “inside” mark on the walls is on the inner side of the wheel. Push one section of the tyre around the wheel and fit the rib of the tyre in the groove of the wheel (20 2). Install the rest of the tyre on the wheel and verify the rib of the tyre fit well with the groove of the wheel (20 3). -
Page 11: Technical Information
Issue: The flashing lights appears just after starting the cleaner (< 20 seconds). Solution: x Ensure the floating cable is connected to the control unit. x Disconnect the floating cable from the control unit and connect it again properly. x Ensure the cleaner is well submerged. x Then start a new cycle and check that the impeller is rotating correctly (water ejected at the rear of the robot) and that the wheels are rotating (two wheels = Vortex™... - Page 12 In particular, the spare parts warranty will only be honoured after analysis and inspection of the returned spare parts by our company followed by the decision to replace said parts. In all cases the seller's legal warranty will continue to apply. In order to benefit from the warranty, the Client and the End User agree to respect the following parameters concerning the water balance of the swimming pool: pH: 6.8 <...
-
Page 13: Registration On Line
Although the Vortex™3, Vortex™4 and Vortex™ 3 4WD cleaning robots have been tested in a large variety of swimming pools, Zodiac cannot be held responsible in the case of a non perfect adaptation of the robot to a particular swimming pool. - Page 16 Para cualquier información adicional contactar con su detallista. Contacte o seu revendador para obter informaçoes mais detalhadas. Per qualsiasi informazione supplementare, mettetevi in contatto con il vostro rivenditore al dettaglio. ® ZODIAC is a registered trademark of Zodiac International, S.A.S.U., used under license.


Need help?
Do you have a question about the Vortex 3 and is the answer not in the manual?
Questions and answers
come cambiare una ruota piccola perchè rotta