
Related Manuals for Goodmans XB9CDG


Summary of Contents for Goodmans XB9CDG
- Page 1 XB9CDG Karaoke System User Guide IMPORTANT: Please read all instructions carefully before use and keep for future reference...
- Page 2 Introduction Thank you for choosing this Karaoke System. Now you and your friends can sing along to all your favourite songs. Safety is important Use of any electrical equipment should be undertaken with care. Please read the safety section on page 15 before using your Karaoke System. This appliance is for household use only.
-
Page 3: Table Of Contents
What’s in the box? If any of the above items are missing or damaged, please contact the customer support team. Contents Your Karaoke System ....4 Care and Maintenance ....13 Getting Started ......7 Specification ......14 Daily Use ........8 Warnings .........15 CD+G Playback ......9 Electrical Information ....17 Troubleshooting .......11 Guarantee .......18... -
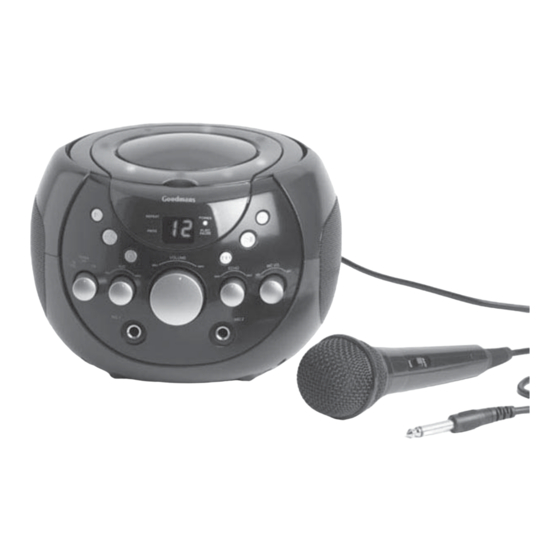
Page 4: Your Karaoke System
Your Karaoke System Front view CD PLAYER NEXT PROG Button Button PLAY/PAUSE REPEAT LED Display Button Button PREV STOP Button Button SPEAKER SPEAKER POWER Dial MIC VOLUME Dial AVC Dial ECHO Dial MIC 1 Socket MIC 2 Socket MASTER VOLUME Dial... - Page 5 Your Karaoke System Rear view CARRY HANDLE SPEAKER SPEAKER POWER Socket AUDIO OUT Sockets VIDEO OUT Socket BATTERY COMPARTMENT...
- Page 6 Your Karaoke System Powering the Karaoke System using batteries The Karaoke System can be powered using mains power, or alternatively using eight ‘C’ type batteries. Insert eight batteries (not supplied) into the Battery Compartment at the bottom of the Karaoke System, observing the polarity markings on the base of the Battery Compartment.
-
Page 7: Getting Started
Getting started Connecting to external devices The Karaoke System can be connected to either a TV or a Stereo Sound System using RCA Cables. To connect the Karaoke System to a TV only: • Connect RCA cables into the back of the Karaoke System and the back of the TV, using the SCART adaptor if necessary. -
Page 8: Daily Use
Daily use Switching ON Adjusting the echo effect To switch the Karaoke System on, An echo effect can be added to your voice while you sing. The amount of turn the POWER dial to ON or ON+LED. echo can be adjusted using the ECHO DIAL. -
Page 9: Cd+G Playback
CD+G playback Playing CD+G discs Repeat play You can repeat a single track or all the Loading discs tracks on the CD+G disc. Turn the POWER dial to to ON or Repeating a single track ON+LED to switch the Karaoke To repeat a single track, press the System on. - Page 10 CD+G playback Press the PROG button. The Prog Audio CD playback indicator will begin to flash and the Compatible disc types number 1 will momentarily appear The Karaoke System supports playback on the LED Display. This indicates of following types of CD: that you can programme the first track.
-
Page 11: Troubleshooting
Troubleshooting General Problem Possible Cause What to do No Power 1. The plug is not plugged 1. Ensure the plug is plugged into the wall socket. into the wall socket. 2. The wall socket is not 2. Turn on the power at the wall turned on. - Page 12 Troubleshooting Problem Possible Cause What to do The CD does not 1. The CD is incorrectly 1. Ensure the CD is correctly play loaded. loaded into the CD Tray. See page 9 for more information. 2. The CD is an unsupported format.
-
Page 13: Care And Maintenance
Care and Maintenance Handling Discs To remove a disc from its storage case, press down on the centre of the case and lift the disc out. Hold the disc by the edges, to avoid touching the recorded side of the disc. Fingerprints and dust should be carefully wiped from the disc’s surface with a soft cloth. -
Page 14: Specification
Specifications Model Number XB9CDG Power Supply 230V AC 50Hz 8 x LR14 C Type 1.5V batteries Power Consumption: Standby 0.22W Operating 7~9W Nominal Use Frequency Response 100 - 10,000 Hz (+/- 3db) Power Output 2W x 2 (10% THD) Speaker 3”... -
Page 15: Warnings
Warnings WEEE WARNING! THIS PRODUCT UTILISES This appliance is labelled in A CLASS 1 LASER. accordance with European USE OF CONTROLS, Directive 2002/96/EG ADJUSTMENTS concerning used electrical and OR PROCEDURES NOT LISTED IN electronic appliances (Waste Electrical THIS USER GUIDE MAY RESULT and Electronic Equipment - WEEE). - Page 16 Warnings Don’t continue to operate the Karaoke System if you are ever in doubt about it working normally, or if it is damaged in any way. Switch it off withdraw the plug from the mains and consult your dealer. Don’t leave the Karaoke System switched On when it is unattended for long periods of time, unless it is specifically stated that it is designed for...
-
Page 17: Electrical Information
Electrical information The mains lead supplied with this Karaoke System is fitted with a BS1363/A 13 amp plug. If it is not suitable for your supply sockets it must be removed and replaced with an appropriate plug. If the plug becomes damaged and/or needs to be replaced please follow the wiring instructions below. -
Page 18: Guarantee
The Karaoke System is guaranteed for twelve months from the date of original purchase. If any defect should occur due to faulty materials or workmanship, contact Goodmans via the website (www.goodmans.co.uk). Have your receipt of purchase on hand. The guarantee is subject to the following provisions: •... - Page 20 DCS-JUN13-XB9CDG...
Need help?
Do you have a question about the XB9CDG and is the answer not in the manual?
Questions and answers