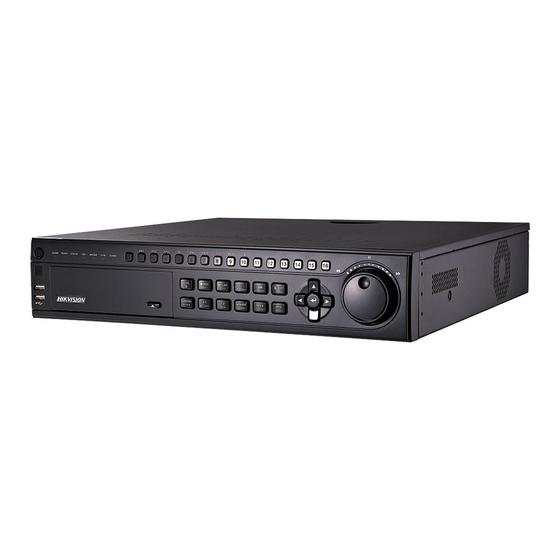
HIKVISION DS-7300HWI-SH Series DVR Quick Start Manual
Hide thumbs
Also See for DS-7300HWI-SH Series DVR:
- User manual (104 pages) ,
- Quick start manual (11 pages)
Table of Contents
Advertisement
Quick Links
Download this manual
See also:
User Manual
Advertisement
Table of Contents

Subscribe to Our Youtube Channel
Summary of Contents for HIKVISION DS-7300HWI-SH Series DVR
-
Page 1: Quick Start Guide
First Choice For Security Professionals Quick Start Guide DS-7300HWI-SH Series DVR DS-7200HWI-SH Series DVR NOTE: For more detailed information, refer to the User’s Manual on the CD-ROM. You must use your PC or MAC to access the files. www.hikvision.com... -
Page 2: Quick Start
First Choice For Security Professionals Quick Start NOTE: Connect VGA monitor and mouse before starting. 1. Overview 2. Connection 3. Start Up/Shutdown 4. Formatting a Disk 5. Setting Date & Time 6. Recording 7. Playback 8. Backup 9. Network Connection NOTE: For more detailed information, refer to the User’s Manual on the CD-ROM. -
Page 3: Front Panel Description
1. Overview BEFORE STARTING: Connect VGA monitor and mouse (mouse supplied). Check that your package includes the following: Mouse IR Remote Power Cord Screws Hard Drive (PreInstalled) HDD Cables Rack Mount Ears Quick Start Guide Manual/Software CD Front Panel Description: 1. -
Page 4: Startup And Shutdown
3. Switch the POWER button on the back rear panel. The Power indicator LED will turn blue. The unit will begin to start. NOTE: Each HDD will start separately to conserve power NOTE: Default password is 12345 www.hikvision.com... -
Page 5: Formatting A Disk
First Choice For Security Professionals 3. Startup and Shutdown (cont.) To shut down your DVR: OPTION 1: Standard Shutdown 1. Enter the Shutdown menu by going to Main Menu > Maintenance. 2. Click Shutdown button to access the Shutdown menu. 3. -
Page 6: Setting Date And Time
4. Formatting a Disk (cont.) 3. Click the Init button. 4. A confirmation message will appear on the screen. Click the OK button to continue formatting process. 5. The status column will show the Initialization progress. After the disk has been formatted, the status of the disk will change to Normal. - Page 7 7. Select the Apply button to save the schedule settings and click to return to the previous menu. Clicking without clicking Apply will go out of the menu without saving settings. NOTE: Event recordings are recordings that are triggered from motion detection and/or from an external alarm. www.hikvision.com...
- Page 8 First Choice For Security Professionals 7. Playback Playback from Search: 1. Enter the Playback menu by going to Main Menu > Playback. 2. Select the camera and date you want to search. 3. The search results will be shown on the timeline with blue bars designating recorded files.
- Page 9 8. Backup Backup recorded files (Export): 1. Enter the File Management menu by going to Main Menu > File Management 2. Place a check next to the cameras you want to search files for backup. Select the recording type, date and time range you want to backup. Click on Search.
-
Page 10: Network Connection
Network Connection Using Web Browsers All Hikvision products use the default IP address of 192.0.0.64 1. Connect a CAT5 or CAT6 cable from the DVR to a PC or Laptop computer. Note your laptop or PC computers existing address, such as: 192.0.0.62... - Page 11 First Choice For Security Professionals 908 Canada Court City of Industry, CA 91748 U.S.A. www.hikvision.com...


Need help?
Do you have a question about the DS-7300HWI-SH Series DVR and is the answer not in the manual?
Questions and answers