Table of Contents
Advertisement
Service
Information
© 2010 Reg. Office: Peterborough PE2 9JB Registered in London: 106725
Indesit Company UK Ltd
5407535 Issue 2
..
C00279765
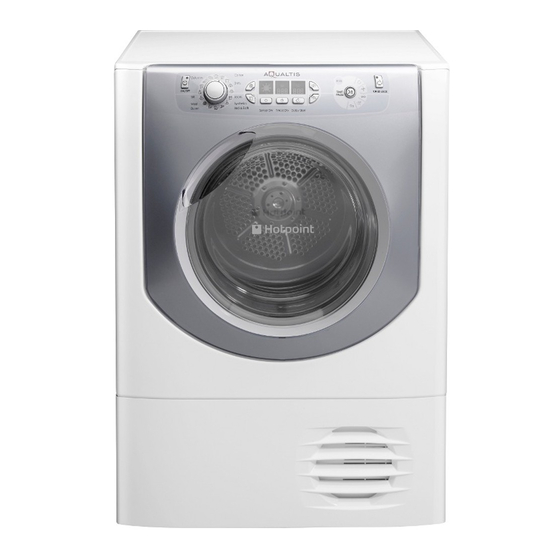
Aqualtis
8 Kg
"A Energy"
CONDENSER
ELECTRONIC
TUMBLE DRYER
with
Refrigerant
Condenser System
Models
Covered
AAQCF81U IT
AAQCF81U WE
AAQCF81U UK
May 2010
Comm
Code
70078
71832
71846
Advertisement
Table of Contents


Need help?
Do you have a question about the AAQCF81U IT and is the answer not in the manual?
Questions and answers