Advertisement
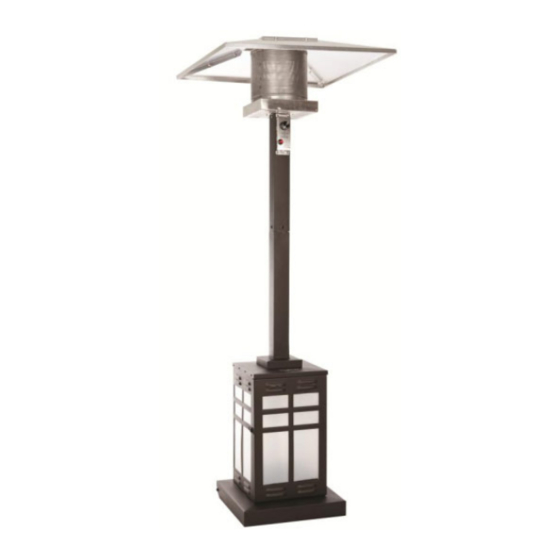
Outdoor Patio Heater
INFRARED BURNER
Model # LIP-10A-TGG
Item # 60951
ATTACH YOUR RECEIPT HERE
Serial Number ___________
Manufacturer: Changzhou Wellife Furnace Co., Ltd
Questions, problems, missing parts? Before returning to your
retailer, call our customer service hotline at 1-866-985-7877,
9 a.m. – 6 p.m., EST, Monday – Friday or email at
cservice@welltraveled.net.
Purchase Date ______
.
1
Advertisement
Table of Contents

Related Manuals for Fire Sense LIP-10A-TGG


Summary of Contents for Fire Sense LIP-10A-TGG
- Page 1 Outdoor Patio Heater INFRARED BURNER Model # LIP-10A-TGG Item # 60951 ATTACH YOUR RECEIPT HERE Serial Number ___________ Purchase Date ______ Manufacturer: Changzhou Wellife Furnace Co., Ltd Questions, problems, missing parts? Before returning to your retailer, call our customer service hotline at 1-866-985-7877, 9 a.m.
-
Page 2: Table Of Contents
TABLE OF CONTENTS Table of Contents………………………………….....Page 2 Before You Begin............Page 2 Safety Information............Page 3-4 Package Contents………………………………….....Page 5 Hardware Contents............Page 6 Assembly.................Page 6-11 Operating Instructions……………........Page 11-14 Care and Maintenance……………………......Page 14-15 Troubleshooting……………………………………......Page 16 Replacement Parts List.............Page 17 Warranty Information……………........…Page 18 BEFORE YOU BEGIN Please read and understand this entire manual before attempting to assemble, operate or install this appliance. -
Page 3: Safety Information
SAFETY INFORMATION... - Page 4 SAFETY INFORMATION...
-
Page 5: Package Contents
PACKAGE CONTENTS ASSEMBLY PART DESCRIPTION Reflector Panel and 5 pcs (packed in 2 Center Cap inner ctns) Head and Upper Post Assembly 1 (attached to Gas Hose Head Assembly) Regulator Lower Post 1 (packed under Post Support Plate Tank Housing Assembly) Tank Housing Assembly... -
Page 6: Hardware Contents
HARDWARE CONTENTS ASSEMBLY ASSEMBLY PREPARATION Before beginning assembly of this appliance, make sure all parts are present. Compare all parts with package contents list and hardware contents as listed on pages 5 and 6 of this manual. If any part is missing or damaged, do not attempt to assemble this product. -
Page 7: Assembly
ASSEMBLY 1. Locate Tank Housing Assembly (G) and Tank Housing Support Bar (H). Attach Tank Housing Support Bar (H) to the top front edge of the Tank Housing Assembly (G) with 2 M4x10 (GG) Countersunk Head Screws (screws come pre-assembled in the Tank Housing Support Bar.) Hardware Used: 2 x GG, Countersunk Head Screw M4x10 2. - Page 8 ASSEMBLY Attach the Post Support Plate (F)/Lower Post (E) to the Tank Housing Assembly (G/H). (NOTE: Make sure Firesense logo is facing ® forward directly over the Tank Housing Support Bar.) Align the holes in the Post Support Plate (F) With the holes in the top of the Tank Housing Assembly (G/H) and insert a total of 12 M4x10 (CC) bolts into the holes and loosely tighten.
- Page 9 ASSEMBLY 5. Carefully route the Gas Hose (C) that comes attached to Head and Upper Post Assembly (B) completely through the Lower Post/Post Support Plate Assembly (E/F). (Hint: Control knob on Head Assembly should be located over the Tank Housing Door.) 6.
- Page 10 ASSEMBLY 8. While supporting heater, tilt the Head and Upper Post Assembly (B) and screw in the 3 M8x66 Stud Bolts (BB) into the holes on top of the Head Assembly. Slide the assembled Reflector over the 3 bolts that now extend from the Head Assembly. Use the 3 M8 Wing Nuts (DD) and 3 M8 Washers (FF) to secure the assembled Reflector to the Head Assembly of the heater.
-
Page 11: Operating Instructions
ASSEMBLY Connect the hose and regulator to the LP cylinder. The LP cylinder is sold separately. Use a standard 20 lb. propane cylinder only. Screw Regulator (D) onto Gas Hose (C). Do not cross thread. Hand tighten securely. Attach Regulator (D) to valve on LP cylinder and hand tighten securely. Place LP tank onto base of heater and close Tank Housing Door (I). - Page 12 OPERATING INSTRUCTIONS Leak Test 1. Make 2-3 oz. of leak test solution (one part liquid dishwashing detergent and three parts water). 2. Apply several drops of solution where hose attaches to regulator. 3. Apply several drops of solution where regulator connects to cylinder. 4.
- Page 13 OPERATING INSTRUCTIONS Lighting: NOTE: For initial start or after any cylinder change, hold the control knob in for 2 minutes to purge air from all gas lines before proceeding. NOTE: This heater has an Electronic Ignition and will require installation of 1 - AAA battery.
-
Page 14: Care And Maintenance
OPERATING INSTRUCTIONS Operation Checklist: For a safe and pleasurable heating experience, perform this check before each use: Before Operating: 1. I am familiar with entire owner’s manual and understand all precautions noted. 2. All components are properly assembled, intact and operable. 3. - Page 15 CARE AND MAINTENANCE Heater makes popping noise. Spiders and insects can nest in burner or orifices. This dangerous condition can damage heater and render it unsafe for use. Clean burner holes by using a heavy-duty pipe cleaner. Compressed air may help clear away smaller particles.
-
Page 16: Troubleshooting
TROUBLESHOOTING If you have any questions regarding this product, please call our customer service hotline at 1-866-985-7877, 9a.m. – 6 p.m. (EST), Monday – Friday, or email us at cservice@welltraveled.net. PROBLEM POSSIBLE CAUSE CORRECTIVE ACTION Gas valve may be off Turn gas valve ON Fuel tank may be empty Refill LPG tank... -
Page 17: Replacement Parts List
REPLACEMENT PARTS LIST ASSEMBLY For questions regarding this product or to purchase replacement parts, please call our customer service hotline at 1-866-985-7877, 9a.m. – 6 p.m. (EST), Monday – Friday, or email us at cservice@welltraveled.net. PART DESCRIPTION Reflector Panel and 5 pcs (packed in 2 Center Cap inner ctns) -
Page 18: Warranty Information
Customer Service Hours: Mon. – Fri. 9:00 a.m. – 6:00 p.m. (EST) Fire Sense®, Mojave Sun ®, and Well Traveled Living® are registered trademarks of Well Traveled Imports, Inc®. All assembly instruction presentations are the property of Well Traveled Imports, Inc.® and are protected by U.S. copyrights...
Need help?
Do you have a question about the LIP-10A-TGG and is the answer not in the manual?
Questions and answers
Do you sell replacement plexiglass for the 10A TGG?