
Subscribe to Our Youtube Channel
Related Manuals for Jura Capresso Impressa F7


Summary of Contents for Jura Capresso Impressa F7
- Page 1 Impressa F7 Fully Automatic Coffee & Espresso Center with Clearyl Water Care System Operating Instructions and Warranty Customer Service 1-800-220-5701...
-
Page 2: Important Safeguards
IMPORTANT SAFEGUARDS When using electrical appliances, basic safety precautions should always be followed, including the following: 1. Read all instructions. 2. Do not touch hot surfaces. Use handles or knobs. 3. To protect against fire, electric shock and personal injury, do not immerse cord, plugs or appliance in water or other liquids. -
Page 3: Jura-Capresso / Address Information
D. This appliance has a polarized plug (one blade is wider than the other). As a safety feature, this plug will fit in a polarized outlet only one way. If the plug does not fit fully in the outlet, reverse the plug. If it still does not fit, contact a qualified electrician. -
Page 4: Illustrations
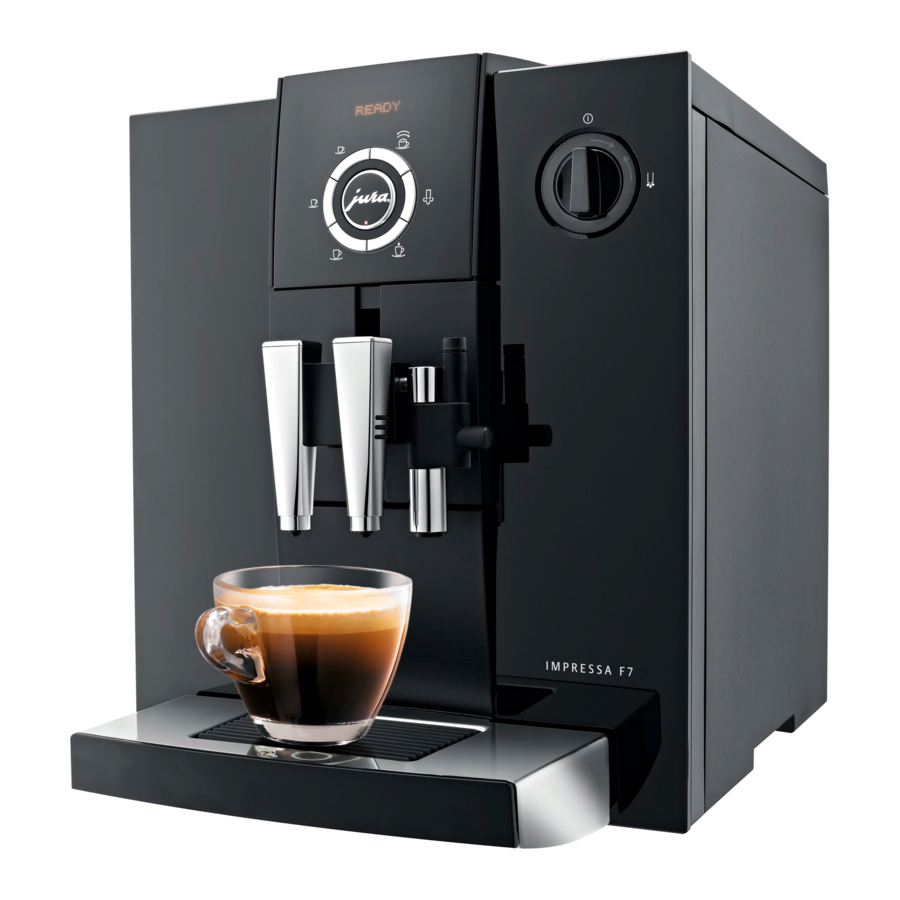
Fig. 1 1. Height-Adjustable Coffee Spout 2. Operating Buttons (See Fig. 3) 3. Removable Water Tank 4. Low Water Flotation Device (See Fig. 7.4) 5. Clearyl Water Care Cartridge* 6. Lid for Water Tank 7. Ground Coffee Funnel 8. Auto-Lid for Ground Coffee Funnel 9. - Page 5 b. Display Steam/Water Selector READY On/Off P Button 1-Cup 2-Cup Rinse Steam a. Coffee b. Steam / Water a. Dial Fig. 3 Fig. 4 Grind Fineness Selector Fig. 5 Fig. 6 Fig. 7 Fig. 8 Fig. 9...
- Page 6 Fig. 10 Fig. 11 Fig. 12 Fig. 12a Dual Frother Plus Metal Cylinder Clip-on Connector Fig. 13 Fig. 14...
- Page 7 Metal Tube . Chrome Sleeve Steam Nozzle Fig. 15 Fig. 19 Frothing: down Steaming: Fig. 16 Fig. 20 Fig. 17 Fig. 18 Fig. 21 Fig. 22...
-
Page 8: Table Of Contents
Jura-Capresso / Address Information ...3 Illustrations...4–7 1. Product Registration...9 2. Operating Instructions / Customer Service...9 3. WELCOME TO THE IMPRESSA F7 ...9 a. "Crema Coffee" and Pressure Brewing ...9 b. Different Coffee Drinks...10 c. Coffee Facts...10 4. Please Don't / Please Do ...10 5. -
Page 9: Product Registration
"crema" – proof for perfectly pres- sure brewed coffee. Just press one of the two cup buttons and your Impressa F7 will grind, tamp and brew your personal cup of coffee. The integrated solid steel conical burr grinder grinds beans to the preferred fineness. -
Page 10: Different Coffee Drinks
matics and the light gaseous flavors that register on the palate. The high pressure and the short brewing time prevent the extraction of bitter oils and release less caffeine than any other brewing method. You will always make the absolute freshest and most aromatic cup of coffee. -
Page 11: Factory Settings
All Display Messages Are Shown in 5. FACTORY SETTINGS Each machine leaves the factory with the following settings: Filter ... – (not installed) Hardness Level ... 2 Aroma ... ROBUST Temperature ... HIGH Time ... Not Set Unit On ... Not Set Auto Off ... -
Page 12: Adding Coffee Beans
READY. You are now ready to make coffee. 10. GRINDING AND BREWING The Impressa F7 uses a 2-step brewing process (Pre-Brew Aroma System). First, it moistens the ground coffee (pre-brew phase), pauses for a few seconds, and then starts the brewing process. -
Page 13: Using Pre-Ground Coffee
• When using the 2-Cup button the machine will automatically double the selected amount of coffee. Coffee Strength MILD – NORMAL Push the 1-Cup button once, the display shows MILD. Push the 1-Cup button twice, the display shows NORMAL. Push the 1-Cup button three times, the displays shows STRONG. You can also push and hold the 1-Cup button until the desired strength is shown in the display. -
Page 14: Frothing And Steaming
• Place a cup underneath the frother (Fig. 13). • Turn the Steam/Water Selector to the water symbol (Fig. 4b). Hot water will push through the frother. The display shows the amount of hot water. You can change it from 1 to 16 oz. by turning the Dial (Fig. -
Page 15: Cleaning The Dual Frother Plus
Steaming and frothing directly in your cappuccino cup: With practice, you can steam and froth directly in your cappuccino cup. First steam and froth the milk, then add your espresso shot. Please note: The less fat content the milk has the more froth will be created. -
Page 16: Replacing Clearyl Water Cartridge
16a. INSTALLING & ACTIVATING THE CLEARYL WATER CARTRIDGE Important: Never install the cartridge before or during "Preparing Machine For The First Time." • Make sure the water tank is empty. • Remove cartridge from its bag and rinse cartridge under water. •... -
Page 17: Adjusting The Water Hardness
the filter and through the frother. Do not interrupt this process. This activates the filter. The machine will stop automatically. CLOSE TAP. Turn the Water/Steam Dial back to the cup symbol. HEATING. READY. 17. ADJUSTING THE WATER HARDNESS Water is heated inside the machine. With use, this leads to calcium deposits forming inside the machine. -
Page 18: A. Aroma
6. Push the P button to get back to READY. FILTER: See chapter 16a. HARDNESS: See chapter 17. 18a. AROMA 1. Push and hold P button until display shows FILTER. 2. Turn Dial to AROMA. 3. Push Dial: ROBUST. 4. Turn Dial to select from STANDARD 5. -
Page 19: Cups Made
18e. CUPS MADE 1. Push and hold P button until display shows FILTER. 2. Turn Dial to CUPS MADE. 3. Push Dial: The display shows the total number of cups brewed. 4. Push the 1-Cup or 2-Cup Buttons to display usage. 5. -
Page 20: Stones And Beans
ample beans in the bean container, stir the beans so they flow into the grinder (chapter 7). We recommend cleaning the bean container from time to time with a dry cloth before you refill beans (please make sure the machine is turned off when cleaning). 19d. -
Page 21: Decalcifying Procedure
below within the next few days. Please use one white cleaning tablet (enclosed). The machine comes with a pack of 2 tablets. To re-order cleaning tablets see chapter 22. Important: Once the cleaning program has started do not interrupt the procedure. 1.Make sure the machine is on and the water tank is full. -
Page 22: Tips For Better Coffee
5. The displays still shows SOLVENT IN TANK / OPEN Turn the Steam/Water Selector to the water symbol. The machine will pump the mixture through the frother in intervals. During this procedure the display shows DECALC.ON. When this cycle is finished the display shows 6. -
Page 23: Frothxpress Plus System (Sold Separately)
All supplies are available through: • The enclosed mail order form that came with your machine • Our toll free line at 1-800-220-5701 or • The Internet at www.capresso.com. 23. FROTHXPRESS PLUS SYSTEM WITH MILK CONTAINER If you prepare many Cappuccinos or Lattes at a time, we recom- mend the fast and precise frothXpress Plus System. -
Page 24: Limited Warranty
D. GRINDER MAKES AN EXTREMELY LOUD NOISE; NO BEANS ARE GROUND Reason: A stone is blocking the burr grinder. Solution: Call customer service at: 1-800-220-5701. E. THE DRAWER (Fig. 19) DOESN’T PULL OUT OR DISPLAY SHOWS MALFUNCTION 8 Solution: Turn off and unplug machine. Wait a minute. Turn machine on and wait until it stops making any noise.
Need help?
Do you have a question about the Impressa F7 and is the answer not in the manual?
Questions and answers
Fault 8 message and tray will not fully close.
The "Fault 8" message on the Jura Impressa F7 indicates a problem with the drawer, such as it not pulling out properly or a malfunction being detected.
To resolve the tray issue:
1. Turn off and unplug the machine.
2. Wait one minute.
3. Turn the machine back on and wait until it stops making noise.
4. Try to pull out the drawer again.
If the issue persists, repeat the procedure. If it still does not work, contact customer service.
This answer is automatically generated