
Related Manuals for VPI Scout 2 JMW-9T


Summary of Contents for VPI Scout 2 JMW-9T
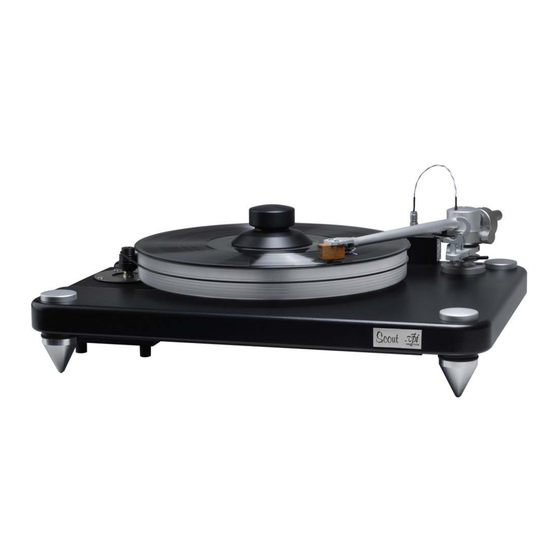
- Page 1 Scout 2/JMW-9T Turntable Manual Setup and Instruction Manual VPI Industries, Inc., 77 Cliffwood Ave. #3B, Cliffwood, NJ 07721 phone: 732-583-6895 fax: 732-946-8578 http://www.vpiindustries.com...
-
Page 2: Important: Read Before Proceeding
Important: Read Before Proceeding! Read and follow the Safety Instructions below. Save all packing materials. The Scout should only be moved or shipped in its original packaging to reduce the risk of damage in transit. The Scout must be placed on a flat, level surface. This will make setup easy, provide better sound quality, and put less strain on the main bearing. - Page 3 Platter run out +/- .001 inch. Product Specifications 600 RPM AC synchronous drive motor. Drive belt custom-made for VPI. Aluminum cone feet with stainless steel ball bearings on the bottoms. Solid acrylic platter with bronze bushings and Peek thrust surface.
-
Page 4: Unpacking The Box
Unpacking the Box The turntable and tonearm are packed very carefully to avoid damage during shipping. It is important that you save the packing materials and box to use for shipping or moving the Scout. 1. Remove the 2 foam side pieces and foam block in the center. 2. -
Page 5: Installing And Aligning The Cartridge
Other screws may not fit properly and may cause damage to the threads and cartridge. • To avoid damage to the tonearm, use one of the washers supplied by VPI under the screw heads. • For cartridges with pass-through mounting holes, use the hardware supplied with the tonearm. - Page 6 • Using tweezers or fine-tipped pliers, grip the center of the red wire’s connector not the wire itself and push it onto the cartridge’s right hot terminal pin. Connect the remaining connectors in the same way. To avoid damage to the cartridge, do not push the connectors all the way on.
-
Page 7: Setting The Tracking Force And Tonearm Height
VPI has a unique solution to anti-skating: the coiled wire of the JMW Memorial Tonearm acts as a spring and pushes the arm back without affecting the sound quality. -
Page 8: Setting The Azimuth
turn the adjustment wheel above the base. When the arm is at the desired height, tighten the screws. • If you do not raise the arm when doing this you will be between .2 to .4 grams light when you are on the record. THIS IS VERY IMPORTANT!! •... -
Page 9: Playing Records
Playing Records Before playing a record, make sure that all of the tonearm screws are tight. Place the black washer on the platter, then the record, then the record clamp. Always turn off the turntable before installing the record clamp. Press the power button on the motor. -
Page 10: Additional Items Available From Your Dealer
VPI shall not be liable for any direct or indirect injury and/or property damage arising out of the use of the product or defect in or failure of the product.
Need help?
Do you have a question about the Scout 2 JMW-9T and is the answer not in the manual?
Questions and answers