
Related Manuals for VPI VPI Classic 2


Summary of Contents for VPI VPI Classic 2
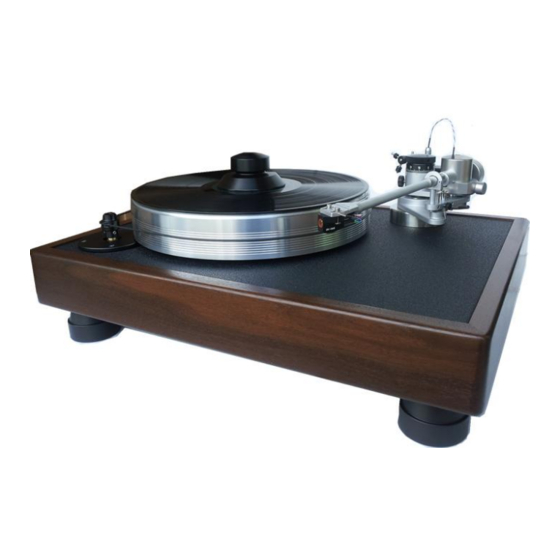
- Page 1 VPI Classic 2 Turntable Setup and Instruction Manual VPI Industries, Inc., 77 Cliffwood Ave. #3B, Cliffwood, NJ 07721 phone: 732-583-6895, Email: Sales@vpiindustries.com http://www.vpiindustries.com...
-
Page 2: Important: Read Before Proceeding
Important: Read Before Proceeding! Read and follow the Safety Instructions below. Save all packing materials. The Classic 2 should only be moved or shipped in its original packaging to reduce the risk of damage in transit. The Classic 2 must be placed on a flat, level surface. This will make setup easy, provide better sound quality, and put less strain on the main bearing. -
Page 3: Unpacking The Box
Unpacking the Box The turntable and tonearm are packed very carefully to avoid damage during shipping. It is important that you save the packing materials and boxes to use for shipping or moving the Classic 2. Set aside the bag containing the drive belt. Complete and return the warranty card. -
Page 4: Before You Begin
2 by pushing the power button and allowing 3 seconds for the platter to get up to speed. If you bought the Classic 2 with a Dynavector 20X Special or a VPI/Grado it was installed at the factory and you simply have to drop the arm on the bearing assembly. BEFORE YOU BEGIN ... -
Page 5: Cartridge Mounting
A. CARTRIDGE MOUNTING: FOR CARTRIDGES WITH THREADED MOUNTING HOLES: Use the screws supplied by the cartridge manufacturer to mount the cartridge. Any other screws may not fit the thread properly and may even damage the threads and cartridge. USE ONE OF THE SUPPLIED WASHERS UNDER THE SCREW HEAD. ... - Page 6 Place the arm tube assembly on the lower bearing, taking care not to strain or damage the 4-color wire and Lemo connector. Place the arm in its rest. At the rear of the arm base assembly is the connector block. Plug the Lemo connector into its receptacle on top of the block.
- Page 7 Place the arm back in its rest. Without letting the cartridge move, tighten the screws holding the cartridge to the arm head. Make it tight, but don't over do it and strip the threads or distort the cartridge body.
- Page 8 The Classic 2 arm does not have a built-in tracking force gauge, but a Shure Stylus Force Gauge is supplied with your arm. Following the gauge instructions set the tracking force to the cartridge manufacturer recommendation plus 1/10 of a gram more.
-
Page 9: Anti-Skating
VPI has a unique solution to anti-skating: the coiled wire of the JMW Memorial Tonearm acts as a spring and pushes the arm back without affecting the sound quality. -
Page 10: Playing Records
Set the arm height as follows: Start the turntable and place a record on it. Lower the arm onto the record and make the arm tube parallel to the record surface by rotating the arm-height knob as needed. This is a good initial setting. -
Page 11: General Use
Additional Items Available from Your Dealer The VPI Synchronous Drive System power supply provides a major increase in musicality by feeding the synchronous motor a perfectly stable wave form at the frequency you choose. The SDS lets you change speed electronically. - Page 12 VPI’s sole obligation under this warranty is limited to the repair or replacement, at VPI’s option, of any part(s) found to be defective. VPI’s obligation to repair or replace defective parts is the purchaser’s sole and exclusive remedy, and VPI shall not be liable for any direct or indirect injury and/or property damage arising out of the use of the product or defect in or failure of the product.
Need help?
Do you have a question about the VPI Classic 2 and is the answer not in the manual?
Questions and answers