
Related Manuals for Stelpro STE302NP


Summary of Contents for Stelpro STE302NP
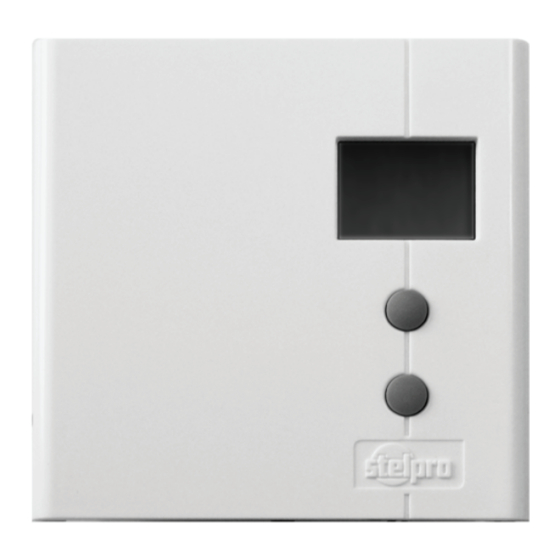
- Page 1 User’s guide « STE302NP » Electronic thermostat with or without backlight * Add W for white or A for almond and (+) for the backlight option For further information or to consult this guide online, please visit our Web site.
-
Page 2: Parts Supplied
1. Description The electronic thermostat STE302NP can be used to WARNING WARNING control electric heating units such as electric base- Before installing and operating this product, boards, convectors, or aeroconvectors. It keeps the the owner and/or installer must read, temperature of a room at the requested set point with... -
Page 3: Thermostat Mounting And Connection
• c lose to a window, on an external wall, or close to 5. Pass the wires from the wall through the hole at a door leading outside; the base of the mounting base and connect them • e xposed directly to the light or heat of the sun, a using the supplied solderless connectors. -
Page 4: Operation
3. Operation 6. Place all the wires into the connection box. Ambient temperature/ timer Heating power indicator Pictograms Fan mode Frost-free warning Smart mode Day mode Security mode Night mode Top button 7. Align the little slots located on the top Bottom button of the thermostat with those on the the mounting base and secure the thermostat... -
Page 5: Smart Mode
one mode to the other by simultaneously press- Day mode and Night mode ing down the two buttons and releasing them immediately. The thermostat includes a Day mode and a Night mode , both of them having their own independent- 2. - Page 6 the Day mode for 16 hours operating at the day tem- 4. When the adjustment is completed, release the perature set point. At the end of the 24-hour cycle, buttons and wait for 5 seconds to exit the adjust- the thermostat will return to the Night mode, and the ment function.
-
Page 7: Security Mode
Heating Power Indicator and the °C or °F symbol will appear after 8 sec- onds, but continue to keep both buttons pressed The level of power used to maintain the tempera- down). ture at the set point is expressed as a percentage 3. - Page 8 You can adjust it from 90 to 300 seconds. This is done icon blinks to warn the user that the mode was to limit the amount of times the thermostat will turn previously activated when the thermostat was shut on or off. Also, if the thermostat reaches a differen- off but is no longer active.
-
Page 9: Troubleshooting
4. Troubleshooting Problem Solution In normal operating conditions, the thermostat housing can reach nearly 40°C at The thermostat is hot. maximum load. That is normal and will not affect the effective operation of the thermostat. Heating is always on. Check if the thermostat is properly connected. Refer to the installation section. Heating does not run even if the thermostat Check if the thermostat is properly connected. -
Page 10: Technical Specifications
5. Technical Specifications Limited Warranty Supply voltage: This unit has a 3-year warranty. If at any 120/240 VAC, 50/60 Hz time during this period the unit becomes defective, it must be returned to its place Maximum electrical current with a of purchase with the invoice copy, or simply resistive load: contact our customer service department...
Need help?
Do you have a question about the STE302NP and is the answer not in the manual?
Questions and answers