Stelpro STE402P User Manual
Programmable electronic thermostat
Hide thumbs
Also See for STE402P:
- User manual (17 pages) ,
- User manual (20 pages) ,
- User manual (21 pages)

Related Manuals for Stelpro STE402P


Summary of Contents for Stelpro STE402P
- Page 1 User’s guide “STE402P” Programmable electronic thermostat For further information or to consult this guide online, please visit our Web site. INSSTE402P0711...
-
Page 2: Installation
• e xposed directly to the light or heat of the sun, a lamp, a fireplace or any other heat source; 1. Description • c lose or in front of an air outlet; The electronic thermostat STE402P can be used to • close to concealed ducts or a chimney; control electric heating units such as electric base- • i n a location with poor air flow (e.g. behind a door), or boards, convectors, or aeroconvectors. - Page 3 Thermostat mounting and connection 4. Using a screwdriver, loosen the screw retaining the mounting base and front part of the thermo- Cut off power supply on lead wires at stat. Remove the front part of the thermostat from the electrical panel in order to avoid the mounting base by tilting it upward;...
-
Page 4: Operation
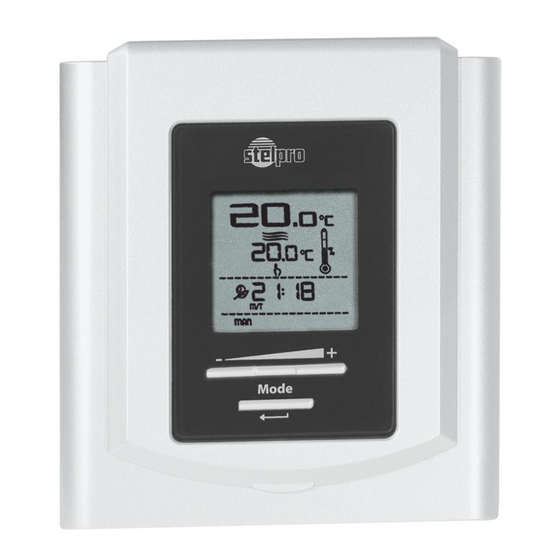
3. Operation Ambient temperature Temperature set point The figures displayed above the icon indicate The figures displayed above the icon indicate the temperature set point. It can be displayed in the ambient temperature, ± 0.5 degree. Tempera- degrees Celsius or Fahrenheit (see “Display in de- ture can be displayed in degrees Celsius or Fahren- grees Celsius/Fahrenheit”). - Page 5 Out of any adjustment mode, press down the The adjustment of the hour and the day of the + button to increase the set point, or the - button week can be done from any of the three modes. to decrease it. Set points can only be adjusted by In case of a power failure, the thermostat is self- increments of 0.5 degree.
- Page 6 it. To quickly scroll through the set point values, hour, the day of the week and the current pro- press and hold down the button. The set points grammed period number (1 to 4; displayed on the can range between 3 and 30°C and can only be right-hand side of the hour).
- Page 7 At any time, you can exit the Programming or the deactivation of the mode. This modification will apply to the Auto as well as the Pre Prog mode. mode using one of the 3 following methods: If you modify the temperature set point manually 1- Press down the button of the day that you are when these modes are activated, the anticipated adjusting.
- Page 8 ample, if the source day is Thursday and the des- will not be effective. tination day is Monday, the copy will only include From this mode, the screen displays the tempera- Friday, Saturday, Sunday and Monday. ture, the heating power used, the set point, the hour, the day of the week and the letter and the Erasing of the programming current number of the pre-programming (A0 to Z1...
- Page 9 Note: From this mode, if you do not press down be activated. This mode prevents the system to any button during more than 1 minute, the ther- continuously start and stop, which could cause fan mostat exits the adjustment function and saves the failure.
- Page 10 ture at the set point is expressed as a percentage Security mode indicated by the number of bars in the thermome- It is possible to impose a maximum temperature ter displayed. The heating power used is displayed set point by activating this mode. Then, it becomes as follows: impossible to exceed this set point, regardless of 0 bar = no heating...
-
Page 11: Troubleshooting
4. Troubleshooting Problem Solution In normal operating conditions, the thermostat housing can reach nearly 40°C at maximum load. The thermostat is hot. That is normal and will not affect the effective operation of the thermostat. Check if the thermostat is properly connected. Refer to the Heating is always on. -
Page 12: Technical Specifications
5. Technical specifications Limited warranty Supply voltage: 120/240 VAC, 50/60 Hz This unit has a 3 years warranty. If at any time during this period the unit be- Minimum electrical current with a resistive load: 1.2 A comes defective, it must be returned to 300 W to 240 VAC its place of purchase with a copy of the 150 W to 120 VAC...
Need help?
Do you have a question about the STE402P and is the answer not in the manual?
Questions and answers