Table of Contents

Summary of Contents for StarTech.com DRW110SAT
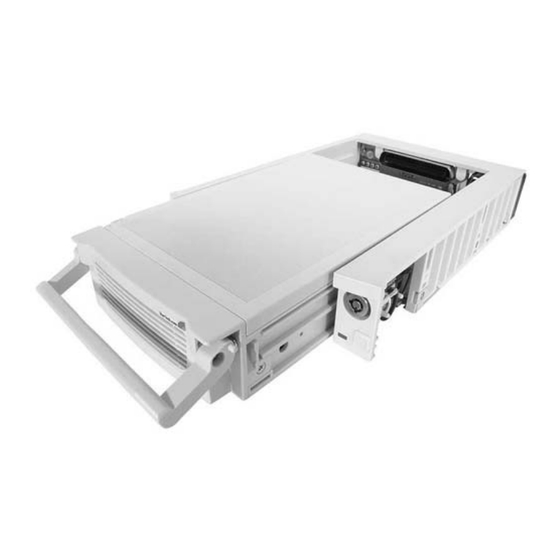
- Page 1 Removable Hard Drive Enclosure Removable Drive Enclosure with Shock Absorbers for 3.5” SATA Hard Drives DRW110SAT, DRW110SATBK DRW113SAT, DRW113SATBK Instruction Manual DRW115SAT, DRW115SATBK Actual product may vary from photo...
- Page 2 StarTech.com. Where they occur these references are for illustrative purposes only and do not represent an endorsement of a product or service by StarTech.com, or an endorsement of the product(s) to which this manual applies by the third-party company in question.
- Page 3 Instruction Manual T T a a b b l l e e o o f f C C o o n n t t e e n n t t s s Introduction ........... . .1 Features .
- Page 4 I I n n t t r r o o d d u u c c t t i i o o n n Thank you for purchasing a StarTech.com removable Serial ATA (SATA) hard drive enclosure with shock absorbers. Now, you can quickly add and remove SATA hard drives from your PC without having to open your computer.
- Page 5 Instruction Manual I I n n s s t t a a l l l l a a t t i i o o n n Installing the Hard Drive in the Caddy *Note: Mount screws to underside of drawer 1.
-
Page 6: Installing The Bay In The Pc
Instruction Manual Installing the Bay in the PC 1. Make sure your system is unplugged and you are grounded. 2. Remove the side covers from your system and remove the front cover from an available 5 1/4” drive bay (see your computer’s user manual for details, if necessary). 3. - Page 7 Instruction Manual idle. Once you have powered down the hard drive, wait about 15 seconds to let the hard drive “spin down” before removing the caddy from the bay. Installing Your Swap Manager Software ( DRW113SAT/DRW113SATBK/DRW115SAT/DRW115SATBK ONLY ) NOTE: Remember that Swap Manager only works on IBM or compatible computers running Windows XP, 2000, Me, 98SE, 98, or 95.
-
Page 8: Troubleshooting Swap Manager
Instruction Manual confirm the location of the installation. 5. Click Finish when the installation is complete and reboot your computer to allow the changes to take effect. Using Your Swap Manager Software The following is intended to provide you with an introduction to your Swap Manager software. -
Page 9: Monitoring Your Hard Disk Drive And Drawer
Instruction Manual Monitoring Your Hard Disk Drive and Drawer The status LED is located on the right side of the drive drawer. It is your best indication of the hard drive’s status, and is lit when the drawer is successfully inserted and locked into the caddy. - Page 10 Limitation of Liability In no event shall the liability of StarTech.com Ltd. and StarTech.com USA LLP (or their officers, directors, employees or agents) for any damages (whether direct or indirect,...
- Page 11 Visit www.startech.com for complete information about all our products and to access exclusive interactive tools such as the Parts Finder and the KVM Reference Guide. StarTech.com makes it easy to complete almost any IT solution. Find out for yourself why our products lead the industry in performance, support, and value.


Need help?
Do you have a question about the DRW110SAT and is the answer not in the manual?
Questions and answers