Table of Contents
Advertisement
Advertisement
Table of Contents

Related Manuals for CDA wc431


Summary of Contents for CDA wc431
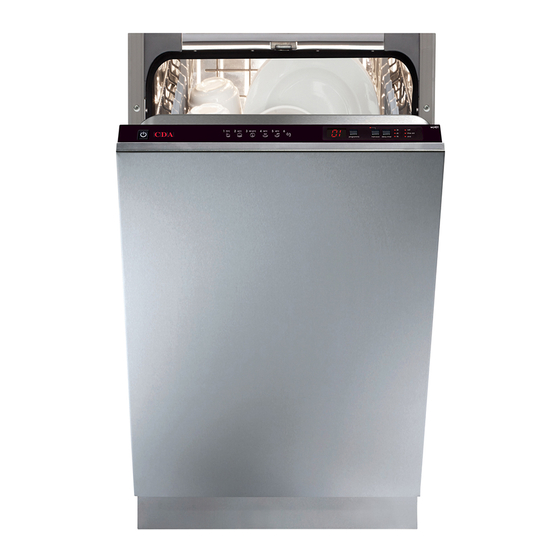
- Page 1 Slimline Integrated Dishwasher Manual for Installation, Use and Maintenance...
-
Page 2: Table Of Contents
Contents Contents ......................2 Important ......................3 Important Notes ....................4 Recommendations ..................5 Before First Use ....................5 Control Panel ....................6 Detergent......................9 Salt ........................11 Softener Adjustment ..................12 Rinse Aid ......................14 Dishwasher Baskets ..................15 Standard Loading and Test Data .............. 17 Programme Listing .................. -
Page 3: Important
Appliance information: Please enter the details on the appliance rating plate below for reference, to assist CDA Customer Care in the event of a fault with your appliance and to register your appliance for guarantee purposes. Appliance Model Serial Number This appliance has been designed for domestic use only. -
Page 4: Important Notes
IMPORTANT INFORMATION FOR CORRECT DISPOSAL OF THE PRODUCT IN ACCORDANCE WITH EC DIRECTIVE 2002/96/EC. At the end of its working life, the product must be taken to a special local authority waste collection centre or to a dealer providing appliance recycling services. Disposing of a household appliance separately avoids possible negative consequences for the environment and health. -
Page 5: Recommendations
the dishwasher can be very hot when the programme is running. • When the dishwasher is not in use, we recommend that you turn off the water supply at the supply tap and disconnect the main supply. • If you are leaving the dishwasher for an extended period you should leave the door slightly open to prevent the formation of unpleasant smells. -
Page 6: Control Panel
• Run a hot programme without any dishes in the dishwasher. Control Panel 4 5 6 7 Power Button (1) To switch the dishwasher on or off, press the power button (1). When you switch on the dishwasher, the end of programme light will illuminate, and two dashes will appear on the display. - Page 7 Half-Load Button (4) and Indicator L ight The dishwasher is equipped with a half-load function that allows for small numbers of dishes to be washed, spread between both baskets. This reduces the amount of water and electricity used. • To use this function, press the half-load button (4), the indicator light shows to indicate that this function is selected.
- Page 8 Starting a Programme • Press the Power button (the end of programme light will be switched on) • Press the Programme Selection button until the required programme is shown on the display. • If required, set the delay timer by pressing the Delay Timer button •...
-
Page 9: Detergent
Cancelling a Programme It is possible to cancel the programme once is has started. • First open the door slightly to reduce the risk of water spillage. • Press and hold in the Programme Selection button for three seconds until the end of programme indicator flashes and a“1”shows on the display. - Page 10 As a result, it is recommended that powder detergents should be used in the shorter programmes to allow better performance. CDA recommends the use of separate detergent, rinse aid and dishwasher salt rather than combination tablets as separates achieve better wash performance.
-
Page 11: Salt
Salt To ensure the best efficiency, the dishwasher needs soft water. Hard water means that lime residues remain on the dishes and the interior of the dishwasher, affecting performance. The softener system is designed to remove the ions that make the water hard to Fig.3 provide the best quality wash performance. -
Page 12: Softener Adjustment
Softener Adjustment The efficiency of your dishwasher depends on the softness of the tap water. To ensure best efficiency, the dishwasher is equipped with a system that reduces the hardness in the mains water supply. The efficiency will increase when the system is correctly set. To find out the water hardness level of your water supply you can use the test strip supplied or alternatively contact your... - Page 13 hardness is preset to level 3. 1. Press and hold down the programme selection button 2. Press the Power button to switch on the dishwasher 3. Keep the programme selection button pressed until “8” shows on the display and then disappears. 4.
-
Page 14: Rinse Aid
Rinse Aid To Fill the Rinse Aid Compartment 1. Open the rinse aid compartment by turning and removing the cap as shown in figure 6. 2. Fill the rinse aid compartment until the rinse aid indicator goes dark, as shown in figure 7 (where “a” indicates the compartment is Fig.6 empty, and “b”... -
Page 15: Dishwasher Baskets
Always refill the rinse aid when the rinse aid indicator light on the control panel is illuminated. Dishwasher Baskets Top Basket Height Adjustment The top basket of your machine is supplied in the upper position. When it is in this position, you can place big items such as pans, etc. - Page 16 The images below are designed as guidance as to best practice for loading the dishwasher. Lower basket Upper basket Fig.13 Fig.10 Bad loads Fig.14 Fig.11 Fig.15 Fig.12...
-
Page 17: Standard Loading And Test Data
Standard Loading and Test Data Capacity • Upper and lower baskets: 10 place settings. • The upper basket should be adjusted to high position. • Cups should be placed on to the dish rack pins. Detergent / Rinse Aid • 5 + 20 cm , in accordance with EN50242-DIN 44990 IEC 436 (international norms) / Rinse aid dosage adjustment: 4. -
Page 18: Programme Listing
Programme Listing Programme Intensive + Intensive Express Quick Prewash Name & 70°C (P1) 65°C (P2) 65°C (P3) 50°C * (P4) 40°C (P5) (P6) Temperature Level of Soil High High Medium Medium Detergent Required A + B A + B A + B A + B A=25cm /15cm... -
Page 19: Care And Maintenance
Care and Maintenance Before beginning any care or maintenance, you should always disconnect the appliance from the electricity supply, and also turn off the water supply. Fascia Wipe the fascia clean using just a damp cloth rinsed in a mild liquid detergent solution and well wrung out. - Page 20 reverse order to that above. The microfilter should lock into place once it is secure (figure 19). Please note: Never run a programme without the filters in place. Incorrect fitting of the filters may reduce wash performance and potentially damage your appliance. Spray Arms You should clean the spray arms at least once a month.
-
Page 21: Failure Codes And Troubleshooting
Waste water in the Restart the dishwasher and cancel the machine cannot be programme discharged If the error continues contact CDA Customer Care Continual fill error Contact CDA Customer Care Make sure the water tap is fully open Close the water tap, separate the water inlet... - Page 22 Problem Possible Cause Check the plug, fuse and circuit breakers of the mains supply The water tap is turned off The programme will not start The dishwasher door is not fully closed The water inlet filter or the machine filters are blocked Water remains inside the dishwasher at The water drain hose is blocked or kinked...
-
Page 23: Electrical Information
Electrical Information Warning: This appliance must be earthed, The mains lead of this appliance has been fitted with a BS 1363A 13 Amp fused plug. To change a fuse in this type of plug, follow the steps below: 1. Remove the fuse cover and fuse. 2. - Page 24 connected to the terminal which is marked with letter (E) or by the Earth symbol or coloured GREEN and YELLOW. • The wire which is coloured BLUE must be connected to the terminal which is marked with the letter (N), or coloured BLACK or BLUE.
-
Page 25: Installation
Installation • Do not install this appliance if it is damaged in any way. Installing a damaged appliance may invalidate the warranty. • The water supply tap should be located in an adjacent cupboard so that it can be accessed after installation. -
Page 26: Fitting The Integrated Appliance Door
that the water outlet is not pushed too far into the waste standpipe. The lowest part of the water outlet should be level with the bottom basket of the dishwasher. • When connecting to the sink, ensure that the waste pipe runs higher than the level of the sink bowl to prevent syphoning. - Page 27 NOTES:...
- Page 28 brackets.
Need help?
Do you have a question about the wc431 and is the answer not in the manual?
Questions and answers