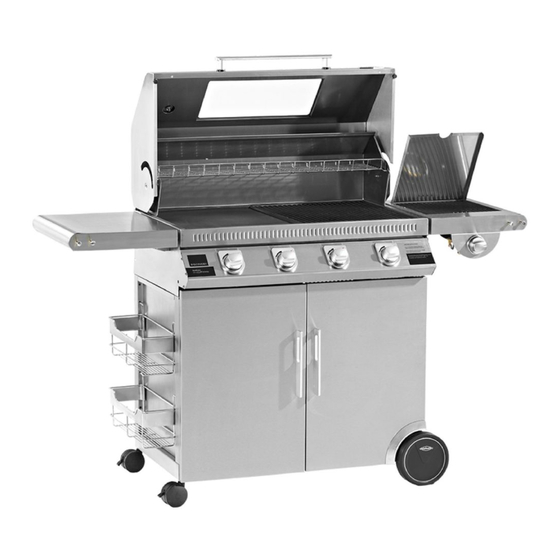
Beef Eater Discovery 1100s Assembly Instructions Manual
Cabinet trolley discovery 1100 series
Hide thumbs
Also See for Discovery 1100s:
- Assembly and operating instructions manual (24 pages) ,
- Assembly instructions (2 pages) ,
- Assembly and operating instructions (2 pages)

Related Manuals for Beef Eater Discovery 1100s


Summary of Contents for Beef Eater Discovery 1100s
-
Page 1: Assembly Instructions
1100 Cabinet trolley Assembly Instructions To suit models: 1100s 1100e 1100 2, 3, 4 or 5 Burners FOR OUTDOORS USE ONLY... - Page 2 Content: description Base Panel Bolt Pack Content Right Hand Side Panel Left Hand Side Panel Rear Panel Top Front Brace description Left Hand Side Door Circlips Right Hand Side Door M6 x 12 screw Door Handle M6 washer Side Shelf M4 x 10 countersunk screw Side Burner M6 Nut...
- Page 3 1100 Series Assembly Procedure Step 1 2 x ‘A’ Turn the Base Panel upside-down, insert the Wheel Axel through the 2 holes, and place a wheel on each side. Secure with a circlip on outside of wheel. Place Cap. insert each castor to its place in the other 2 corners Step 2 13 x ‘B’, 13 x ‘C’, 2 x ‘F’...
- Page 4 Step 3 4 x ‘D’ If required, attach the Hinge Blocks to front of side panels. Note: the block should be on the inside, with only the small bends protruding out. Step 4 4 x ‘B’, 4 x ‘C’ Attach the Top Brace. Do not tighten.
- Page 5 Step 5 Hold each door at ~60° open angle, and insert through opening at door internal skin over the hinge block pins. Ensure correct engagement in both brackets simultaneously. Step 6 4 x ‘B’, 4 x ‘C’ Remove all loose parts from inside the Barbecue. Place the Barbecue over the trolley and attach with screws.
- Page 6 Step 7 Adjust the Top Brace (from step 4) to right position, so the doors are closing straight, and tighten the 4 screws. Step 8 8 x ‘H’, 8 x ‘G’ Fit the shelf and Side Burner (or 2 shelves) to the side of the Barbecue. Note: screws to go from the inside of barbecue body out.
-
Page 7: Technical Information
Step 10 8 x ‘J’ If connecting Side Burner, the hose is attached to inlet ‘B’ above, and connected to Side Burner manifold as follows: Warranty Warranty terms and condition in BBQ Instructions book P. 11 apply to this trolley as well. All parts and workmanship of this trolley are covered for a period of 1 year from date of purchase. -
Page 8: Spare Parts
Spare Parts: Woodland Home Products 3-5 Birmingham Av, Chester- Hill, NSW, Australia, 2162 Phone: 1800 356 660 Facsimile: 02 9724 8899 E-mail: mail@beefeaterbbq.com Website: www.beefeaterbbq.com 1100_Trol_Inst_AU_V0...
Need help?
Do you have a question about the Discovery 1100s and is the answer not in the manual?
Questions and answers