Table of Contents
Advertisement
Quick Links
Owner's Guide and Installation Manual
Attach sales receipt to this card and retain as your proof of purchase
DATE OF PURCHASE:
MODEL NUMBER:
To register your fixture, please visit our website www.montecarlofans.com
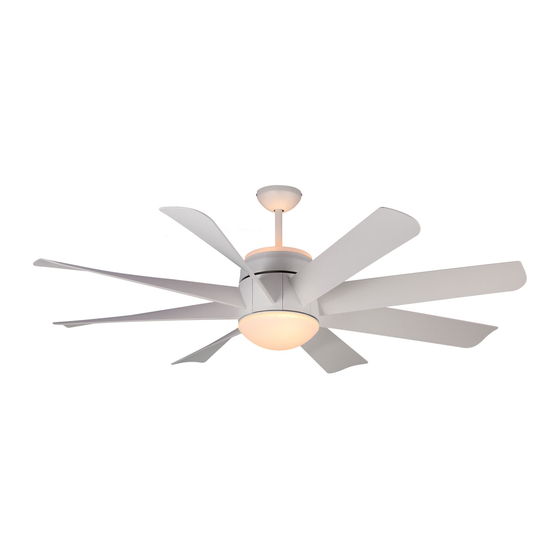
8TNR56XXD Series Fan
ETL Model NO. : 8TNR56XXD
RETAILER NAME:
RETAILER ADDRESS:
11 kgs
24.2 lbs
Total fan weight with light kit
Advertisement
Table of Contents

Summary of Contents for Monte Carlo Fan Company 8TNR56XXD Series
- Page 1 Owner’s Guide and Installation Manual 8TNR56XXD Series Fan ETL Model NO. : 8TNR56XXD Attach sales receipt to this card and retain as your proof of purchase DATE OF PURCHASE: RETAILER NAME: RETAILER ADDRESS: MODEL NUMBER: To register your fixture, please visit our website www.montecarlofans.com 11 kgs 24.2 lbs...
- Page 2 Cautions and Warnings WARNING: TO REDUCE THE RISK OF FIRE, ELECTRIC SHOCK, OR INJURY TO PERSONS, OBSERVE THE FOLLOWING READ AND SAVE THESE INSTRUCTIONS Installation work and electrical wiring must be done by qualified person(s) in accordance with applicable codes and standards (ANSI/NFPA 70-1999), including fire-rated construction.
- Page 3 Mounting bracket Before you begin installing the fan, Switch Before installing this fan make sure the Use metal outlet box suitable for fan power off at Service panel and lock outlet box is properly installed to the support and use only the screws provided service disconnecting means to prevent house structure.
- Page 4 Spring clip 120V 25W Bulb Upper glass Partially loosen set screws for the spring Place upper glass on top of fan. Adjust the Install 4 x 25 watt candelabra base bulbs spring clips to hold the glass in place. clips (25W Max), Bulbs included Tighten all set screws securely.
- Page 5 This side up Blade Flywheel This side for blade installation Blade supporting ring Partially loosen 2 of the set screws on Install blades on flywheel with set screws Flip the blade assembly over and install mounting bracket corresponding to the provided.
- Page 6 Blue Light fixture Bulb Black White Connect white wire from fan to white wire Install 2 G9 35W bulb. Bulb included. Attach glass to light pan by locating Warning: Over lamping the fan will result from light fixture, and then connect blue dimples in light pan with grooves on the wire from fan to black wire from light in the fan lights shutting down until the...
- Page 7 Remote Controller Operation Remove the battery cover from the remote control transmitter and install battery. Replace the cover. This remote uses 12V battery, Duracell MN21 / Evereday A23 / GP 23A all 12V. Note: If not using for long periods of time, remove battery to prevent damage to remote transmitter, and store the remote transmitter away from “Set”...
- Page 8 Install Transmitter wall mount cradle with 2 screws provided. Move the trim plate out from wall mount cradle and install Trim plate the wall mount cradle with 2 screws provided. Replace the trim plate. Wall mount cradle The receiver provides the following protective functions Lock protection- The DC motor has a build-in safety feature against blade obstruction during operation.
- Page 9 Trouble Shooting Warning Trouble Suggested Remedy CAUTION CAUTION CAUTION WARNING © 2013 Monte Carlo Fan Company 11/20/2013...
- Page 10 Nov.2013...


Need help?
Do you have a question about the 8TNR56XXD Series and is the answer not in the manual?
Questions and answers