
Related Manuals for Briteq STAGE PAINTER 12


Summary of Contents for Briteq STAGE PAINTER 12
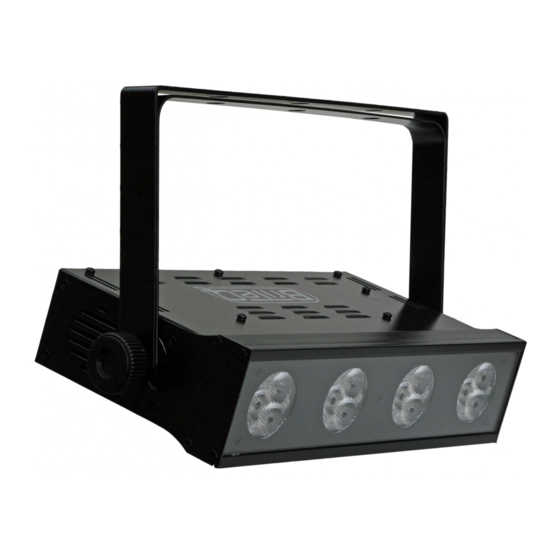
- Page 1 STAGE PAINTER 12 Preliminary User Guide Official version will follow soon on: WWW.BRITEQ-LIGHTING .COM...
-
Page 2: Table Of Contents
TABLE OF CONTENTS 1. Safety Instruction 2. Technical Specification 3. How To Set The Unit 4. How To Control The Unit 5. Troubleshooting 6. Fixture Cleaning... -
Page 3: Safety Instruction
1. Safety Instruction Please read carefully the instruction, which includes important information about the installation, usage and maintenance. WARNING Please keep this User Guide for future consultation. If you sell the unit to another user, be sure that they also receive this instruction booklet. ... -
Page 4: Technical Specification
Caution There are no user serviceable parts inside the unit. Do not open the housing or attempt any repairs yourself. In the unlikely event your unit may require service, please contact your nearest dealer. Installation The unit should be mounted via its metal hole on the bracket. Always ensure that the unit is firmly fixed to avoid vibration and slipping while operating. -
Page 5: How To Set The Unit
3. How To Set The Unit 3.1 Control Panel Display To show the various menus and the selected functions DMX input present MASTER Master Mode SLAVE Slave Mode SOUND Flashing Sound activation Button MENU To select the programming functions DOWN To go backward in the selected functions To go forward in the selected functions ENTER... - Page 6 3.2 Main Function To select any of the given functions, press the MENU button up to when the required one is showing on the display. Select the function by ENTER button and the display will blink. Use DOWN and UP button to change the mode. Once the required mode has been selected, Press ENTER button to store.
- Page 7 the 3 channels mode or 6 channels mode or 9 channels mode or 12 channels mode 15 channels mode. Once selected, press the ENTER button to store. Back to the main functions without any change press the MENU button (or wait for 1 minute to exit menu mode).
- Page 8 sensitively (1-100) of the unit. Once the value has been selected, press the ENTER button to store. Back to the main functions without any change press the MENU button (or wait for 1 minute to exit menu mode). Black Out Press the MENU button up to when the Black Out is showing on the display.
-
Page 9: How To Control The Unit
(When the temperature of the unit under 40℃, FAN stops; between 45℃~55℃, FAN runs at half speed; above 60℃, FAN runs at full speed. The LEDs will be off if the temperature higher than 75℃) or High Speed, press ENTER button to store. To go back to the functions press the MENU button. - Page 10 4.2 Easy Controller The easy remote control is used only in master/slave mode. By connecting to the 1/4” microphone jack of the first unit, you will find that the remote controller on the first unit will control all the other units for Stand by, Function and Mode selection Stand By Blackout the unit...
- Page 11 4.4 DMX 512 Configuration Front View: DMX Configuration:...
- Page 14 4.5 DMX512 Connection 1. If you using a controller with 5 pins DMX output, you need to use a 5 to 3 pin adapter-cable. 2. At last unit, the DMX cable has to be terminated with a terminator. Solder a 120 ohm 1/4W resistor between pin 2(DMX-) and pin 3(DMX+) into a 3-pin XLR-plug and plug it in the DMX-output of the last unit.
-
Page 15: Troubleshooting
5. Troubleshooting Following are a few common problems that may occur during operation. Here are some suggestions for easy troubleshooting: A. The unit does not work, no light and the fan does not work 1. Check the connection of power and main fuse. 2. -
Page 16: Fixture Cleaning
6. Fixture Cleaning The cleaning of internal and external optical lenses and/or mirrors must be carried out periodically to optimize light output. Cleaning frequency depends on the environment in which the fixture operates: damp, smoky or particularly dirty surrounding can cause greater accumulation of dirt on the unit’s optics. ...
Need help?
Do you have a question about the STAGE PAINTER 12 and is the answer not in the manual?
Questions and answers