Sign In
Upload
Download
Add to my manuals
Delete from my manuals
Share
URL of this page:
HTML Link:
Bookmark this page
Add
Manual will be automatically added to "My Manuals"
Print this page
×
Bookmark added
×
Added to my manuals
Manuals
Brands
DPA Manuals
Microphone
4060
User manual
DPA 4060 User Manual
Miniature microphones
Hide thumbs
Also See for 4060
:
Quick start manual
(5 pages)
1
2
3
4
5
6
7
8
9
10
11
12
13
14
15
16
page
of
16
Go
/
16
Contents
Table of Contents
Bookmarks
Advertisement
Quick Links
1
Table of Contents
2
Cleaning Guide
3
Correct Use of the Miniature Microphone
4
Specifications
5
Accessories Available
6
Service & Repair
Download this manual
USER'S MANUAL
Miniature Microphones
40 60
Type
40 6 1
Type
40 62
Type
40 65
Type
40 66
Type
CONTENTS
Cleaning Guide
Correct use of the Miniature Microphone
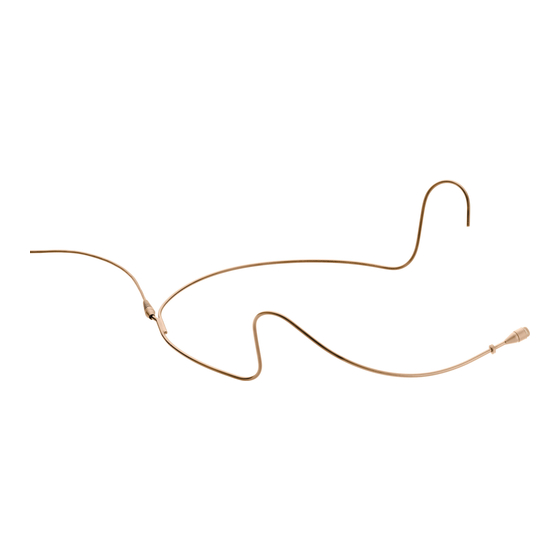
Miniature Microphone Headbands
Specifications
Accessories Available
Service & Repair
Warranty
CE Standard
2
4
8
12
14
16
16
16
1
Previous
Page
Next
Page
1
2
3
4
5
Advertisement
Need help?
Do you have a question about the 4060 and is the answer not in the manual?
Ask a question
Questions and answers
Related Manuals for DPA 4060
Microphone DPA 4060 Quick Start Manual
Miniature omnidirectional microphone (5 pages)
Headsets DPA d:fine Omnidirectional Manual
Headset microphones (8 pages)
Microphone DPA d:fine Directional Manual
Headset microphones (7 pages)
Microphone DPA 4061 User Manual
Miniature microphones (16 pages)
Microphone DPA 4062 User Manual
Miniature microphones (16 pages)
Microphone DPA 4033 User Manual
Headset microphone; compact omnidirectional microphones 12mm (9 pages)
Microphone DPA 4035 User Manual
Headset microphone; compact omnidirectional microphones 12mm (9 pages)
Microphone DPA 4088 User Manual
Cardioid headband (10 pages)
Microphone DPA 4088-F User Manual
Cardioid headband (10 pages)
Microphone DPA 4004 User Manual
High spl omnidirectional microphones (14 pages)
Microphone DPA 4028 User Manual
Compact cardioid microphones/compact wide cardioid microphones (16 pages)
Microphone DPA 4023 User Manual
Compact cardioid microphones/compact wide cardioid microphones (16 pages)
Microphone DPA 4011 User Manual
Cardioid and wide cardioid microphones (16 pages)
Microphone DPA 4011 User Manual
Cardioid microphones (14 pages)
Microphone DPA 4003 User Manual
Omnidirectional microphones (18 pages)
Microphone DPA 4098H User Manual
Hanging supercardioid microphone (7 pages)
This manual is also suitable for:
4061
4065
4062
4066
Print
Rename the bookmark
Delete bookmark?
Delete from my manuals?
Login
Sign In
OR
Sign in with Facebook
Sign in with Google
Upload manual
Upload from disk
Upload from URL


Need help?
Do you have a question about the 4060 and is the answer not in the manual?
Questions and answers