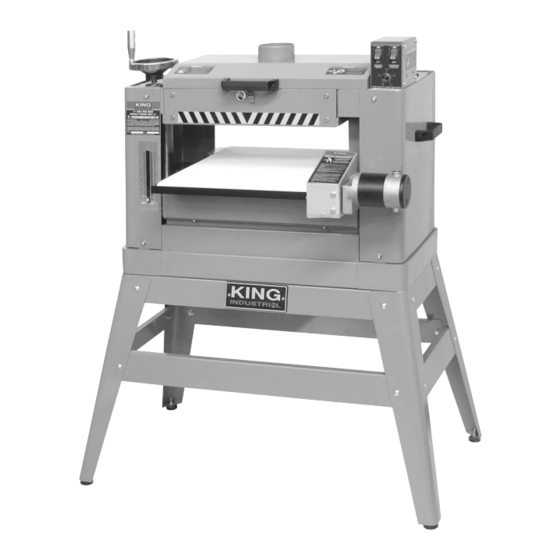
Summary of Contents for King Industrial KC-16-1-D
- Page 1 16” X 5” SINGLE DRUM SANDER MODEL: KC-16-1-D INSTRUCTION MANUAL COPYRIGHT © 2010 ALL RIGHTS RESERVED BY KING CANADA TOOLS INC.
- Page 2 WARRANTY INFORMATION 2-YEAR KING CANADA TOOLS LIMITED WARRANTY OFFERS A 2-YEAR LIMITED WARRANTY FOR THIS SINGLE DRUM SANDER FOR INDUSTRIAL USE. PROOF OF PURCHASE Please keep your dated proof of purchase for warranty and servicing purposes. REPLACEMENT PARTS Replacement parts for this product are available at our authorized King Canada service centers across Canada. LIMITED TOOL WARRANTY King Canada makes every effort to ensure that this product meets high quality and durability standards.
- Page 3 GENERAL & SPECIFIC SAFETY RULES 1. KNOW YOUR TOOL 12. ALWAYS WEAR SAFETY GLASSES. Read and understand the owners manual and labels affixed to the Always wear safety glasses (ANSI Z87.1). Everyday eyeglasses tool. Learn its application and limitations as well as its specific only have impact resistant lenses, thet are NOT safety glasses.
- Page 4 UNPACKING & GETTING TO KNOW YOUR SINGLE DRUM SANDER Unpacking WARNING: For your own safety, never connect the single drum sander to a power source until all assembly steps are complete, and you have read and understood safety, adjustments and operational instructions. To ensure maximum performance from your King Canada single drum sander, clean it properly;...
- Page 5 SPECIFICATIONS & ELECTRICAL INFORMATION MODEL KC-16-1-D Sanding drum motor 1.5 HP, 13 Amp, 110V Conveyor belt motor 1/8 HP, 110V, 1 phase Maximum width of sanding 16” Maximum thickness of board 5” Minimum thickness of board 1/4” Minimum length of board 5”...
- Page 6 ASSEMBLY WARNING: For your own safety, never connect the drum sander to a power source until you have read and understood safety, assembly, adjustments and operational instructions in this manual. Assembling drum sander carry handles Assemble both carry handles (A) Fig.3 to each side cover (B) using 2 cap screws to secure each handle.
- Page 7 ADJUSTMENTS Adjusting the Sanding Thickness To set the sanding height to the required thickness, use the crank handwheel (A & B) Fig.7. Turning the handwheel clockwise will raise the conveyor table up towards the sanding drum. Turning the handwheel counterclockwise will lower the conveyor table. Depth setting used during surface sanding of stock are adjusted by considering several variables.
- Page 8 REPLACING SANDING BELT & OPERATION Removing the sanding belt WARNING! MAKE SURE THAT THE MACHINE IS DISCONNECTED FROM THE POWER SOURCE BEFORE REMOVING OR INSTALLING A SANDING BELT! In order to access the sanding drum, unlatch and lift the sanding drum cover. The sanding belt is held in place at both ends of the drum by a spring loaded clamp (left side) and a spring loaded clamp with tensionner (right side).
- Page 9 OPERATION & MAINTENANCE Sanding guidelines and set-up Under most sanding conditions, a normal sanding pass is no more than 1⁄64” deep. This depth can be achieved by approximately 1⁄4 turn of the conveyor crank handwheel. Attempts to remove too much can cause jamming, wood burning, rapid sanding belt wear or tearing, poor finish and conveyor belt slippage.


Need help?
Do you have a question about the KC-16-1-D and is the answer not in the manual?
Questions and answers
How do you adjust drum to run parallel with the table?