Table of Contents
Advertisement
Quick Links
Advertisement
Table of Contents

Subscribe to Our Youtube Channel
Related Manuals for SpeakerCraft Ruckus 8 Sub System


Summary of Contents for SpeakerCraft Ruckus 8 Sub System
- Page 1 OWNER’S MANUAL Ruckus 8 Sub System Landscape Speaker...
-
Page 2: Safety Instructions
SAFETY INSTRUCTIONS APPLICABLE FOR USA, CANADA OR WHERE APPROVED FOR USAGE CAUTION: To reduce the risk of electric CAUTION: TO PREVENT ELECTRIC SHOCK, MATCH shock, do not remove cover (or back). No WIDE BLADE PLUG TO WIDE SLOT, INSERT FULLY. user-serviceable parts inside. -
Page 3: Speaker Placement
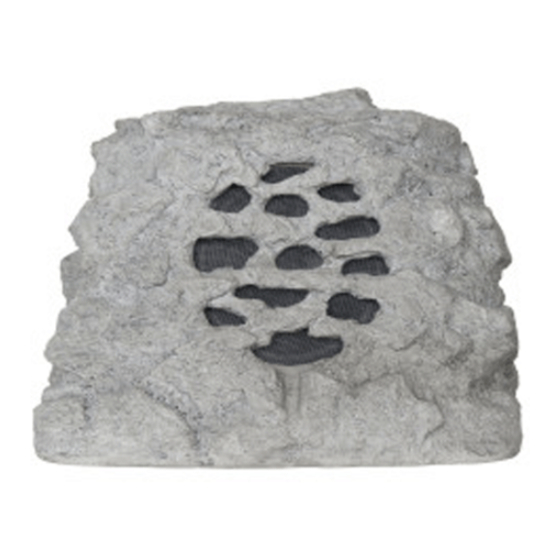
INTRODUCTION Congratulations on purchasing SpeakerCraft's Ruckus 8 Sub System landscape speakers. We would like to think of them as simulated rocks containing speakers, not rock speakers. This is because the Ruckus Subs look more like real rocks. Thanks to a new revolutionary process, the speaker remains completely unseen behind a grille that matches the Ruckus surface and texture. -
Page 4: Installation
AMPLIFIER PLACEMENT • Place the amplifier with the feet resting on a solid flat level surface. • Place the amplifier in a well-vented area to provide proper cooling. In areas that lack proper ventilation, such as tight cabinets or racks, it may be necessary to install small fans to create air movement. DON’T: • Don’t block the ventilation holes on the top or bottom of the amplifier. Never place it on carpeting or similar material. • Don’t place the amplifier in any other position other than horizontal with the feet down. Never place on its side or resting on the back where the terminals are located. • Don’t place the amplifier near heat sources, or in an area that it would be exposed to moisture or excessive humidity. YOU SHOULD KNOW • The power supply may cause a hum to be heard in some components if they are placed very close to the amplifier. INSTALLATION Please use Diagram 1 to familiarize yourself with the rear panel of the Bass Power amplifier. Dual Voltage Switch DIAGRAM 1... -
Page 5: Connecting The Audio Inputs
INSTALLATION (continued) 1. Connecting the Subwoofer to the Amplifier CAUTION: Only make connections when the amplifier is turned off. There are 2 output terminals on the back of the amplifier, one positive and one negative. These 3-way binding post output terminals allow for a variety of ways to connect your subwoofer wiring to the amplifier, including stripped wire, spade con- nectors, etc. -
Page 6: Amplifier Operation
AMPLIFIER OPERATION Please use Diagrams 1 & 3 to familiarize yourself with the front and rear panels of the Bass Power 250. CAUTION: Please read all the following instructions to prevent causing damage to your system. Front Panel Controls • Volume Control Use this to match the output level of the subwoofer to that of the main speakers in the system. -
Page 7: Troubleshooting
The Bass Power Subwoofer System is designed to function trouble-free. Most problems occur because of operating errors. If you have a problem, please check the troubleshooting list first. If the problem persists, contact Tech Support at 1-800-448-0976 or e-mail us at techsupport@speakercraft.com. The Problem Possible Causes and Solutions No sound is heard. -
Page 8: Specifications
In any case, the risk of loss or damage in transit is to be borne by the purchaser. If, upon examination at the Factory or SpeakerCraft Authorized Dealer, it is determined that the unit was defective in materials or workmanship at any time during this warranty period, SpeakerCraft or the SpeakerCraft Authorized Dealer will, at its option, repair or replace this product at no additional charge, except as set forth below.
Need help?
Do you have a question about the Ruckus 8 Sub System and is the answer not in the manual?
Questions and answers