Advertisement
Quick Links
INSTR,INSTL,8.XDT • LINEAR P/N: 224416X1 • INK: BLACK • MATERIAL: 70LB GLOSS PAPER • SIZE: 8.500" X 11.000" • SCALE: 1-1 • FOLDING: HALF FOLD
Page 4
SPEAKER SPECIFICATIONS
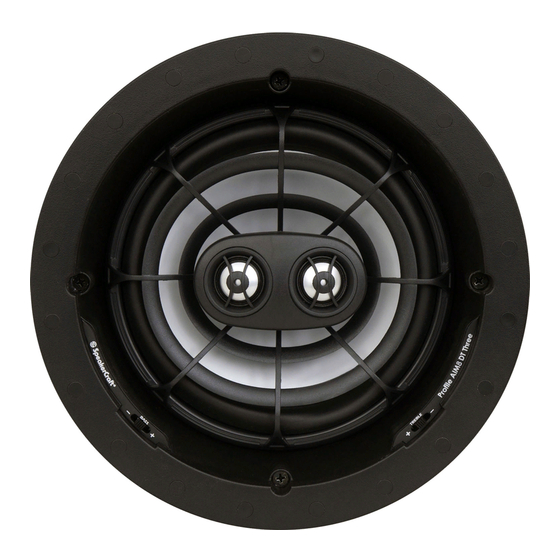
8.1DT
System Description:
Two tweeters co-axially mounted
onto a dual voice coil woofer
High Frequency Drivers:
Dual
⁄
⁄
⁄
⁄ " Polyamide Dome Tweeters mounted
1
1
1
2
onto WavePlane
Tweeter Baffle
™
Low Frequency Driver:
8" Polypropylene Cone Woofer with
Dual Voice Coil and Urethane Surround
Impedance:
8Ω
Efficiency:
91dB
Frequency Response:
55Hz - 20kHz
Power Recommendations:
5 - 70 watts (undistorted)
Diameter x Depth:
11
⁄ " x 3
⁄
⁄
⁄
⁄
⁄
⁄
⁄ "
15
15
15
1
1
1
1 6
16
2
Cut-Out Diameter:
9
⁄ "
⁄
⁄
⁄
3
3
3
4
In our attempt to constantly improve, our products features and specification are subject to change without notice.
SpeakerCraft offers a variety of accessories to make your installation of these speakers and other SpeakerCraft products easy, economical,
and professional. Contact your authorized SpeakerCraft Dealer for more information.
Should you have any questions regarding this, or any other SpeakerCraft product, please call our toll-free Service Hotline at
1-800-448-0976. We are available to assist you every weekday, except holidays, between the hours of 7:00 a.m. and 5:00 p.m. PST.
940 Columbia Avenue, Riverside CA 92507-4492
(800) 448-0976 Fax (951) 787-8747
www.speakercraft.com
PRINTER'S INSTRUCTIONS:
8"DT Owner' s Manual
8.5DT
Two tweeters co-axially mounted
onto a dual voice coil woofer
Dual 1" Silk Dome Tweeters mounted
onto WavePlane
Tweeter Baffle
™
8" Polypropylene Cone Woofer with
Dual Voice Coil and Rubber Surround
8Ω
91dB
50Hz - 20kHz
5 - 80 Watts (undistorted)
11
⁄
⁄
⁄
⁄ " x 3
⁄
⁄ "
⁄
⁄
15
15
15
1
1
1
1 6
16
2
9
3
3
3
⁄
⁄
⁄
⁄ "
4
SpeakerCraft
®
LIT96800(rev2)
224416X1 • IMAGE 1
OWNER'S MANUAL
8"DT
Single Stereo Speaker
8.1DT / 8.5DT
SPEAKER PLACEMENT
Before installing your speaker, you should consider the placement carefully, taking into account the
location of electrical, plumbing and other fixtures. Contact your dealer for assistance if you are not sure
of the best location in your particular room environment.
Ceiling Placement: When placing your speaker into the ceiling, it should ideally be located above
the primary listening area. The DT is intended to be used as a single stereo speaker in small listening
environments, walk-in closets, laundry rooms, bath rooms etc. In a large area, it may be necessary to
place additional speakers throughout the room to get the optimal effect.
MOUNTING SURFACE PREPARATION
New Construction - Unfinished Ceilings
A New Construction Bracket, SpeakerCraft part number BKT90681 (available from your dealer), may be
installed prior to drywall application across joists (up to 24" on-center) where a speaker will be located.
Insulation material should be in place prior to installing drywall. After the hole is cut and the drywall
is installed, the speaker can then be easily installed following the instructions for mounting under
"Finished Ceilings"
"Finished Ceilings" below.
"Finished Ceilings" below.
Finished Ceilings
Prior to the actual installation of the speaker, it will be necessary to run cables to the speaker location.
See your dealer for more information on cable installation. After the cable has been properly installed,
you are ready to mount the speaker. Following the simple steps listed below will result in a professional
looking installation:
1. Determine the best area to mount your speaker. This area of the ceiling should be free of obstructions
such as electrical conduit, HVAC ducts, or water lines. This can best be determined by noting the
placement of fixtures and gaining access to an attic or crawl space for further analysis of the location
of such obstacles.
2. Find the joists nearest the desired speaker mounting location. We highly recommend using a good
stud-finder tool for this procedure. If you are lining up the speaker to some other object or mold-
ing in the room, make sure you consider the size of the baffle flange which extends beyond the
mounting hole.
3. Mark the hole. A punch out template for setting the
hole is provided in the box. Position the template in the
desired position and pencil an outline on the ceiling.
4. Cutting the hole. CAUTION: This is the most
important part of the entire installation. If you are
not certain whether any obstructions exist behind
the desired mounting area, you should start by
cutting a small hole in the center of your penciled
mounting hole with a drywall saw, cutting at a 45º
angle towards the inside of the hole. (See Diagram 1)
Diagram 1
Advertisement

Related Manuals for SpeakerCraft 8.1DT


Summary of Contents for SpeakerCraft 8.1DT
- Page 1 SpeakerCraft offers a variety of accessories to make your installation of these speakers and other SpeakerCraft products easy, economical, 3. Mark the hole. A punch out template for setting the and professional.
- Page 2 If you plan to mount your speaker into a fire rated ceiling, you should purchase a SpeakerCraft 8" Sound Enclosure # SE1410. This metal enclosure is designed to be used exclusively with SpeakerCraft speakers, mounts easily between joists. The enclosure comes 5.
Need help?
Do you have a question about the 8.1DT and is the answer not in the manual?
Questions and answers