Table of Contents
Advertisement
Quick Links
HP PS1810-8G Switch Quick Setup Guide,
and Safety/Regulatory Information
For more detailed instructions and information to set up your switch, view or download the Installation and Getting Started
Guide for your switch at www.hp.com/networking/support.
1.
Unpack and check included parts.
2.
Prepare for installation. To avoid personal injury or product damage, follow the "Safety and Regulatory
Information for HP PS1810-8G Switch" on page 6.
3.
Mount the switch. Stack the switch with HP ProLiant MicroServers, or mount it on a wall, or on top of or under a
horizontal surface. Before stacking it with HP servers or positioning the switch on a horizontal surface, attach the rubber
feet that are supplied in the accessory kit.
If you are mounting the switch on a wall or under a surface, do not attach the rubber feet.
Stack with the HP ProLiant MicroServer Gen8: Stack the switch under
Caution: The switch has a limitation on how much weight can be placed on top of it. To reduce the risk of personal injury
or damage to the equipment, stack no more than two servers on top of the switch.
Documentation kit
■
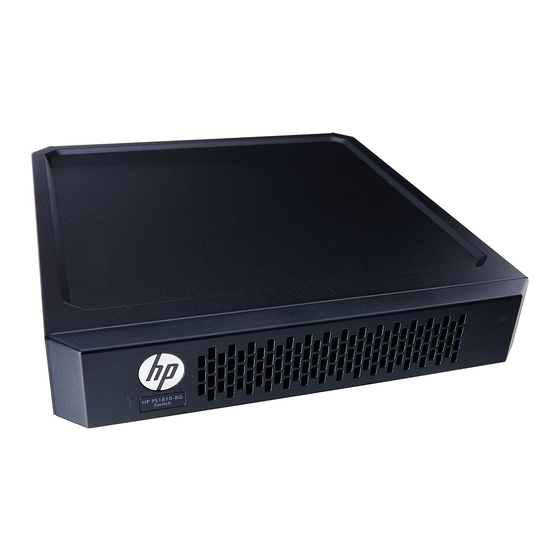
Switch
■
Accessory kit (installation hardware)
■
Wall mount AC/DC adapter, or in-line AC/DC adapter and
■
power cord
1
, or on top of
the server.
Advertisement
Table of Contents

Related Manuals for HP PS1810-8G


Summary of Contents for HP PS1810-8G
- Page 1 Information for HP PS1810-8G Switch” on page 6. Mount the switch. Stack the switch with HP ProLiant MicroServers, or mount it on a wall, or on top of or under a horizontal surface. Before stacking it with HP servers or positioning the switch on a horizontal surface, attach the rubber feet that are supplied in the accessory kit.
- Page 2 Wall Mounting: Install two 5/8-inch (15.875 mm) Number 12 wood screws, (included) into the mounting surface, positioned 6.3 inches (160 mm) apart. Use the wall anchors if necessary. Then, position the switch over the screws and slide to lock in place. Important: For wall-mounting, the network ports must be facing up or down.
- Page 3 . Connect the network cables. Connect network devices, such as an HP ProLiant MicroServer Gen8, to any of the switch’s RJ-45 ports using Class 5E or better Ethernet cables. Note: Any of the switch’s network ports can be used for the following connections. You do not have to use the specific ports shown in the illustrations.
- Page 4 . Power on and verify that Self-Test completes normally. The switch does not have a power switch. It is powered on by connecting the AC power adapter supplied with your switch. After Self-Test: Power LED = On Fault LED = Off Configure the switch (minimal configuration).
- Page 5 One of the significant features on the HP PS1810-G Switch is trunking, or link aggregation. This feature provides twice the bandwidth for connections, such as to the HP ProLiant server, and provides redundancy in case one of the connections is lost.
- Page 6 For additional Safety and Regulatory information, refer to the Safety and Regulatory documentation included with your www.hp.com/support/Safety-Compliance- switch, to the safety and regulatory documentation on the HP web site at EnterpriseProducts, and to the switch Installation and Getting Started Guide that can be found on the HP Networking web site: www.hp.com/networking/support.
-
Page 7: Product Specifications
HP PS1810-8G Switch (J9833A) Electrical: For power, requires one of the following: • External power adapter module. See “PS1810-8G External Power Adapters and Power Cords:” on page 8 • or, PoE PD connection to Port 1. Port 1 is an IEEE 802.3af Compatible PD (PoE Powered Device) - Class 3. - Page 8 PS1810-8G External Power Adapters and Power Cords: Universal inline power adapter (5066-1122*) AC power cord: specifications: 8121-0870 Australia / New Zealand 8121-0664 Philippines / Thailand 8120-8373 China – AC Input Voltage: 100-240 V 8121-0702 India – Maximum AC Input Current: 0.5 A...
Need help?
Do you have a question about the PS1810-8G and is the answer not in the manual?
Questions and answers