
Subscribe to Our Youtube Channel
Related Manuals for Whynter UIM-501SS


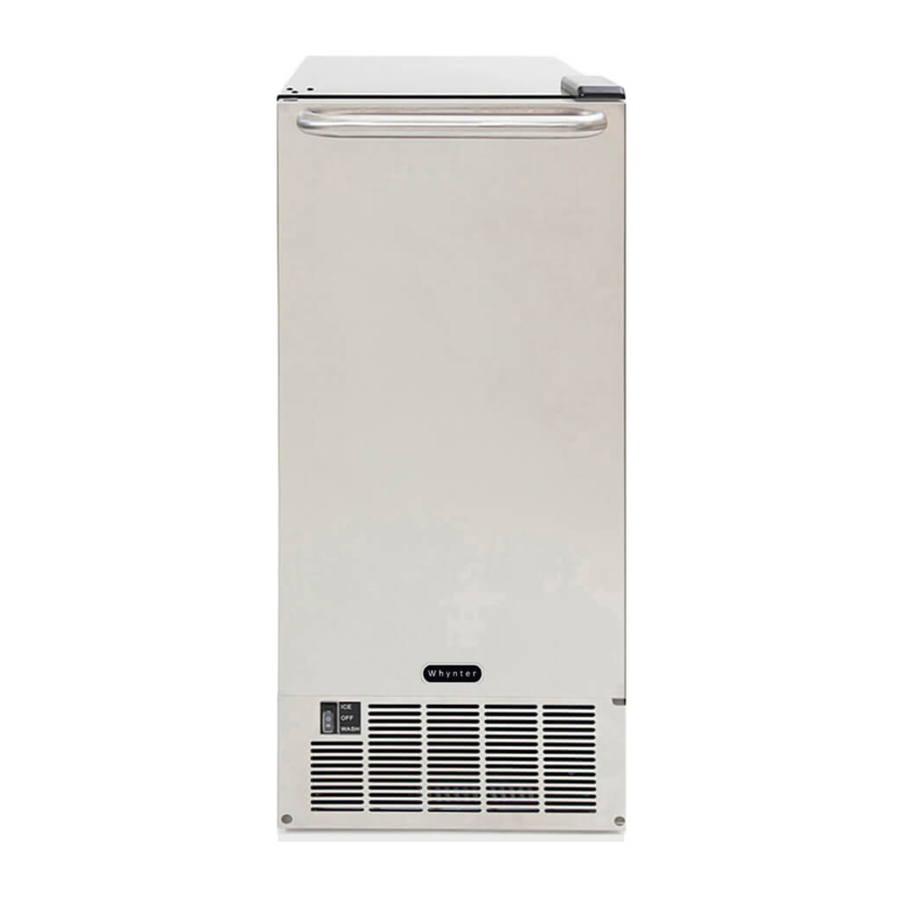
Summary of Contents for Whynter UIM-501SS
- Page 1 WHYNTER BUILT-IN ICE MAKER MODEL # : UIM-501SS Instruction Manual Congratulations on your new WHYNTER product. To ensure proper operation, please read this Instruction Manual carefully before using this product. Keep this manual in a safe place for future reference.
-
Page 2: Table Of Contents
TABLE OF CONTENTS PARTS AND FEATURES SAFETY PRECAUTIONS INSTALLATION INSTRUCTIONS 5 - 6 ELECTRICAL REQUIREMENTS AND INSTALLATION 7 - 9 OPERATION INSTRUCTIONS 10 - 11 CARE AND MAINTENANCE 12 - 13 SETTINGS 14 - 15 TROUBLESHOOTING WARRANTY INFORMATION... -
Page 3: Parts And Features
PARTS AND FEATURES 1. Door Hinge 2. Door 3. Distribution Tube 4. Ice Mold 5. Water Trough 6. Float 7. Ice Bin 8. Selector Switch 9. Leveling Foot 10. Control Panel 11. Power Plug 12. Water Inlet 13. Drain Outlet 14. -
Page 4: Safety Precautions
TO REDUCE THE RISK OF FIRE, ELECTRICAL WARNING SHOCK, OR INJURY WHEN USING YOUR ICE MAKER, FOLLOW THESE BASIC PRECAUTIONS: READ ALL INSTRUCTIONS BEFORE USING THE ICE MAKER. WARNING: RISK OF DANGER TO SMALL CHILDREN AND SMALL ANIMALS. ENTRAPMENT AND SUFFOCATION DANGER IF NOT PROPERLY SECURED. - Page 5 INSTALLATION Excessive Weight Hazard Use two or more people to move and install icemaker. Failure to do so can result in back or other injury. Remove packaging materials IMPORTANT: Do not remove any permanent instruction labels or the data label on your icemaker. Remove tape and glue from your icemaker before using ...
- Page 6 When installing the ice maker under a counter, follow the recommended spacing dimensions shown. Place electrical and water supplies and drain fixtures in the recommended locations as shown. This unit MUST be installed in an area protected from the elements, e.g., wind, rain, water spray or drips.
-
Page 7: Electrical Requirements
Electrical Requirements Electrical Shock Hazard Plug into a grounded 3-prong outlet. Never remove the grounding prong from the plug. Never use an adapter. Never use an extension cord. Failure to follow these instructions can result in fire, electrical shock, or death. Before you move your icemaker into its final location, it is important to make sure you have the proper electrical connection: ... - Page 8 To remove door from hinges: 1. Remove the top hinge cover. 2. Using a Phillips screwdriver, remove the screws, then remove top hinge mat and top hinge. Keep the parts together and set them aside. 3. Lift the door off the bottom hinge and set it aside. To replace door on hinges: 1.
- Page 9 4. Connect nuts of the water supply hose to tap and water inlet valve. Tighten firmly by hand, then one-half turn with wrench. 5. Turn on main water supply and tap. Check for water supply connection leaks. Tighten every connection (including connections at the water inlet). IMPORTANT: When you connect the water supply hose, pay attention to the indications of “Water inlet”...
-
Page 10: Installation Instructions
OPERATION Final Check List before Operation 1. Have all packing materials and tape been removed from the interior and exterior of the ice maker? 2. Did you clean the ice storage bin? We recommend cleaning the interior surface with lukewarm water using a soft cloth. - Page 11 How the machine makes ice There are two distinct cycles: Freeze and Harvest. Freezing: During the freezing cycle, the compressor pumps refrigerant, the fan motor blows air and the water pump circulates water. When the batch of ice has been fully formed, the ice maker stops the freezing cycle and begins the harvest cycle.
-
Page 12: Care And Maintenance
CARE AND MAINTENANCE Before proceeding with cleaning and maintenance operations, make sure the power line of the unit is disconnected and the water line is shut off. (EXCEPTION: Cleaning of ice-making system) Preparing the Ice Maker for Long Storage If the ice maker will not be used for a long time, or is to be moved to another place, it will be necessary to drain the system of water. - Page 13 CAUTION The ice maker must be thoroughly cleaned if it has been left unused for a long time. Periodic cleaning and proper maintenance will ensure efficiency, performance and life expectancy of the ice maker. The maintenance intervals listed are based on normal conditions. You may want to shorten the intervals if you have pets, or there are other special considerations.
- Page 14 distribution tube may be blocked. 1. Shut off the water supply. 2. Disconnect the water hose from the distribution tube. 3. Gently take out the distribution tube. 4. With a brush, clean the tube with a dilute solution of warm water and baking soda or white vinegar. After removing the dirt and lint from the surface, rinse the tube with clean water.
-
Page 15: Settings
Descriptions of LEDs and buttons: 1. Red LED: Ice Full indicator light. When this LED is lit, the ice storage bin is full of ice or there is something between the two arms of the ice-full sensor in the ice storage bin. The unit will stop working. When ice cubes are taken out of the ice storage bin, clearing the sensor, the red LED will keep flashing for 3 minutes. -
Page 16: Troubleshooting
TROUBLESHOOTING Many common ice maker problems are easily resolved. Try the troubleshooting suggestions below to see if the problems can be resolved before having to contact the service department. Problem Possible Cause Probable Correction Plug the ice maker in. ... - Page 17 ONE YEAR LIMITED WARRANTY This WHYNTER Ice maker is warranted, to the original owner within the 48 continental states, for one year from the date of purchase against defects in material and workmanship under normal use and service. Should your ice maker prove defective within one year from the date of purchase, return the defective part or unit, freight prepaid (within two months of purchase;...
Need help?
Do you have a question about the UIM-501SS and is the answer not in the manual?
Questions and answers