Whynter IMC-270MB - Ice Maker Manual
- Instruction manual (11 pages) ,
- Instruction manual (12 pages)
Advertisement
TECHNICAL SPECIFICATIONS
| MODEL: | IMC-270MB |
| Protection Type: | I |
| Climate Type: | SN/N/ST |
| Power Consumption: | 120W |
| Power Supply: | 115V/ 60Hz |
| Water Reservoir Capacity: | 2.2L |
| Ice Making Current: | 1.5A |
| Ice Making Harvest: | 2.1A |
| Max Storage Capacity: | 1.5 lbs |
| Ice Making Capability: | 27 lbs/day |
| Refrigerant: | R-134a / 64g |
| Unit Dimensions: | 9.5" L x 14.1" D x 12.9" H (19.5" H when ice maker cover is opened) |
| Net Weight: | 18.3 lbs |
PARTS

| 1 | Ice Shovel |
| 2 | Ice Full Sensor |
| 3 | Ice Basket (Removable) |
| 4 | Ice Maker Cover |
| 5 | Air Vent |
| 6 | Water Drain Plug |
| 7 | Maximum Water Level Mark and Water Reservoir |
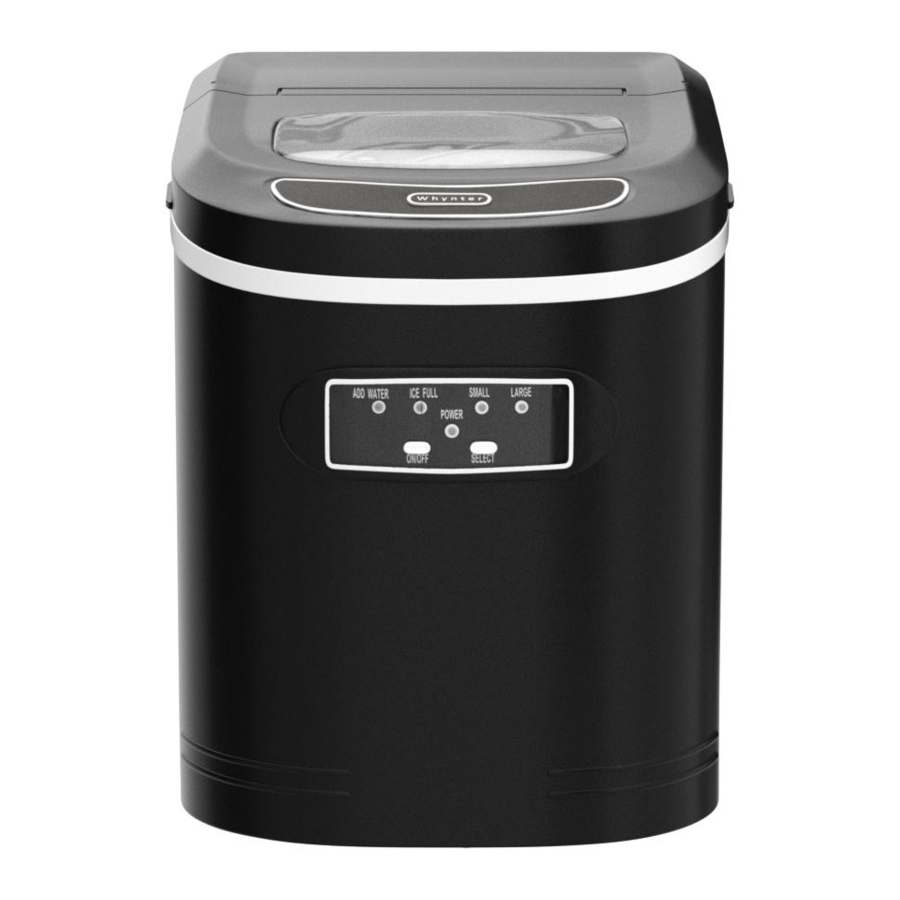
| 8 | Control Panel |
CONTROL PANEL AND FEATURES

| A | Cube Size Indicator Lights |
| B | Power Indicator |
| C | Ice Full Indicator |
| D | Water Shortage Indicator Light |
| E | Power On/Off Button |
| F | Cube Size Selector Button |
ICE SIZE
ICE SIZE SELECTION
This ice maker produces bullet-shaped ice. The default cube size from the factory is set at LARGE. Each time you press this button the cube size selection will change between Small and Large. The chosen mode shall stay as selected unless changed or there is a power failure. For the most efficient operation when ambient temperature is below 59ºF, use the small cube size setting.
LED INDICATORS
POWER INDICATOR (GREEN)
The indicator below POWER will illuminate green when the unit is turned on.
ICE SIZE INDICATOR (GREEN)
The indicator below the selected cube size will be illuminated green.
ADD WATER INDICATOR (RED)
The ice maker automatically checks the water level in the water reservoir. If the water level is too low, the indicator will illuminate in RED and the ice maker will stop working automatically. Once you add water to the unit, the indicator will turn off and the ice maker will resume normal operation.
ICE FULL INDICATOR (RED)
When the ice basket is full, the indicator will illuminate in RED. The indicator will remain lit until the ice in the basket either melts away slowly or has been removed. The unit will stay in a "Standby" mode until the ice has been removed / melted at which time the unit will automatically start operation as normal.
INSTALLATION AND OPERATING INSTRUCTIONS
INSTALLATION OF YOUR ICE MAKER
- Locate the ice maker away from direct sunlight and sources of heat (stove, heater, radiator, etc.). Direct sunlight may affect the acrylic coating and heat sources may increase electrical consumption. Extreme cold ambient temperatures may also cause the ice maker not to perform properly.
- Plug the ice maker into an exclusive properly installed-grounded wall outlet. Do not under any circumstances cut or remove the third (ground) prong from the power cord.
![]()
Do not install the Ice maker near an oven, radiator, or other heat source.

SPACE REQUIREMENTS
- During transportation, the incline angle of the cabinet should not be over 45°
- Do not turn the Ice Maker upside down. Problems could occur in the compressor and sealed system.
- The Ice maker should be placed horizontally on a properly leveled surface.
- To ensure proper ventilation for your ice maker, allow 6" of space at the back and on each side.
- Before using the Ice maker for the first time, please wait 4 hours after positioning it.
- Clean the ice shovel, ice basket, water reservoir, and ice scoop frequently.
OPERATING INSTRUCTIONS
- Open the top cover and remove the ice basket.
- Remove any dust or objects that may be in the water reservoir.
- Fill the water tank up to the line marked "MAX". Fill with potable or drinking water only.
- Select desired ice cube size by pressing the "ice size" selector (Small or Large).
- Water will be pumped from the water reservoir to the water tray under the freezing bars. The freezing bars will start freezing. Once the freezing process is completed, the freezing bars will heat up to drop the ice cubes. Then the ice shovel will push the ice cubes down to the ice basket.
- When the unit is used for the first time, discard the first couple batches of ice.
- The ice-maker will automatically check the water level in the reservoir periodically. The ice maker will detect any shortage of water and will stop the ice-making cycle, the ADD WATER indicator will be lit. Press the POWER button to turn off the unit and fill the reservoir with water. Press the ON/OFF button again to restart the ice-making cycle or wait 3 minutes after the ADD WATER indicator goes out as the ice maker will begin It's normal operation cycle automatically.
- When the ice cubes reach the ice full sensor, the ice maker will stop operating and the ICE FULL indicator will be lit.
- Change water in the water reservoir every 24 hours to ensure a reasonable hygiene level. If unit is not in use, drain all water left in the tank.
POWER FAILURE
Most power failures are corrected within a few hours and should not affect the temperature of your ice maker if you minimize the number of times the ice maker cover is opened. If the power is going to be OFF for a longer period of time, you need to take the proper steps to disconnect your appliance.
- NOTE: This ice maker produces 9 ice cubes every cycle of 6 to 9 minutes approximately depending on the size of cube is selected. When the ambient temperature is lower than 59ºF, the small ice cube size is recommended to avoid ice cubes clumping together. For best performance, water temperature should be between 55ºF and 85ºF and ambient temperature between 65ºF and 77ºF.
- NOTE: The ice basket does not keep the ice cubes frozen. The ice in the basket will slowly melt and the water will drip to the water reservoir and reused.
NORMAL SOUNDS
Your new ice maker may make sounds that are not familiar to you. Hard surfaces like the floor, walls can make the sounds seem louder than they actually are. The following describes the kinds of sounds that might be new to you and what may be making them.
- Ratting noises may come from the flow of the refrigerant or the water line, items stored on top of the ice maker can also make noises.
- The high efficiency compressor may make a pulsating or high-pitched sound.
- Water running from the evaporator to the water reservoir may make a splashing sound.
- As each cycle ends, you may hear a gurgling sound due to the refrigerant flowing in your ice maker.
- You may hear air being forced over the condenser by the condenser fan.
- During the harvest cycle, you may hear the sound of ice cubes falling into the ice basket
CARE AND MAINTENANCE

Failure to unplug the ice maker could result in electrical shock or personal injury.
DRAINING YOUR ICE MAKER

Follow the steps below to drain the unit.
- Carefully move the unit towards a sink or other suitable location for draining
- Remove the rubber drain plug from the bottom of the water reservoir to drain all the water.
- Let the water drain from the drain plug.
- Firmly install the rubber drain plug into the drain port.
NOTE:

Do not tip the unit over while there is water in the reservoir.
CLEANING YOUR ICE MAKER
To ensure the cleanliness of the ice cubes, water in the reservoir should be replaced every 24 hours.
- Remove the drain plug to drain remaining water from the water reservoir when the ice maker will not be used for long period of time. Screw the drain plug back in place after the water has been drained.
- Always use potable or drinkable water.
- Please clean your Ice maker regularly. When cleaning, unplug the unit and remove the ice cubes. Use a diluted solution of water and vinegar to clean the inside and the outside surface of the Ice Maker. Do not spray Ice maker with chemicals or diluted agents such as acids, gasoline or oil. Rinse thoroughly before starting.
When the appliance is not to be used for some time, for example for periods exceeding 48 hours, it is recommended that it be disconnected from the electricity supply and any remaining ice cubes and water be removed. Excess water in the water reservoir should be removed using paper kitchen towels or similar product. It is recommended that the appliance is cleaned on a regular basis, perhaps once every three months or more frequently in areas where chalky deposits can be a problem. Two cleaning solutions may be used. One is one part vinegar to 10 parts water, the other is 1 part bicarbonate of soda to 5 parts water. In both cases the appliance should be allowed to complete one ice making cycle then left to stand for 6 hours before being thoroughly rinsed with fresh water and dried as detailed in the previous paragraph. Solvents, detergents and abrasives must not be used for cleaning. The appliance exterior can be cleaned with a damp cloth and then polished with a soft, dry lint free cloth.
TROUBLESHOOTING
| Problem | Possible Causes | Solutions |
|
|
|
|
|
|
|
|
|
|
|
|
|
|
|
|
|
|
|
|
|
|
|
|
|
|
|
SAFETY PRECAUTIONS
TO REDUCE THE RISK OF FIRE, ELECTRICAL SHOCK, OR INJURY WHEN USING YOUR PORTABLE ICE MAKER, FOLLOW THESE BASIC PRECAUTIONS:
- Read all instructions before using the appliance
- Never clean appliance parts with flammable fluids. The fumes can create a fire hazard. Do not use an excessively wet cloth, industrial solvents, and oil-based products to clean this appliance
- Do not store or use gasoline or any other flammable vapors and liquids in the vicinity of this or any other appliance. The fumes can create a fire hazard
- Do not abuse, sit on, or stand on the appliance
- This appliance is not intended for use by persons (including children with reduced physical, sensory or mental capabilities, or lack of experience and knowledge, unless they have been given supervision or instruction concerning use of the appliance by a person responsible for their safety
- Children should be supervised to ensure that they do not play with the appliance
- If the power cord is damaged, it must be replaced by the manufacturer or its service agent or a similarly qualified person in order to avoid a hazard
- Use the portable ice maker only for its intended function. This appliance is designed for household, noncommercial use only. Any other use will void the warranty
- To avoid the risk of shock, the product should never be used in bathrooms, shower rooms, or in any other steamy or wet areas
- During installation, the power supply must not be excessively or dangerously bent or flattened
- Do not tamper with controls
- Make sure the power plug is placed fully and firm into the wall socket. If the wall receptacle you intend to use is not adequately grounded or protected by a time delay fuse or circuit breaker, have a qualified electrician install an outlet that is appropriate to local electrical codes and requirements
- Do not use multiple socket or of an extension cord as it may overheat and become a risk of fire
- Make sure the power plug is clean before usage
- Do not turn this appliance on and off by plugging and unplugging. Always use the ON/OFF switch
- After turning the appliance off, please take the power plug out of the socket
- Make sure hands are dry when connecting the power plug. The appliance is equipped with a three-prong grounded power plug on the power cord for your protection. Never modify, remove or attempt to repair the power plug yourself
- Do not repair, disassemble and/or modify the appliance by yourself
- Transport the appliance in an upright position only, or leave it in an upright position for at least 4 hours before first use
- When positioning or moving the appliance ensure that it is not turned upside down or greater than 45° or more off level.
- This appliance must be installed in an area protected from the element, such as wind, rain, water spray or drips
- When using this appliance in confined spaces, such as closets, be sure to allow proper ventilation to prevent overheating and fire. Allow at least 5" of air space on all sides of the appliance for good air
- Always place the appliance on even and hard and level surface that can support the unit when it is full
- Ensure objects are not obstructing the air vent
- Never insert your fingers or other objects into the air outlets
- This appliance must be earthed
- The wires in this mains lead are colored in accordance with the following code:
- Green or Green with a strip yellow: Grounding
- White: Neutral
- Black: Live
THE MANUFACTURER DISCLAIMS ANY RESPONSIBILITY IF THE ABOVE INSTRUCTIONS ARE NOT FOLLOWED
To obtain service or information, contact Whynter LLC via email at service@whynter.com or call 866-WHYNTER.
Product contents and specifications may change without notice.
Documents / Resources
References
Download manual
Here you can download full pdf version of manual, it may contain additional safety instructions, warranty information, FCC rules, etc.
Advertisement


Need help?
Do you have a question about the IMC-270MB and is the answer not in the manual?
Questions and answers